


Lemon desserts have a special kind of magic—they’re bright, fresh, and just the right amount of tangy. And if you’re a fan of easy recipes that pack a punch in flavor, you’re going to love this Best Ever Lemon Cake. Inspired by the simple elegance of Ina Garten’s cooking style, this recipe is the perfect combination of convenience and homemade taste. It’s got all the charm of a classic lemon pound cake, but it comes together in just minutes thanks to a few smart shortcuts.
Now, I know what you might be thinking—can a boxed cake mix really taste that good? Trust me, the answer is a big yes. With a few key upgrades—like lemon pudding mix, lemon extract, and a tangy glaze made with fresh lemon juice—this cake turns into something truly special. It’s the kind of dessert that people will ask for the recipe after just one bite.
I first made this cake for a brunch with friends. I needed something quick but impressive, and let’s be honest—something that wouldn’t leave me with a sink full of dishes. I pulled this together in under an hour, and it disappeared even faster. The texture is soft and moist, and the glaze soaks in beautifully, giving every slice a burst of lemon flavor.
So, let’s dive into the first part of this delicious recipe. You’ll be amazed at how simple it is to create a showstopping cake that tastes like it came straight from a bakery.
Ingredients for the Lemon Cake:
For the Cake:
-
1 box yellow cake mix
-
1 package (3.4 oz) instant lemon pudding mix
-
¾ cup vegetable oil
-
¾ cup water
-
4 large eggs
-
1 teaspoon lemon extract
For the Glaze:
-
2 cups powdered sugar
-
¼ cup freshly squeezed lemon juice
-
1 tablespoon lemon zest
These ingredients are super simple, but they come together in a way that tastes anything but ordinary. The lemon pudding mix adds richness and a tender crumb, while the lemon extract and juice bring that fresh citrus punch that makes this cake so addictive.
STEP 1: Preheat Your Oven
Start by preheating your oven to 350°F (175°C). Grease and flour your pan generously—this recipe works great in a bundt pan for that classic presentation, but a loaf pan will do just fine if that’s what you have on hand. Greasing and flouring the pan ensures the cake releases easily and keeps that beautiful shape when you flip it out.
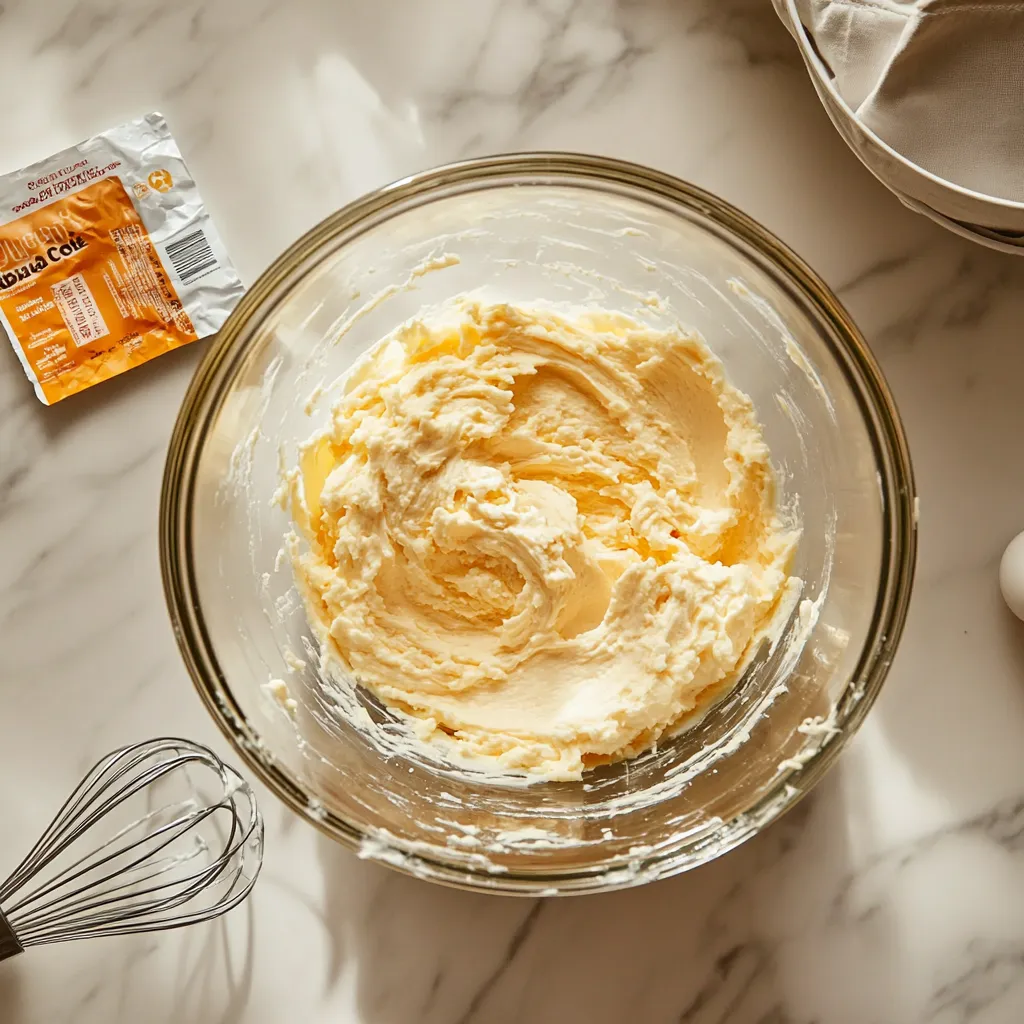
STEP 2: Mix the Cake Batter
In a large mixing bowl, combine the yellow cake mix and lemon pudding mix first—this helps distribute the dry ingredients evenly. Then add in the vegetable oil, water, eggs, and lemon extract. Use a hand mixer or stand mixer to beat the mixture for about 2 to 3 minutes, until the batter is smooth and slightly thick.
You’ll notice the batter has a soft yellow color from the pudding and extract, and the smell—oh, it’s pure lemony bliss. This step is quick, and since you’re starting with a cake mix, it takes out all the guesswork. You’ll still end up with a homemade-tasting dessert, but without all the extra measuring and mixing.
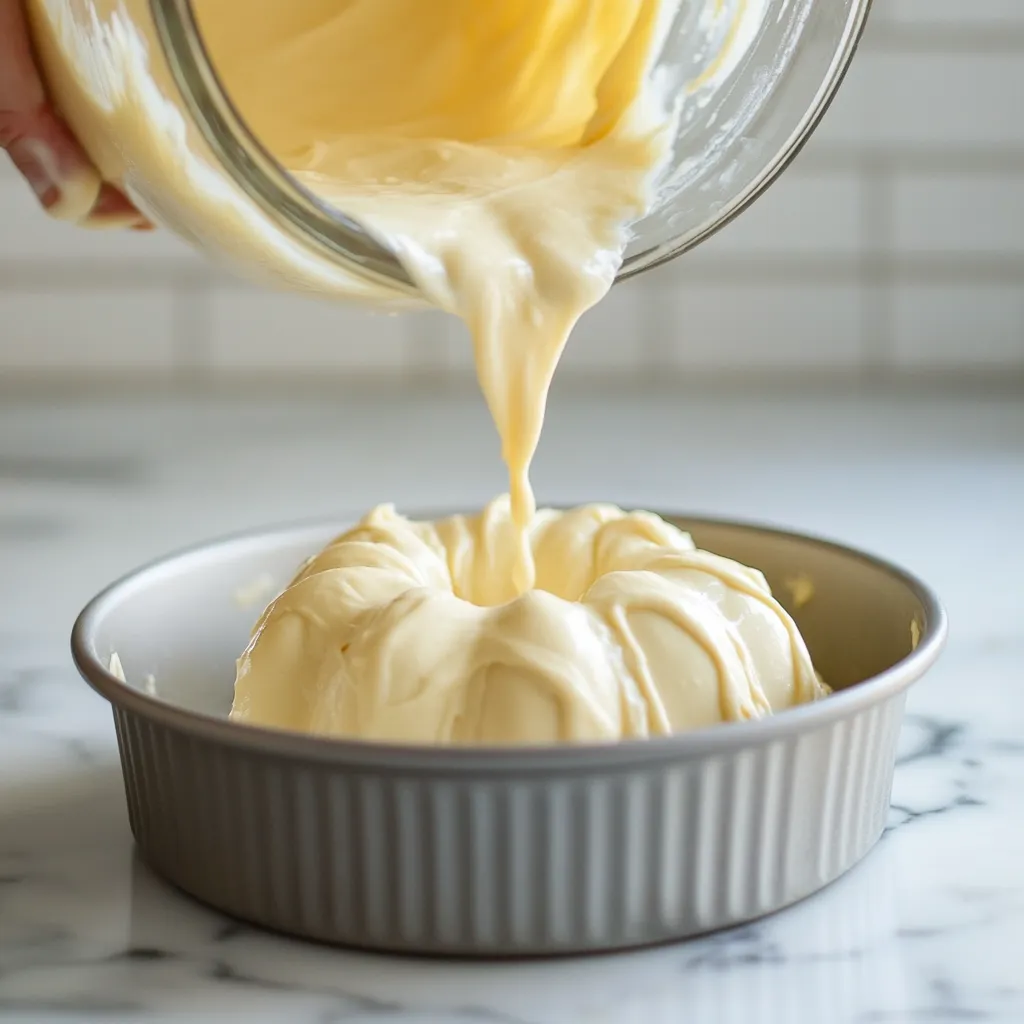
STEP 3: Pour and Smooth
Once your batter is ready, pour it into the prepared pan. Use a spatula to smooth the top so it bakes evenly. The batter will be thick but spreadable, and that’s exactly what you want. Give the pan a gentle tap on the counter to release any air bubbles, and you’re ready to bake.
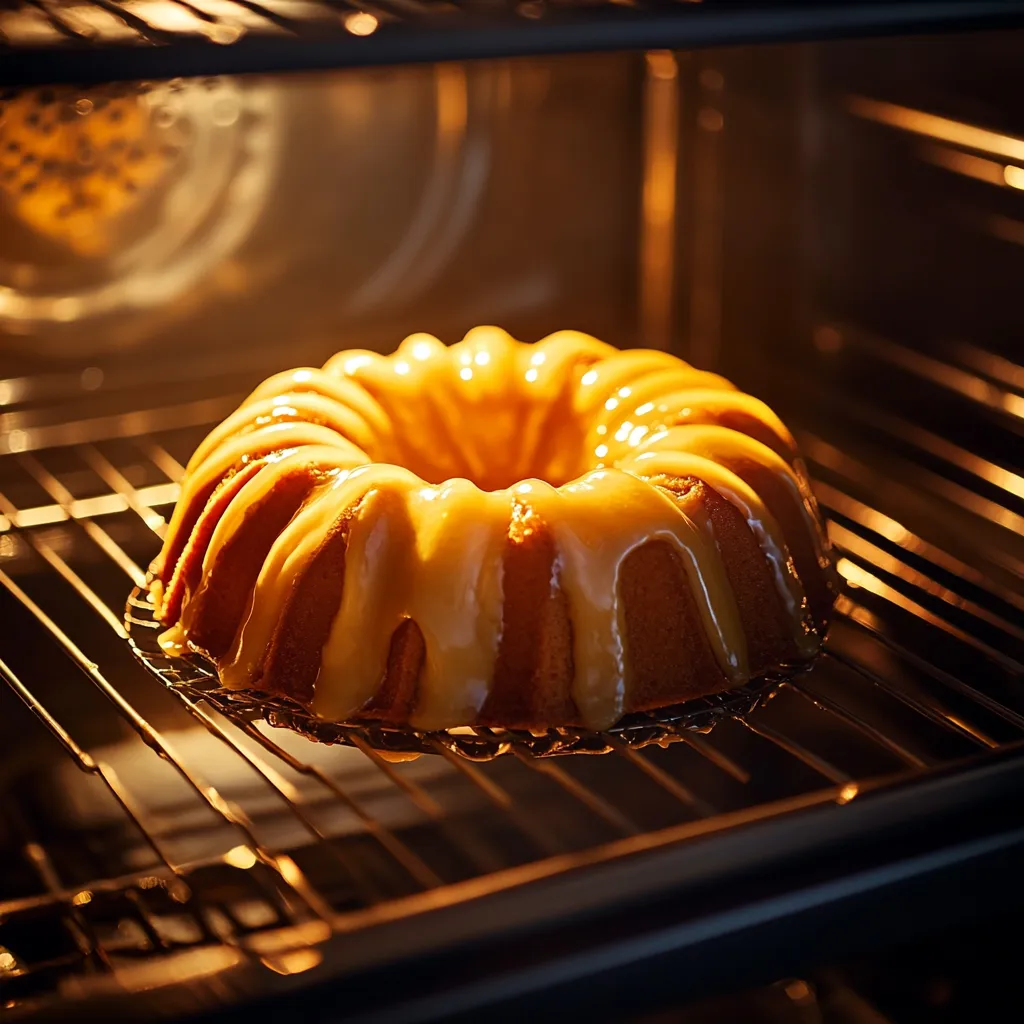
STEP 4: Bake the Cake
Place the pan in the preheated oven and bake for 45 to 50 minutes. You’ll know it’s done when a toothpick inserted into the center comes out clean, or with just a few moist crumbs. The top should be golden, slightly domed, and lightly crisp around the edges.
While the cake is baking, your kitchen is going to smell incredible—bright citrus mingling with the warmth of a baking cake is hard to beat. And as soon as it’s out of the oven, we’ll get ready to make and drizzle that irresistible lemon glaze.
How to Glaze, Serve, and Customize the Best Ever Lemon Cake
Now that your kitchen smells like sunshine and your lemon cake is just finishing up in the oven, it’s time for the part that takes this dessert from good to absolutely unforgettable—the glaze. This simple lemon glaze is sweet, tangy, and seeps right into the warm cake, locking in moisture and giving every bite that signature zingy flavor.
This section will walk you through making the glaze, how to apply it so it soaks in just right, and a few tips for keeping your cake perfectly tender and fresh. Plus, I’ll share a couple of fun ways to make this cake your own if you’re in the mood to experiment.
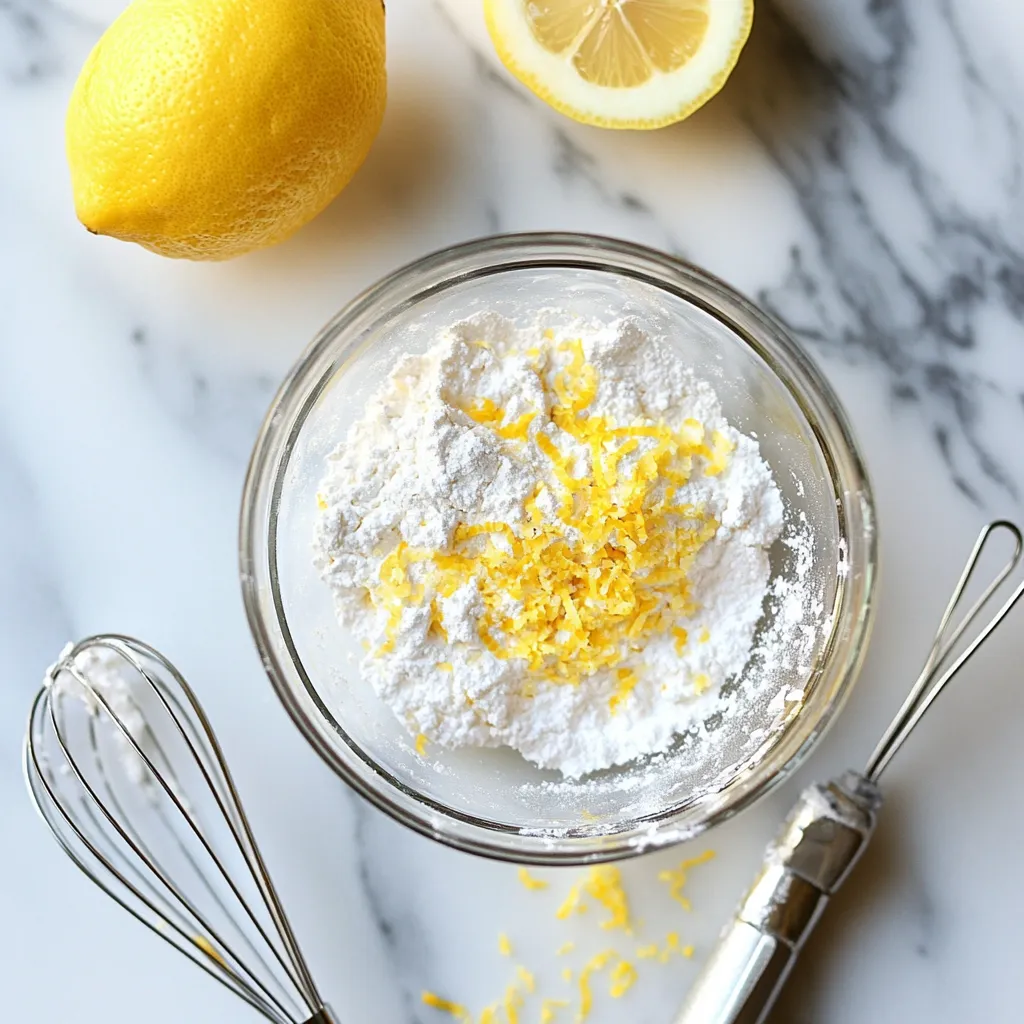
STEP 5: Make the Lemon Glaze
While the cake is baking, go ahead and whip up the glaze. You’ll only need three ingredients:
-
2 cups powdered sugar
-
¼ cup freshly squeezed lemon juice
-
1 tablespoon lemon zest
In a medium bowl, whisk all the glaze ingredients together until smooth. The mixture should be pourable but not too runny—you want it to gently coat the cake and soak in, not slide off completely. If the glaze feels too thick, you can add an extra teaspoon or two of lemon juice. If it feels too thin, just whisk in a bit more powdered sugar.
The freshly squeezed lemon juice and zest give the glaze a bright, natural flavor that pairs beautifully with the soft lemon cake. Bottled juice just doesn’t have the same punch, so definitely reach for the fresh stuff here if you can.
STEP 6: Cool the Cake Slightly
Once your cake is done baking, let it cool in the pan for about 10 minutes. This gives it time to firm up a bit, which makes it easier to remove without breaking. After 10 minutes, gently turn the cake out onto a wire rack or serving plate. If you greased and floured your pan well, it should come out easily.
Now here’s the key part—don’t wait too long to add the glaze. The cake should still be warm (not hot) when you pour it over. This allows the glaze to soak into the top layer of the cake, creating a sweet, lemony crust that locks in flavor.
STEP 7: Glaze the Cake While It’s Warm
Slowly drizzle the glaze all over the top of the cake, letting it drip down the sides. Use a spoon or pour straight from a measuring cup, making sure the glaze reaches every crevice if you’re using a bundt pan. You can reserve a little glaze to add later once the cake cools, or just go all in at once—it’s delicious either way.
As the glaze sets, it’ll create a slightly glossy finish and add that signature sweet-tart pop that makes this cake so addicting. Don’t worry if some glaze pools at the bottom; that just means extra flavor when you slice it up.

STEP 8: Cool Completely Before Slicing
After glazing, let the cake cool completely before slicing and serving. This helps it set up and allows all the flavors to meld together. Once cooled, it slices beautifully and keeps that moist, tender crumb that makes it such a standout dessert.
STEP 9: Slice and Serve
Once your lemon cake has completely cooled and the glaze has set, it’s time to slice and serve. Use a sharp serrated knife to cut clean slices, especially if you’re using a bundt pan with lots of curves and edges. This cake is perfect all on its own, but you can also dress it up with a dusting of powdered sugar, a dollop of whipped cream, or a few fresh berries on the side for a pretty presentation.
Whether you’re serving it at a brunch table, packing it up for a picnic, or sneaking a slice with your afternoon coffee, every bite is filled with sunshine-bright flavor and melt-in-your-mouth texture.
Helpful Tips for the Perfect Lemon Cake:
Don’t skip the lemon zest
The zest is what gives this cake its deep, citrusy flavor. It adds natural oils and aroma that you just can’t get from juice alone.
Use room temperature eggs
If you have time, let your eggs sit out for 20-30 minutes before baking. They’ll blend better into the batter and help the cake rise evenly.
Check for doneness early
Every oven bakes a little differently, so start checking your cake around the 40-minute mark. A toothpick should come out clean from the center.
Add a second layer of glaze for extra punch
If you want an extra-lemony finish, reserve a bit of the glaze and drizzle more on once the cake has fully cooled.
Fun Variations to Try:
This cake is perfect just the way it is, but if you’re feeling adventurous or want to switch it up for different occasions, here are a few easy ideas:
-
Blueberry Lemon Cake: Gently fold 1 cup of fresh blueberries into the batter before baking. They add a juicy burst of flavor and pair beautifully with lemon.
-
Lemon Poppy Seed Cake: Stir in 1 tablespoon of poppy seeds to give the cake a bit of crunch and classic flavor.
-
Double Citrus Glaze: Swap out half the lemon juice in the glaze with orange juice for a bright citrus blend.
-
Mini Loaves or Cupcakes: This batter works great in mini loaf pans or cupcake tins—just adjust the baking time accordingly.
Lemon Cake FAQ and Final Thoughts:
By now, your lemon cake is glazed, cooled, and ready to slice—and if you’re anything like me, you’re already eyeing that first bite. This cake has a way of stealing the show no matter when or where you serve it. But before we wrap things up, let’s go over some of the most common questions readers ask about this recipe. From substitutions to storage tips, here’s everything you need to know to make this cake again and again with confidence.
1. Can I make this lemon cake in advance?
Yes! This cake actually gets better the next day as the glaze continues to soak in. You can make it up to 1-2 days in advance and store it covered at room temperature or in the refrigerator.
2. Do I have to use a bundt pan?
Not at all. A loaf pan or even a 9×13-inch cake pan will work just fine. Keep in mind that baking times may vary slightly depending on the size and shape of your pan, so start checking around the 40-minute mark.
3. Can I freeze this cake?
Yes, this lemon cake freezes beautifully. Wrap it tightly in plastic wrap and foil once completely cooled, then store it in the freezer for up to 2 months. Thaw overnight in the refrigerator and bring to room temperature before serving.
4. Is there a substitute for lemon extract?
If you don’t have lemon extract, you can substitute with additional lemon zest or a small amount of fresh lemon juice. However, lemon extract does give a concentrated flavor that enhances the cake, so use it if you can.
5. How should I store leftovers?
Store leftover cake in an airtight container at room temperature for up to 3 days. If your kitchen is warm or humid, storing it in the fridge will help preserve its texture and freshness.
6. Can I make this cake gluten-free?
Yes, just use a 1:1 gluten-free all-purpose flour blend in place of regular flour if you’re modifying the base from scratch. However, since this recipe uses a boxed cake mix, you’ll need to start with a gluten-free yellow cake mix and make sure your pudding mix is gluten-free as well.
7. Can I reduce the sugar in the glaze?
You can reduce the powdered sugar slightly, but keep in mind that it will change the consistency and flavor of the glaze. You want enough sugar to balance the tartness of the lemon juice and create that nice smooth finish.
Conclusion: A Bright, Beautiful Cake You’ll Want to Make Again
If you’re looking for a quick and crowd-pleasing dessert that’s packed with bright citrus flavor and incredibly easy to throw together, this Best Ever Lemon Cake is exactly what you need. It’s proof that you don’t need a complicated ingredient list or hours in the kitchen to create something that feels homemade, tastes incredible, and looks like it came from your favorite bakery.
The combination of the soft, moist cake with that tangy lemon glaze is pure perfection—and it’s versatile enough for holidays, brunches, potlucks, or just a midweek treat. Plus, it’s a great starting point for experimenting with other citrus flavors or add-ins like berries, poppy seeds, or even a cream cheese drizzle.
So go ahead—give it a try, share it with friends and family, and don’t be surprised if it disappears within minutes. And if you put your own spin on it, I’d love to hear about it! Drop a comment and let me know how it turned out or what variation you tried.
Happy baking, and enjoy every bite of this zesty delight!
Print
Best Ever Lemon Cake To Die For – Ina Garten’s Ultimate Recipe
- Total Time: 55 min
Description
This ultra-moist, vibrant lemon cake is bursting with citrus flavor, thanks to a rich lemon pudding mix and a tangy-sweet glaze. It’s quick to prepare with a boxed mix but tastes completely homemade—perfect for brunch, potlucks, or just a sweet treat.
Ingredients
For the cake:
• 1 box yellow cake mix
• 1 package (3.4 oz) instant lemon pudding mix
• ¾ cup vegetable oil
• ¾ cup water
• 4 large eggs
• 1 tsp lemon extract
For the glaze:
• 2 cups powdered sugar
• ¼ cup freshly squeezed lemon juice
• 1 tbsp lemon zest
Instructions
1️⃣ Preheat your oven to 350°F (175°C). Grease and flour a bundt or loaf pan.
2️⃣ In a large bowl, combine the yellow cake mix, lemon pudding mix, vegetable oil, water, eggs, and lemon extract. Beat for 2–3 minutes until smooth and well combined.
3️⃣ Pour the batter into the prepared pan and smooth the top.
4️⃣ Bake for 45–50 minutes, or until a toothpick inserted in the center comes out clean.
5️⃣ While the cake is baking, whisk together the powdered sugar, lemon juice, and lemon zest in a bowl to make the glaze.
6️⃣ Let the cake cool in the pan for 10 minutes, then turn it out onto a wire rack.
7️⃣ While the cake is still warm, drizzle the glaze evenly over the top, allowing it to soak in.
8️⃣ Let the cake cool completely before slicing and serving.
Notes
-
Moist & Fluffy: The instant lemon pudding mix adds extra moisture and a rich lemon flavor.
-
Bright Citrus Flavor: Fresh lemon juice and zest in the glaze give the cake a zesty kick.
-
Time Saver: Starts with a boxed cake mix—perfect for when you need a quick, impressive dessert.
-
Best Served Cool: Let the glaze fully set before slicing for cleaner cuts and better flavor.
-
Versatile: Can be made in a bundt pan, loaf pan, or even as cupcakes—just adjust baking time accordingly.
- Prep Time: 10 min
- Cook Time: 45 min


