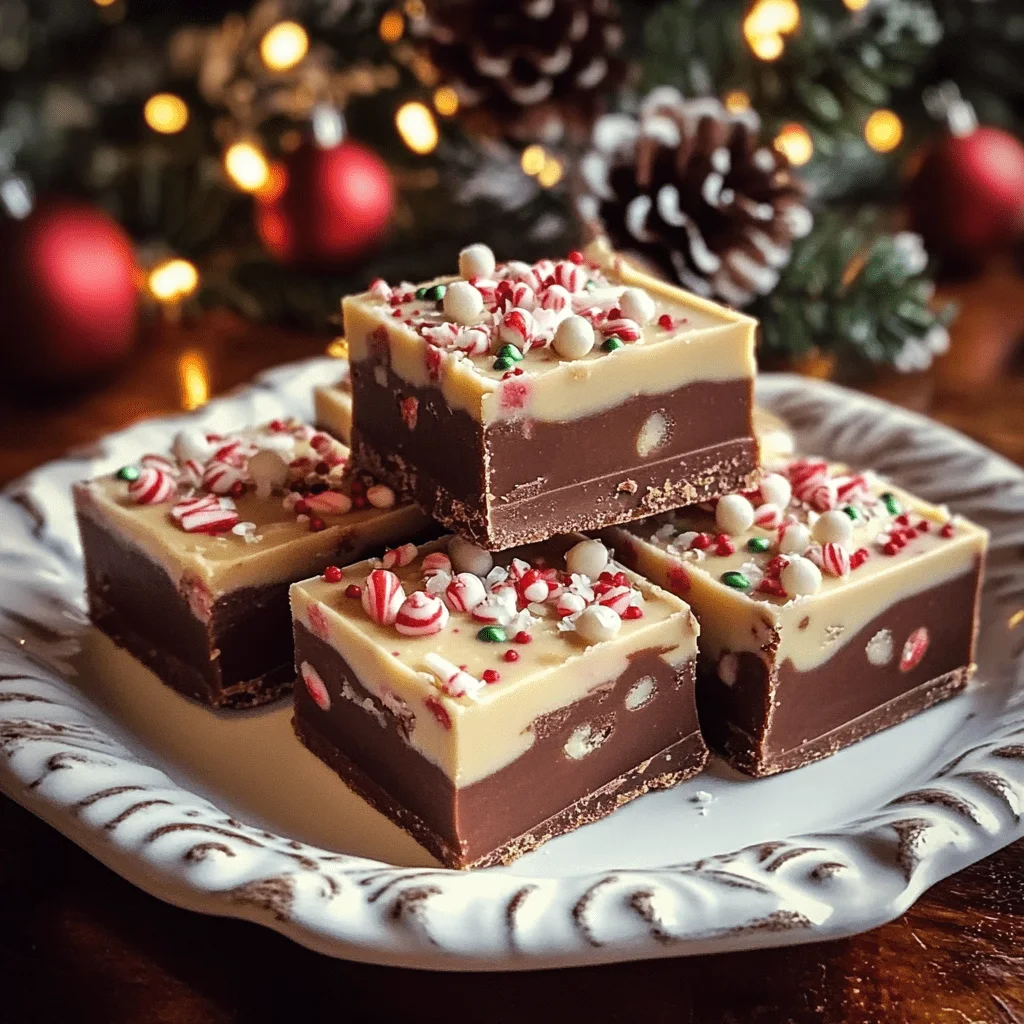
Christmas fudge is a beloved holiday treat that brings festive flavors and bright colors to seasonal celebrations. This easy-to-make dessert combines rich, creamy textures with vibrant holiday colors, making it a fun addition to any winter gathering. From its smooth, melt-in-your-mouth consistency to the holiday-inspired colors and sprinkles, Christmas fudge is a delicious way to capture the magic of the season.
Why Christmas Fudge is a Perfect Holiday Treat
Christmas fudge has become a holiday staple for several reasons. First, it’s incredibly easy to prepare, requiring just a few ingredients and minimal time in the kitchen. Additionally, its festive appearance—often swirled with red and green food coloring—makes it visually appealing and perfect for gifting. Its creamy sweetness is also a favorite for all ages, and since you can easily customize it with flavors or toppings, this fudge recipe is versatile enough to suit any preference. Whether you’re hosting a holiday party or crafting a homemade gift for friends, Christmas fudge is sure to be a crowd-pleaser. (100 words)
Overview of Ingredients and Variations
To make classic Christmas fudge, you’ll need just a handful of ingredients: white chocolate, sweetened condensed milk, vanilla extract, and food coloring for the signature red, green, and white layers. The richness of white chocolate pairs perfectly with condensed milk, giving the fudge a smooth, creamy texture. For those interested in variations, different types of chocolate—such as milk or dark chocolate—can be used instead of white chocolate to create different flavors. You could also explore using alternative flavorings like peppermint or almond extract to customize the taste. For a festive touch, consider adding holiday-themed sprinkles or even crushed peppermint candies to the top.
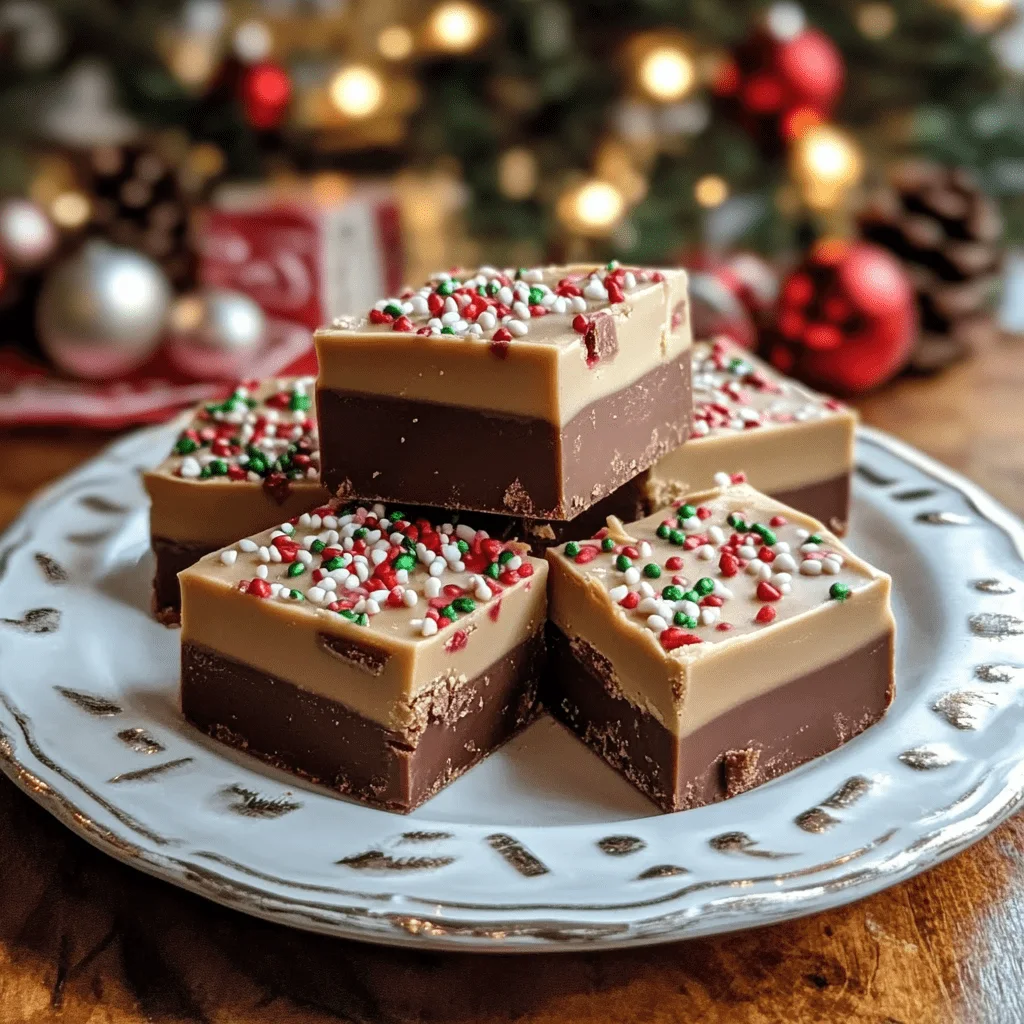
Step-by-Step Guide to Making Christmas Fudge
Preparation and Ingredients Overview
To create the perfect batch of Christmas fudge, begin by gathering the essential ingredients: white chocolate chips, sweetened condensed milk, vanilla extract, food coloring, and holiday-themed sprinkles. Each ingredient plays a specific role in achieving the desired texture, taste, and appearance. White chocolate provides a rich, creamy base that blends well with the condensed milk, which contributes both sweetness and a smooth consistency. Vanilla extract adds a hint of flavor that complements the chocolate without overwhelming it. The food coloring, in traditional red and green, brings a festive touch to the fudge, while sprinkles add a final layer of holiday cheer.
Step 1: Preparing the Pan
Properly preparing the baking dish is crucial for easy fudge removal. Line an 8×8-inch pan with parchment paper, ensuring there’s extra paper hanging over the edges to create handles for lifting the fudge once it’s set. This step is especially important for achieving clean cuts and preventing the fudge from sticking. The use of parchment paper also provides a non-stick surface, which makes it easier to remove the fudge in one solid piece. You can find more tips on working with parchment paper in this Parchment Paper guide on Wikipedia.
Step 2: Melting the Chocolate and Mixing Ingredients
The next step involves melting the white chocolate chips with the sweetened condensed milk in a medium saucepan over low heat. Stir continuously to ensure that the chocolate melts evenly and doesn’t burn. The key to smooth, creamy fudge lies in maintaining a low temperature throughout this process, as overheating can lead to a grainy texture. As the mixture melts, it transforms into a velvety, cohesive base for the fudge. Once the chocolate is fully melted, remove the saucepan from the heat and stir in the vanilla extract for added depth of flavor. For more on how condensed milk contributes to a creamy texture, explore this Condensed Milk guide on Wikipedia.
Step 3: Adding Flavor – Vanilla Extract
Adding vanilla extract at this stage enhances the fudge’s overall flavor, lending a warm, aromatic note that pairs beautifully with the sweetness of white chocolate. For those who enjoy experimenting, alternative flavorings like peppermint or almond extract can be used to create a unique holiday twist. Vanilla remains the most popular choice, as its delicate taste complements the fudge without overpowering it. To maintain the fudge’s creamy texture, add the vanilla after removing the pan from heat, allowing the extract to blend smoothly without being subjected to excessive heat.
Step 4: Coloring the Fudge
Dividing the melted fudge mixture into three separate bowls provides the base for creating the classic red, green, and white layers. Use red and green food coloring in two of the bowls, leaving the third bowl plain for the white layer. Add a few drops of food coloring at a time, stirring until you reach the desired shade. For a brighter look, consider using gel food coloring, which provides intense color without affecting the fudge’s texture. This colorful layering is part of what makes Christmas fudge visually appealing and festive, capturing the spirit of the holiday season. Learn more about the role of food coloring in culinary presentation with this Food Coloring guide on Wikipedia.
Step 5: Layering and Marbling for a Festive Effect
Begin by pouring the red fudge mixture into the prepared pan, spreading it evenly to form the first layer. Follow with the plain white layer, and finally, the green layer on top. For a festive marbled effect, gently swirl the colors together with a knife, creating an eye-catching pattern. This marbling technique is both simple and visually effective, adding a creative touch to the dessert. The red, white, and green colors symbolize the holiday spirit, making this fudge not only tasty but also beautiful. For more festive treat ideas, check out Festive Treats on Pinterest.
Step 6: Adding Sprinkles for Extra Festivity
Holiday-themed sprinkles add a fun, textured finish to Christmas fudge, enhancing its visual appeal. Sprinkle them on while the fudge is still warm so they adhere well, giving a charming pop of color that complements the red, green, and white layers. You can choose from various festive shapes and colors, such as snowflakes, stars, or traditional round sprinkles. For those who prefer a crunchy texture, crushed peppermint or mini candy cane pieces can be added as well. These sprinkles transform the fudge into a holiday masterpiece, perfect for gifting or adding to dessert platters. (100 words)
Step 7: Chilling and Setting the Fudge
Once the fudge is layered and decorated, transfer it to the refrigerator for at least two hours to allow it to set firmly. Chilling helps the fudge reach the right consistency, making it easier to cut into clean, uniform squares once it’s ready. If you’re in a hurry, placing it in the freezer for a shorter time can also work, though the texture may differ slightly. When ready to serve, lift the fudge out of the pan using the parchment paper and slice into small squares. This step ensures a smooth, creamy texture that holds up well on serving trays.
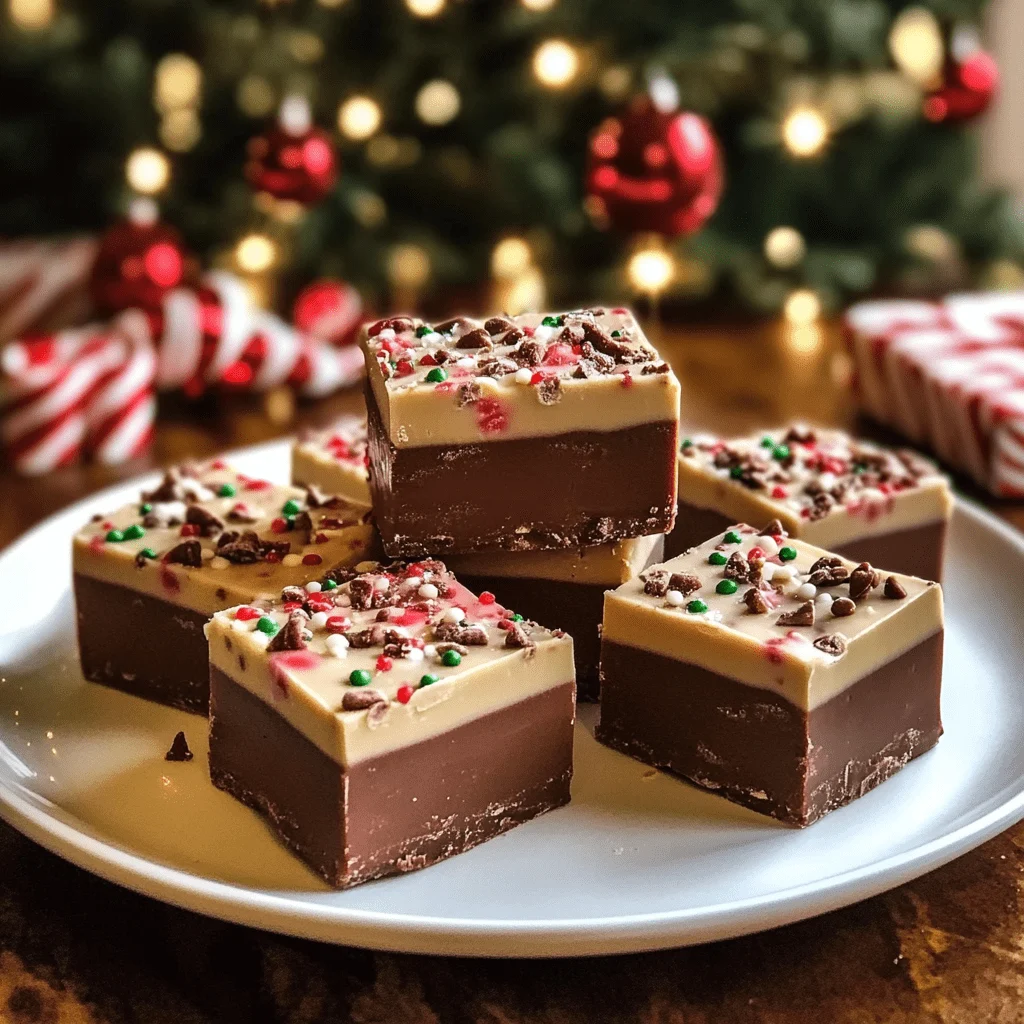
Tips for Perfect Christmas Fudge and Common Mistakes to Avoid
Tips for Success
Achieving the perfect Christmas fudge requires attention to detail, but a few simple tips can make all the difference. Here are some tried-and-true tricks for great results:
- Use quality ingredients: Opt for high-quality white chocolate chips for the best texture and flavor. Inferior chocolate may not melt as smoothly, affecting the fudge’s creaminess.
- Maintain low heat: Melting the chocolate slowly over low heat prevents burning and helps achieve a smooth consistency.
- Chill completely: Ensure the fudge is fully chilled before slicing; this gives it time to set properly and allows for cleaner cuts.
With these tips, your fudge will have the perfect festive look and melt-in-your-mouth texture every time. For more baking tips, check out this guide on Pinterest.
Common Mistakes to Avoid
Even simple recipes like fudge can go awry if certain steps aren’t followed carefully. Here are a few common mistakes to avoid:
- Overheating the chocolate: This can cause the chocolate to separate or develop a grainy texture. Always melt it slowly over low heat.
- Overmixing food colors: Mixing the colors too vigorously can result in a muddy appearance. Gently fold the colors to maintain vibrant red, green, and white layers.
- Skipping parchment paper: Removing the fudge from the pan without parchment can be challenging and lead to messy results. Parchment ensures clean, easy removal.
Avoiding these pitfalls will help you achieve a perfect, festive fudge that looks as good as it tastes.
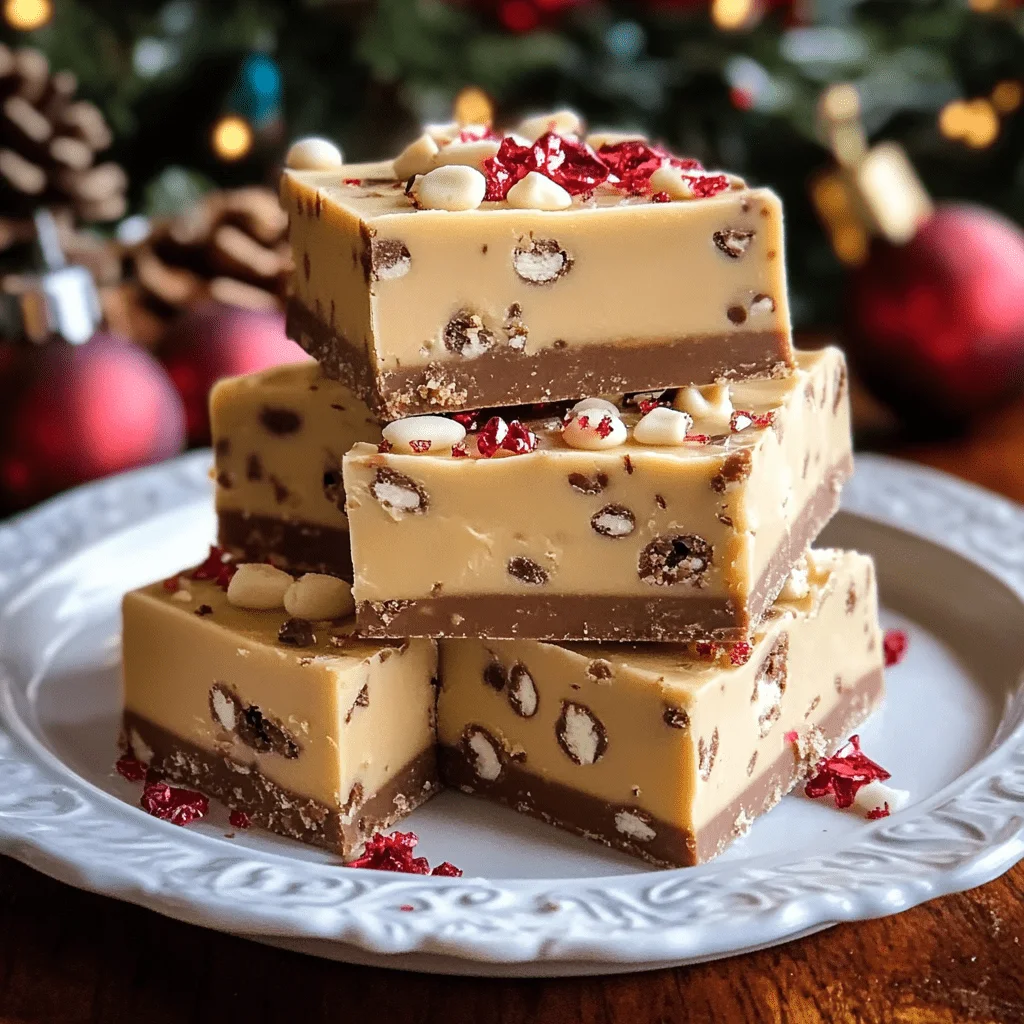
FAQs
How long does Christmas fudge last?
When stored in an airtight container, Christmas fudge can last for up to two weeks at room temperature or even longer if refrigerated. This makes it an ideal choice for make-ahead holiday treats and gifts, as its shelf life allows it to stay fresh throughout the season.
Can I use other types of chocolate?
Absolutely! While this recipe uses white chocolate chips for a festive, snowy look, you can substitute milk or dark chocolate if you prefer a richer flavor. Adjustments may be necessary in the layering and marbling process, but the texture will remain smooth and creamy.
Can I make Christmas fudge dairy-free?
Yes, you can make dairy-free fudge by using dairy-free chocolate and sweetened condensed coconut milk. These substitutes work well for those with lactose intolerance or vegan diets, allowing everyone to enjoy the festive treat.
How should I store Christmas fudge?
Store fudge in an airtight container to maintain freshness. Keep it in a cool, dry place, or refrigerate it for extended storage. For longer preservation, consider freezing fudge; just thaw it in the fridge before serving to maintain its texture.
How can I prevent fudge from getting too hard?
If your fudge is turning out too firm, it may be due to overcooking the chocolate or keeping it chilled for too long. Using high-quality ingredients and following the recommended cooking time and chilling duration will help ensure a soft, creamy consistency.
Conclusion
With its festive colors, creamy texture, and customizable flavors, Christmas fudge is an ideal treat for celebrating the holiday season. This easy recipe brings together traditional ingredients and holiday-inspired touches, making it a perfect choice for gifting, entertaining, or simply enjoying with loved ones. Embrace the holiday spirit and delight friends and family with homemade Christmas fudge this season!
Print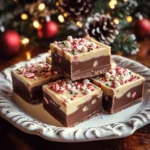
Christmas Fudge
- Author: Kouider Walid Bentahar
- Total Time: 2 hours 10 minutes
- Yield: 24 pieces 1x
Description
This Christmas fudge recipe combines the creamy richness of white chocolate with festive red and green swirls, making it the perfect holiday treat. The simple ingredients and easy steps make it ideal for both beginner and seasoned bakers.
Ingredients
3 cups white chocolate chips
1 (14-ounce) can sweetened condensed milk
1/2 teaspoon vanilla extract
Red and green food coloring
1/4 cup holiday sprinkles (optional, for decoration)
Instructions
Prepare the Pan: Line an 8×8-inch baking dish with parchment paper, leaving extra paper hanging over the sides for easy removal.
Melt the Chocolate: In a medium saucepan, combine the white chocolate chips and sweetened condensed milk. Stir over low heat until the chocolate is completely melted and the mixture is smooth. Remove from heat and stir in the vanilla extract.
Color the Fudge: Divide the melted mixture evenly into three bowls. Tint one bowl with red food coloring and another with green food coloring, leaving the third bowl plain.
Layer the Fudge: Pour the red fudge mixture into the prepared pan, spreading it evenly. Next, layer the plain fudge on top of the red, followed by the green fudge. Gently swirl the layers together using a knife for a marbled effect.
Add Sprinkles: If using, sprinkle holiday-themed sprinkles on top while the fudge is still warm.
Chill: Refrigerate for at least 2 hours, or until the fudge is firm. Once set, lift the fudge out of the pan using the parchment paper and cut it into small squares.
Notes
- Chocolate Quality: For the best texture and flavor, use high-quality white chocolate chips. Lower-quality chocolate can affect the fudge’s creaminess and smoothness.
- Food Coloring Tips: Gel food coloring is recommended for vibrant colors without altering the fudge’s texture. Add small amounts at a time to control the shade.
- Chilling Time: Make sure the fudge chills for at least 2 hours to fully set. If needed, you can refrigerate it overnight.
- Storage Suggestions: Store fudge in an airtight container at room temperature for up to two weeks or in the fridge for longer freshness. You can also freeze fudge for up to three months—just thaw in the fridge before serving to maintain its texture.
- Dietary Variations: For a dairy-free option, substitute with dairy-free white chocolate chips and sweetened condensed coconut milk. This adaptation still provides the rich, creamy texture that fudge lovers enjoy.
- Prep Time: 10 minutes
- Cook Time: 2 hours
- Category: Dessert
- Cuisine: American
Nutrition
- Calories: 320 kcal per serving


