Ingredients You’ll Need:
- 2 cups all-purpose flour
- 1 tablespoon baking powder
- ½ teaspoon salt
- 1 tablespoon sugar (optional, for slight sweetness)
- ¾ cup warm water
- 2 tablespoons olive oil or melted butter
STEP 1: Preheat the Oven
Start by preheating your oven to 425°F (220°C). This high heat helps the bread develop a golden crust while keeping the inside soft and tender. Line a baking sheet with parchment paper or lightly grease it with oil or non-stick spray. This keeps the loaf from sticking and makes cleanup easier.STEP 2: Mix the Dry Ingredients
In a large mixing bowl, whisk together the flour, baking powder, salt, and sugar (if using). The sugar is optional—it adds just a hint of sweetness to balance the flavor, but the bread turns out great without it, too. Mix well to ensure the baking powder is evenly distributed. This will help your bread rise evenly and give it a nice, soft crumb.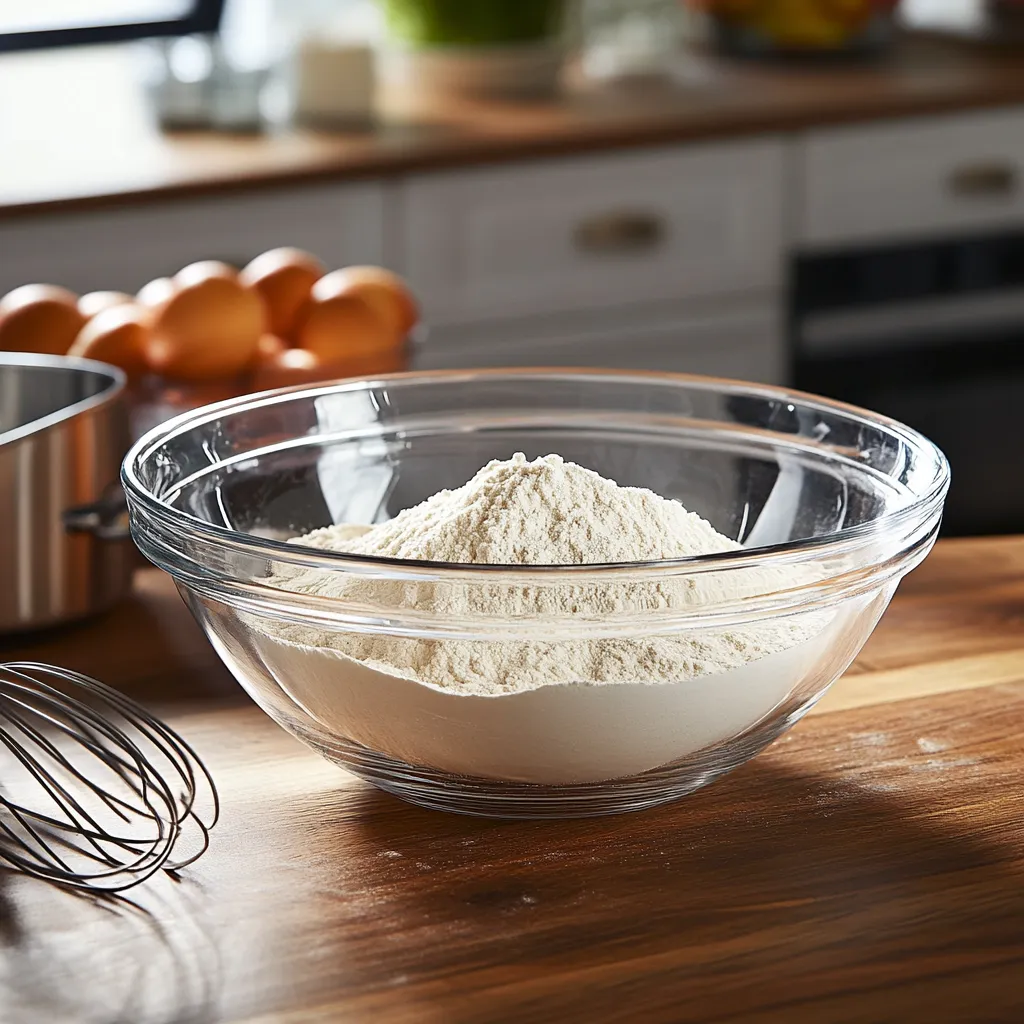
STEP 3: Add the Wet Ingredients
Next, add the warm water and olive oil (or melted butter) to the dry ingredients. Stir everything together with a wooden spoon or rubber spatula until a soft dough forms. It will come together quickly, and you don’t need to knead it much—just enough to bring it into a ball. If the dough feels too sticky, you can sprinkle in a little more flour. If it feels too dry or crumbly, add a splash of water, one teaspoon at a time.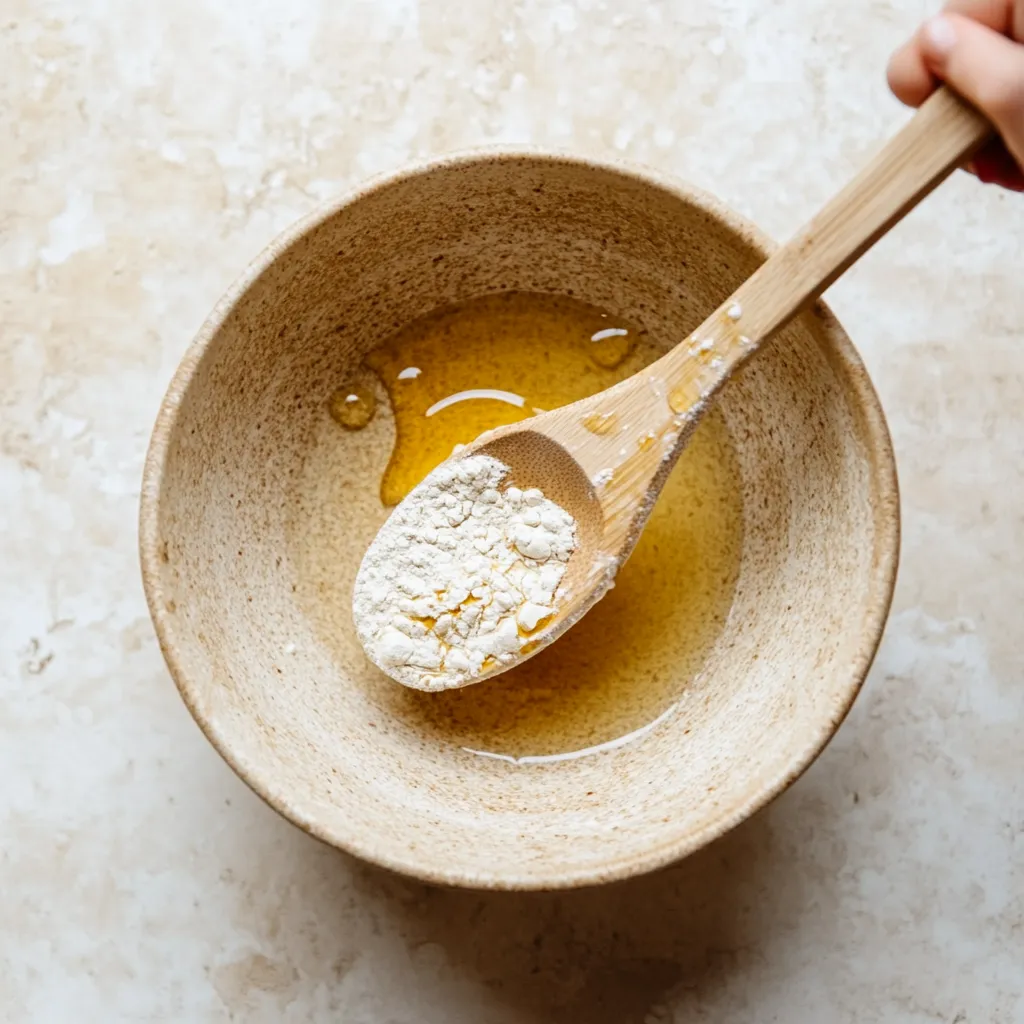
STEP 4: Knead Lightly
Transfer the dough to a lightly floured surface and knead it gently for about 1 to 2 minutes. You’re not looking for a super smooth dough like with traditional yeast bread—just knead it enough to make it cohesive and shapeable. Be careful not to overwork the dough. Over-kneading can make the bread dense or tough, and this recipe is meant to be soft and quick.STEP 5: Shape the Loaf
Form the dough into a round or oval loaf, depending on your preference, and place it on the prepared baking sheet. You can also make smaller rolls if you’d prefer—just reduce the baking time slightly. At this point, you’re almost ready to bake. But before we pop it in the oven, there are a couple of optional finishing touches to make it even better.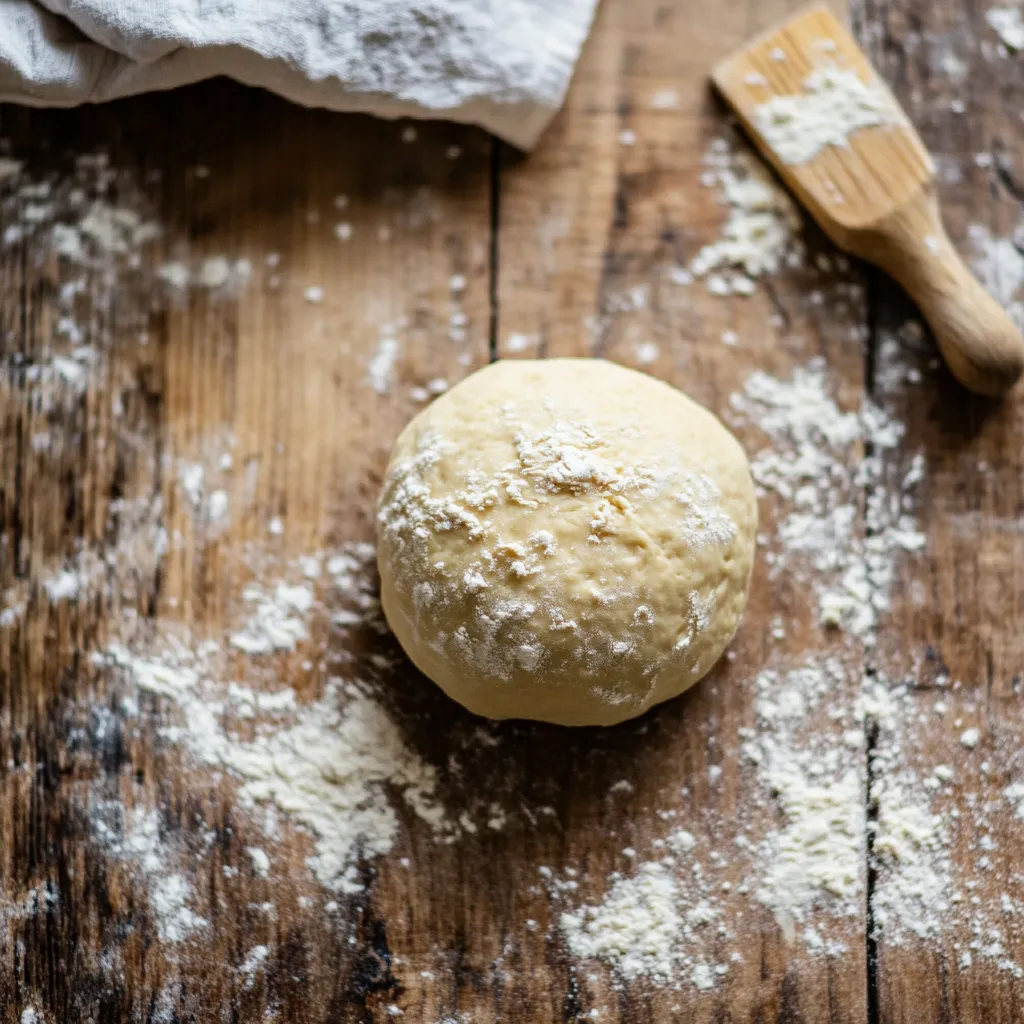
How to Bake and Customize This Easy Homemade Bread
You’ve got your dough shaped and ready—now it’s time to take it across the finish line. In this part, we’ll go over the final steps before baking, how to ensure that beautiful golden crust, and a few optional touches to give your bread a little extra personality. This is the kind of bread you can whip up on a whim, but it still delivers that cozy, fresh-baked flavor we all crave.STEP 6: Score the Top
Before placing your dough in the oven, use a sharp knife to score the top of the loaf. A single deep slash down the middle or a criss-cross pattern both work well. Scoring helps the bread rise evenly and creates a more rustic, finished look once it’s baked. Optional tip: For an extra golden crust, brush the top of the dough lightly with olive oil, melted butter, or milk. This step isn’t required, but it gives your bread a beautiful sheen and helps it develop a soft yet slightly crisp exterior.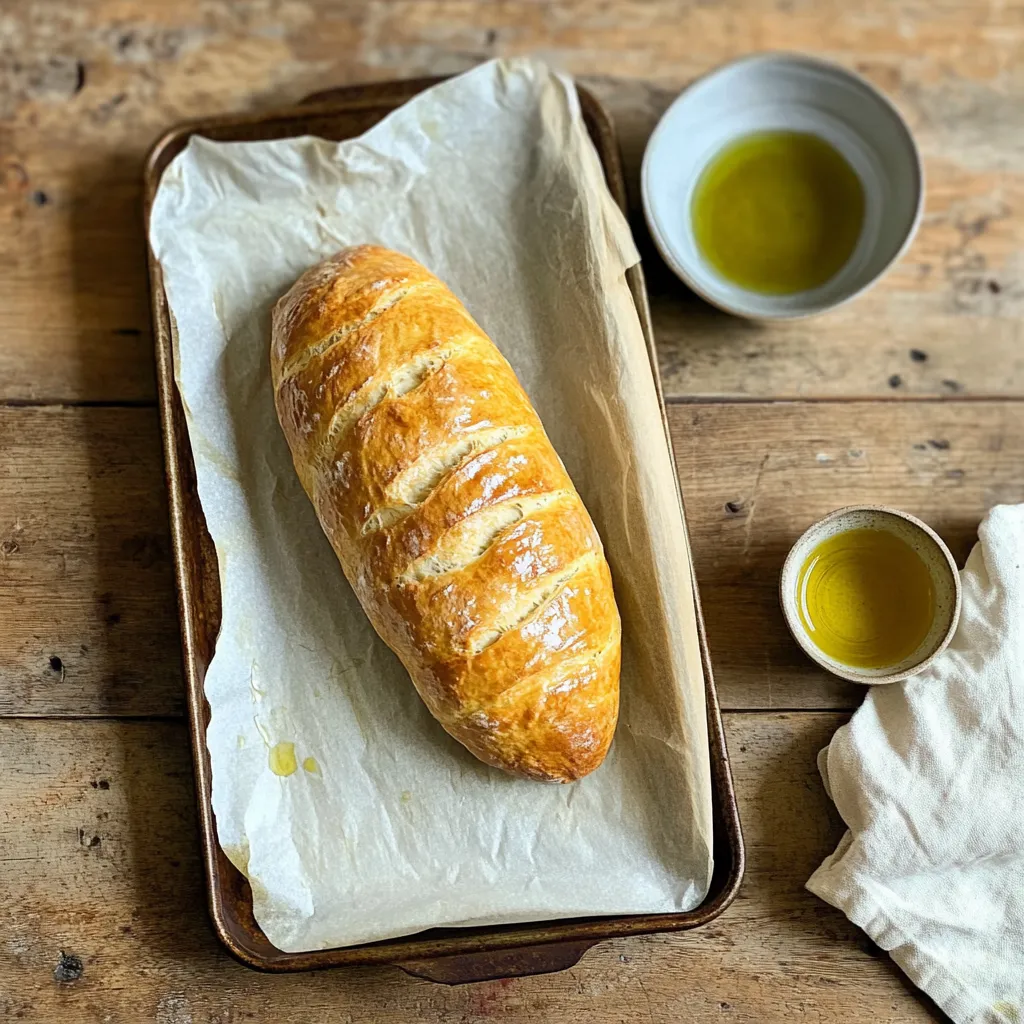
STEP 7: Bake the Bread
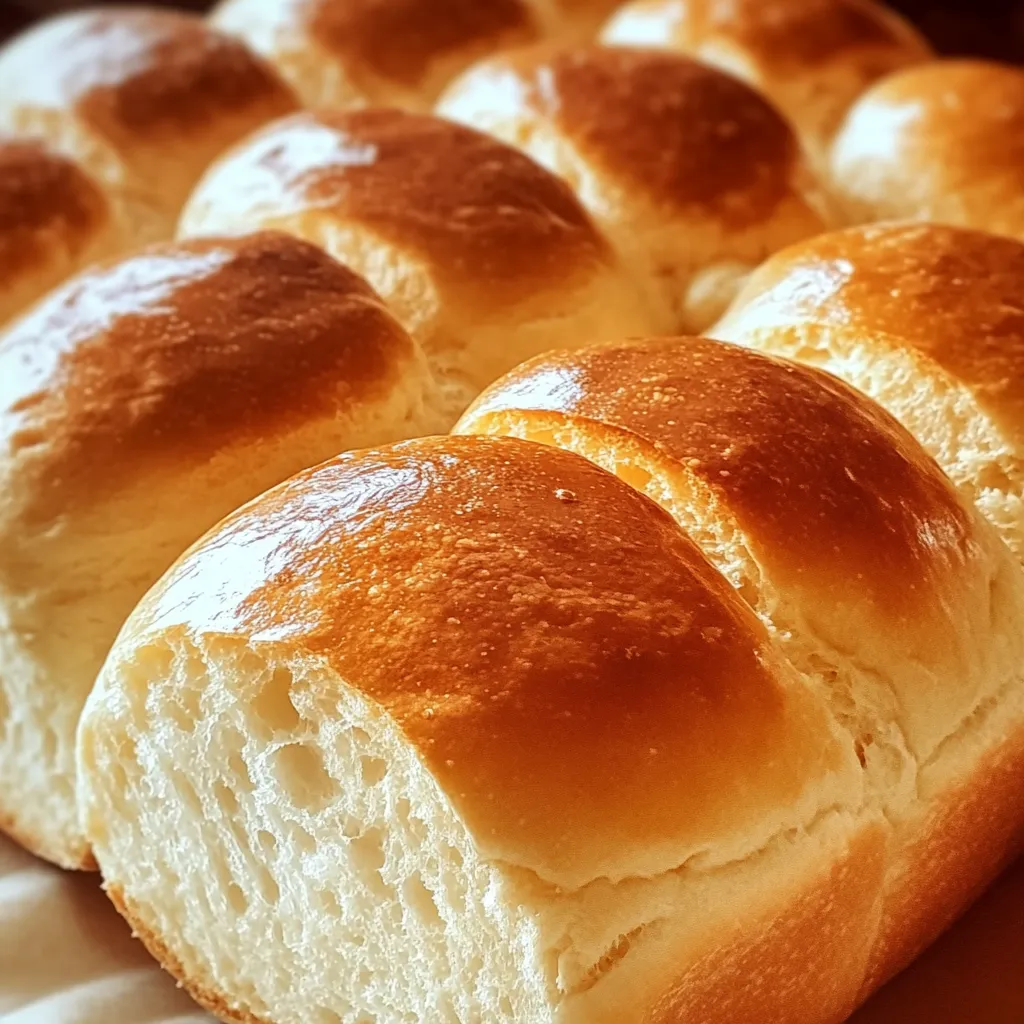
Place the loaf in your preheated oven and bake for 15 to 18 minutes, or until the top is golden brown and the loaf sounds hollow when tapped. Baking times may vary slightly depending on your oven, so start checking around the 15-minute mark. If you’re unsure whether it’s fully baked, you can insert a food thermometer into the center—the internal temperature should be around 190–200°F (88–93°C). Your kitchen will smell amazing while this bakes—nothing beats that warm, toasty aroma of fresh bread, especially when you know it only took a few minutes to prepare.
STEP 8: Cool Before Slicing
Once your bread is out of the oven, transfer it to a wire rack and let it cool for 5 to 10 minutes before slicing. This brief resting time helps the crumb set so the bread doesn’t get gummy when you cut into it. If you’re serving it warm, go ahead and slice while it’s still slightly steamy inside. A pat of butter or a drizzle of honey takes it over the top. It’s also fantastic with jam, nut butter, or even dipped into soup or olive oil.Helpful Tips for the Perfect Quick Bread:
1. Don’t Skip the Scoring
Even for a quick bread, scoring helps direct the rise and gives the loaf a better shape and appearance.2. Adjust Flour as Needed
Depending on your climate or brand of flour, you may need to adjust slightly. The dough should be soft but not overly sticky. Add a tablespoon of flour or a splash of water to get the right consistency.3. Serve Fresh
This bread is best eaten the same day. If you have leftovers, store them in an airtight container or wrap them in foil to keep them soft for another day.4. Add Mix-Ins for Variety
This recipe is a great blank canvas. Add shredded cheese, garlic, herbs, or even a sprinkle of seeds on top before baking to switch things up.Fun Variations to Try:
Once you’ve tried this base recipe, it’s easy to customize. Here are a few tasty ways to change it up:1. Cheddar Herb Bread
Add ½ cup shredded cheddar cheese and 1 teaspoon dried herbs (like rosemary or thyme) to the dough before baking.2. Sweet Cinnamon Swirl
Mix 1 tablespoon brown sugar and ½ teaspoon cinnamon into the dough, or swirl it in before shaping. Brush with butter and sprinkle with sugar before baking.3. Rustic Garlic Bread
Add 1–2 cloves of minced garlic and a pinch of dried oregano or basil to the dough. Brush the top with garlic-infused oil before baking.4. Seeded Topping
Sprinkle sesame seeds, poppy seeds, or sunflower seeds on top after brushing with oil or milk for a crunchier crust and more visual appeal.Finishing Touches and Creative Twists for Your Easy Homemade Bread:
Now that your golden loaf is out of the oven and cooling on the rack, let’s talk about how to get the most out of this easy, everyday bread recipe. Whether you want to add more flavor, serve it in new ways, or adapt it to your preferences, there are so many ways to build on this simple base. The beauty of this recipe is that it’s reliable and incredibly flexible. You can dress it up with herbs and spices, go sweet with a swirl of cinnamon, or even shape it into rolls or flatbreads. Once you’ve made it a few times, you’ll start coming up with your own creative twists.Helpful Tips for the Best Results:
1. Don’t Overwork the Dough
This is a quick bread, so it doesn’t need long kneading. A gentle 1–2 minute knead is all you need to bring the dough together and keep the texture soft.2. Check Your Oven Temperature
Oven temps can vary, and baking at too high or too low a heat can affect the final texture. Use an oven thermometer if possible to make sure it’s really at 425°F (220°C).3. Let It Cool Slightly Before Slicing
It’s tempting to slice into warm bread right away, but giving it 5–10 minutes to cool helps prevent a gummy texture inside. The loaf will firm up just enough while still being warm and delicious.4. Make It Ahead
This bread is best fresh, but you can make the dough a few hours in advance. Cover and refrigerate it, then shape and bake when ready. Let it sit at room temperature for about 10 minutes before baking.5. Store It Right
If you have leftovers, wrap the bread in foil or place it in an airtight container once completely cooled. It will stay soft for about a day at room temperature. For longer storage, freeze it and reheat as needed.Fun Variations to Try:
Want to mix things up? Here are a few creative ways to customize your quick bread:1. Cheese and Herb Bread
Add ½ cup shredded cheese (cheddar, mozzarella, or parmesan) and 1 teaspoon of dried herbs like oregano or rosemary to the dough. Perfect for serving with soup or pasta.2. Sweet Breakfast Loaf
Mix in 1 tablespoon of honey or maple syrup and a handful of raisins or dried cranberries for a sweeter loaf. Add a cinnamon-sugar topping for extra flavor.3. Garlic Butter Bread
Add 1 minced garlic clove to the dough and brush the top with melted garlic butter before and after baking. A great side for dinner or dipping in olive oil.4. Mini Rolls or Sliders
Divide the dough into 4–6 equal portions and shape into rolls instead of one large loaf. Bake for 12–14 minutes. Great for sandwiches or serving as dinner rolls.5. Flatbread Style
Press the dough flat into an oval or rectangle and bake it thinner for a quick flatbread. Top with herbs, olive oil, or even tomato slices for a rustic feel. With a little creativity, this 20-minute bread can become your go-to recipe for any meal. Whether you’re keeping it simple or dressing it up, it’s always warm, comforting, and made from scratch in no time.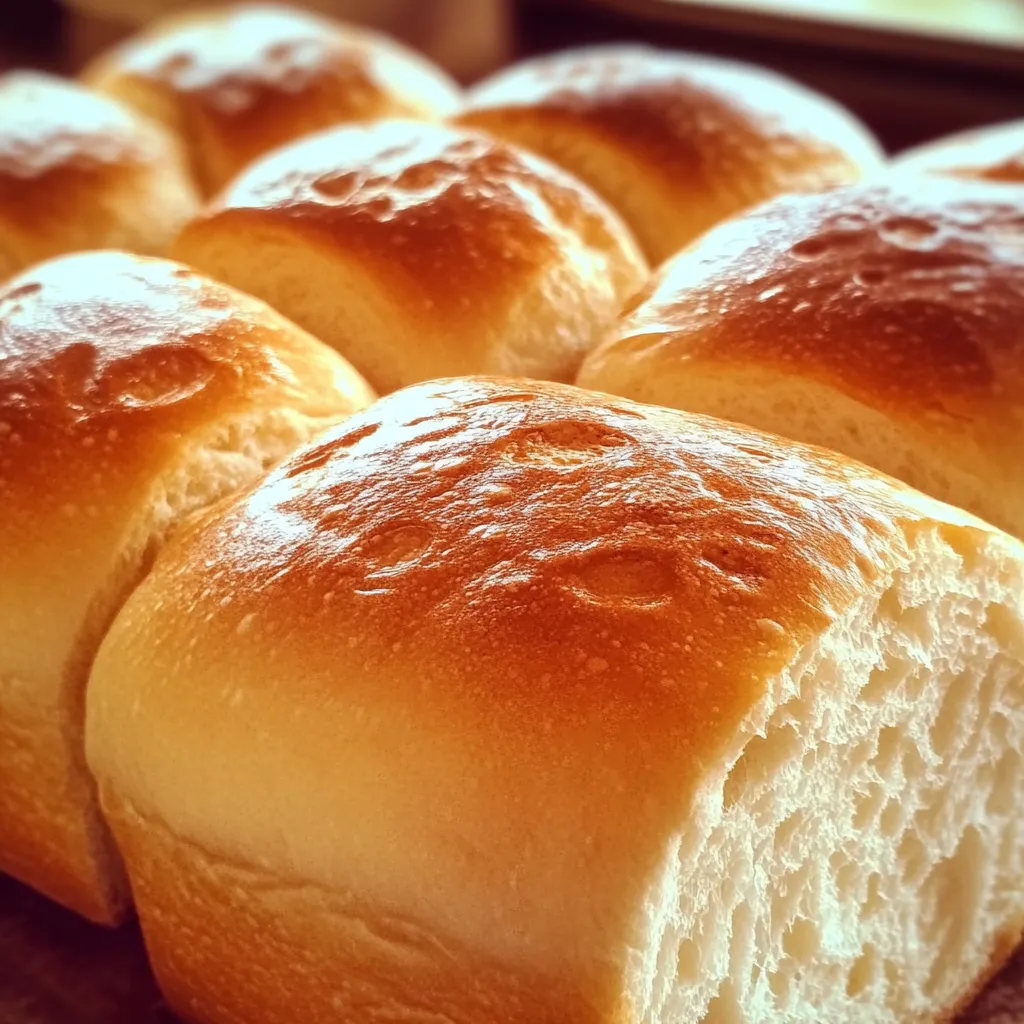
Quick Bread FAQ and Final Thoughts:
You’ve seen just how easy and versatile this Easy Homemade Bread recipe can be—from the soft, tender crumb to the crisp golden crust, all made in under 20 minutes. But before you tie on your apron again for another round, let’s wrap up with answers to some of the most common questions about this quick bread. Whether you’re wondering how to adapt it, store it, or tweak it for dietary needs, these tips will help you make the most of this simple recipe.1. Can I make this bread gluten-free?
Yes! You can substitute a 1:1 gluten-free all-purpose flour blend in place of regular flour. Make sure the blend includes xanthan gum or another binder for best texture.2. Can I double the recipe?
Absolutely. Just double all ingredients and either bake a larger loaf or divide the dough into two smaller ones. Adjust baking time slightly if making a thicker loaf—add 2–3 more minutes and check for doneness.3. What if I don’t have baking powder?
Baking powder is essential for rise in this no-yeast bread. If you’re out, you can make a quick substitute: mix 1 teaspoon baking soda with 2 teaspoons lemon juice or vinegar for each tablespoon of baking powder needed.4. Can I bake this in a loaf pan instead of on a baking sheet?
Yes, you can bake it in a small loaf pan. Just keep in mind the loaf will be a little taller and may take a couple of extra minutes to bake. Check that it’s golden on top and sounds hollow when tapped.5. Can I add mix-ins like seeds, cheese, or dried fruit?
Definitely. This dough works well with up to ½ cup of mix-ins—think shredded cheese, sunflower seeds, raisins, or chopped herbs. Stir them into the dough just before shaping.6. How should I store leftovers?
Let the bread cool completely, then store it in an airtight container or wrap it in foil. It will keep for 1–2 days at room temperature. For longer storage, freeze for up to one month and reheat in the oven or toaster.7. Can I use milk instead of water?
Yes. Substituting warm milk for water gives the bread a slightly richer flavor and softer crumb. It’s especially nice in sweet or breakfast versions of this recipe.Conclusion: Why This 20-Minute Bread Deserves a Spot in Your Recipe Box
This Easy Homemade Bread is one of those rare recipes that delivers big results with minimal effort. No yeast, no proofing, no long wait times—just simple ingredients coming together in a way that makes your kitchen smell incredible and your table feel a little more comforting. Whether you’re baking it to go with soup on a busy weeknight, slicing it warm for breakfast, or customizing it with your favorite flavors, this quick bread is one you’ll come back to over and over again. It’s reliable, flexible, and satisfying in every way. And the best part? It’s ready in about the same time it takes to preheat your oven. If you try it, I’d love to hear how it turned out. Did you go classic, or try one of the fun variations? Drop a comment and share your version—happy baking! Print
Easy Homemade Bread Recipe – Fresh Bread in 20 Minutes
- Total Time: 20-25 min
Description
Need fresh bread fast? This quick, no-yeast loaf comes together in just 20 minutes with simple pantry ingredients—soft inside with a lightly crisp crust, perfect for spreading with butter or jam.
Ingredients
-
2 cups all-purpose flour
-
1 tbsp baking powder
-
½ tsp salt
-
1 tbsp sugar (optional, for slight sweetness)
-
¾ cup warm water
-
2 tbsp olive oil or melted butter
Instructions
1️⃣ Preheat oven: Set your oven to 425°F (220°C). Line a baking sheet with parchment paper or lightly grease it.
2️⃣ Mix dry ingredients: In a large mixing bowl, whisk together flour, baking powder, salt, and sugar (if using).
3️⃣ Add wet ingredients: Pour in the warm water and olive oil (or melted butter). Stir until a shaggy, soft dough forms.
4️⃣ Knead gently: Turn the dough out onto a floured surface. Knead for 1–2 minutes just until smooth. Don’t overwork it.
5️⃣ Shape the loaf: Form the dough into a round or oval loaf and place it on the prepared baking sheet.
6️⃣ Score and brush: Use a sharp knife to score the top for better oven spring. Optional: Brush with oil or milk for a richer crust.
7️⃣ Bake: Bake for 15–18 minutes, or until golden brown and the loaf sounds hollow when tapped on the bottom.
8️⃣ Cool and serve: Cool on a wire rack for 5–10 minutes before slicing. Enjoy it warm with butter, jam, or your favorite spread.
Notes
-
Best enjoyed the same day—great with soups or breakfast spreads.
-
For variation, mix in herbs, shredded cheese, or garlic powder to the dough before baking.
- Prep Time: 5 min
- Cook Time: 15-18 min