

INGREDIENTS YOU’LL NEED:
- 2 cups rolled oats (gluten-free if needed)
- 1 ½ cups water
- 1 teaspoon baking powder
- Pinch of salt (optional)


TIPS FOR SUCCESS:
- Let the bread cool completely before slicing to help it set properly. It will slice more cleanly once fully cooled.
- Store leftovers in an airtight container at room temperature for up to 3 days. You can also refrigerate it to keep it fresh longer.
- Customize the bread by adding cinnamon, raisins, or chopped nuts to the batter for extra flavor and texture.
- Freeze for later: You can freeze slices of bread for up to 2 months. Just wrap them tightly in plastic wrap or foil, and thaw as needed.

FAQS & FINAL THOUGHTS ON FLOURLESS OATMEAL BREAD: A HEALTHY AND EASY RECIPE:
Now that you’ve successfully baked your Flourless Oatmeal Bread, let’s take a moment to address some common questions, tips, and tricks to help you make the most of this healthy and easy recipe. Whether you’re looking for ways to customize it or wondering how to store it properly, this section will help ensure your bread turns out perfect every time. 1. CAN I MAKE THIS RECIPE WITHOUT A BLENDER OR FOOD PROCESSOR? If you don’t have a blender or food processor, you can try using instant oats or quick oats instead of rolled oats. These will require less processing. You can also use a food mill or even a rolling pin to break down the oats into a finer texture, though the result might not be as smooth as with a blender. 2. WHAT CAN I USE INSTEAD OF BAKING POWDER? If you don’t have baking powder on hand, you can use 1/4 teaspoon of baking soda combined with 1/2 teaspoon of vinegar or lemon juice. This combination will give the same leavening effect and help the bread rise slightly. 3. CAN I ADD SWEETENER TO THE BREAD? Yes, you can! If you prefer a sweeter bread, feel free to add 1-2 tablespoons of honey or maple syrup to the wet ingredients. This will give your bread a slightly sweet flavor, perfect for pairing with peanut butter or fruit. 4. CAN I MAKE THIS BREAD GLUTEN-FREE? Yes, you can easily make this bread gluten-free by using gluten-free rolled oats. Be sure to check the label for certification if you’re following a strict gluten-free diet. The recipe is naturally gluten-free as long as you use certified oats. 5. HOW CAN I MAKE THIS BREAD MOISTER? If you’d like a moister bread, you can add a couple of tablespoons of mashed banana or applesauce to the batter. This will add natural sweetness and moisture without affecting the texture too much. You can also try adding a tablespoon of olive oil or coconut oil to enhance the moisture. 6. HOW LONG DOES THIS BREAD KEEP? Once cooled, store the bread in an airtight container at room temperature for up to 3 days. If you want to keep it longer, refrigerate it for up to 1 week. This bread can also be frozen for up to 2 months. Just slice it and wrap it tightly in plastic wrap before freezing. 7. CAN I MAKE MINI LOAVES OR MUFFINS WITH THIS RECIPE? Absolutely! You can divide the batter into mini loaf pans or muffin tins. If using a muffin tin, bake for 18-20 minutes and check for doneness with a toothpick. For mini loaves, bake for around 20-25 minutes, but always check doneness with a toothpick or knife.FINAL THOUGHTS: WHY YOU’LL LOVE THIS FLOURLESS OATMEAL BREAD
This Flourless Oatmeal Bread recipe is one of those simple, wholesome bakes that quickly becomes a favorite in your kitchen. It’s easy to make, packed with healthy oats, and can be customized to fit your taste preferences, whether you like it sweet, savory, or somewhere in between. It’s a great choice for breakfast, a quick snack, or even a base for sandwiches. What makes this recipe even better is how versatile it is—add some nuts, fruit, or a sweetener to make it your own. Plus, it’s a fantastic option for anyone following gluten-free or dairy-free diets, as it easily adapts to those needs. If you try this bread, I’d love to hear how it turned out for you! Did you add any extras? How did you serve it? Share your thoughts in the comments below. Looking for more healthy recipes or helpful tips? Feel free to reach out—I’m happy to share even more easy, wholesome ideas for your kitchen! Print
Flourless Oatmeal Bread: A Healthy and Easy Recipe
- Total Time: 55 min
Description
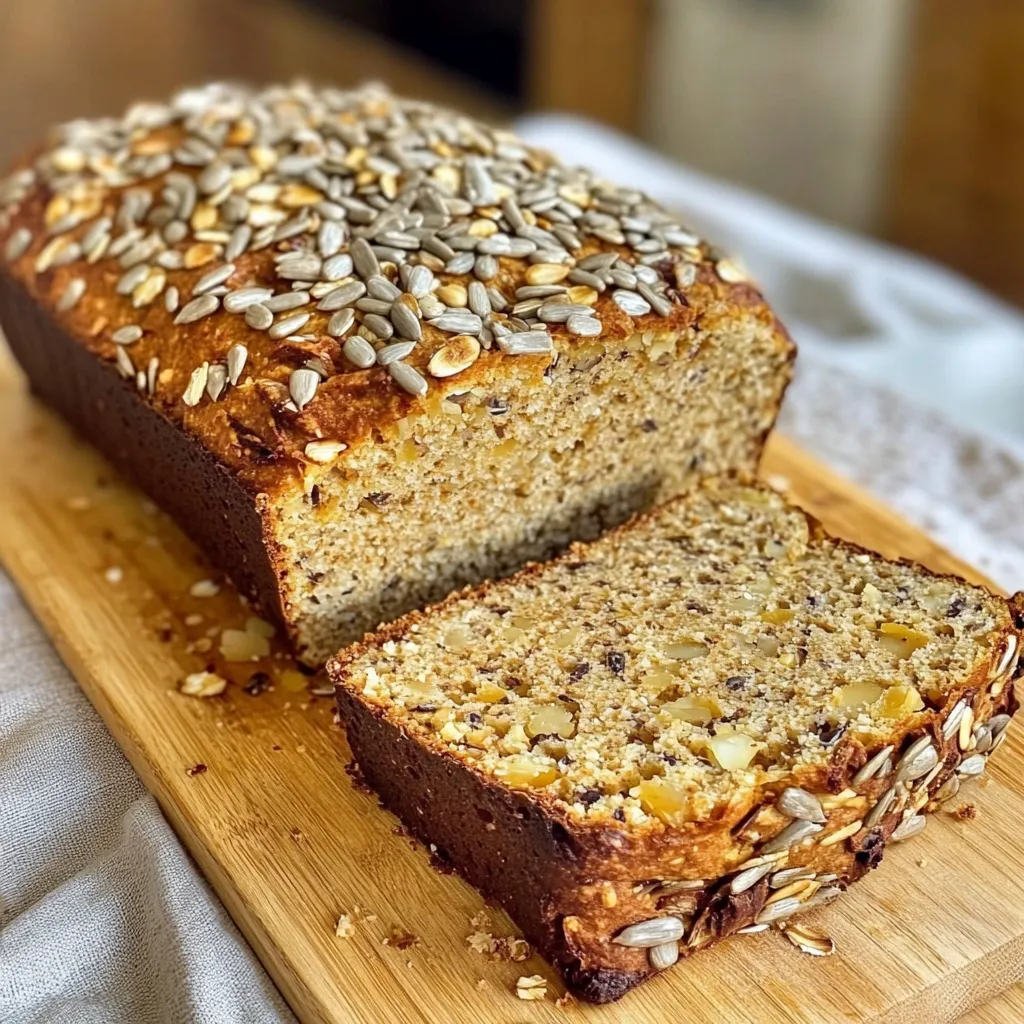
Looking for a healthier alternative to traditional bread? This Flourless Oatmeal Bread is the perfect option! Packed with wholesome oats and simple ingredients, this bread is naturally gluten-free, easy to make, and ideal for those looking to cut out refined flour. It’s great for breakfast, sandwiches, or as a healthy snack throughout the day.
Ingredients
- 2 ½ cups rolled oats (gluten-free if necessary)
- 1 ½ tsp baking powder
- 1 tsp salt
- 1 tsp cinnamon (optional)
- 2 large eggs
- 1 cup unsweetened applesauce
- ¼ cup honey or maple syrup
- 1 tsp vanilla extract
- ½ cup water
Instructions
1️⃣ Preheat the oven: Preheat your oven to 350°F (175°C). Grease a loaf pan (8×4 inches) or line it with parchment paper.
2️⃣ Prepare the dry ingredients: In a large bowl, combine the rolled oats, baking powder, salt, and cinnamon (if using). Stir to evenly mix.
3️⃣ Mix the wet ingredients: In another bowl, whisk together the eggs, applesauce, honey (or maple syrup), vanilla extract, and water until smooth and well combined.
4️⃣ Combine wet and dry: Pour the wet ingredients into the dry ingredients and mix until fully combined. The batter will be slightly thick and somewhat sticky.
5️⃣ Transfer to the pan: Pour the batter into the prepared loaf pan and spread it out evenly.
6️⃣ Bake: Place the loaf in the preheated oven and bake for 40–45 minutes, or until the top is golden brown and a toothpick inserted into the center comes out clean.
7️⃣ Cool and slice: Allow the bread to cool in the pan for 10 minutes before transferring to a wire rack to cool completely. Slice and serve.
Notes
-
Oats: Be sure to use certified gluten-free oats if needed for a completely gluten-free bread.
-
Sweetener Options: You can adjust the sweetness with more or less honey or maple syrup to suit your taste.
-
Add-ins: Feel free to add chopped nuts, dried fruit, or seeds to the batter for extra texture and flavor.
-
Storage: Store in an airtight container at room temperature for up to 3 days, or refrigerate for up to a week.
- Prep Time: 10 min
- Cook Time: 45 min


