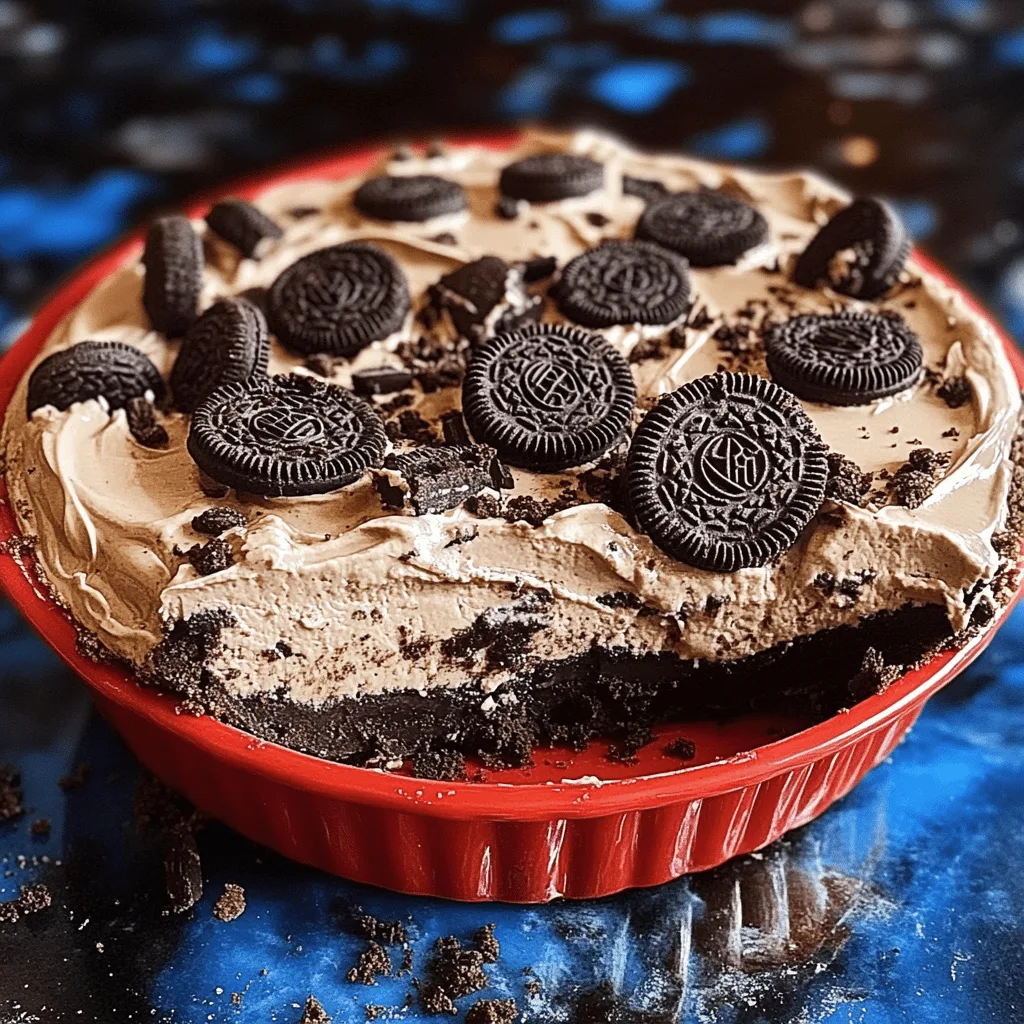
No-Bake Oreo Mud Pie is the ultimate treat for dessert lovers seeking a quick and easy recipe that doesn’t require an oven. This luscious dessert combines layers of creamy chocolate pudding, airy Cool Whip, and the classic crunch of Oreo cookies. Perfect for birthdays, holidays, or casual gatherings, this dessert satisfies sweet cravings without the hassle of baking.
What makes this dessert stand out is its versatility and accessibility. Even novice bakers can achieve an elegant and flavorful result. Whether you’re looking for a rich chocolate indulgence or a no-fuss dessert for a last-minute party, No-Bake Oreo Mud Pie delivers on all fronts.
Ingredients Breakdown
Cool Whip (16 oz)
The Cool Whip adds a light and fluffy texture, blending seamlessly with the pudding mixture. If you prefer homemade whipped cream, it’s an excellent alternative, offering a fresh and rich flavor profile. (Learn more about whipped cream varieties here).
Milk (3 cups)
Milk acts as the base for the instant chocolate pudding, giving it a smooth consistency. You can substitute dairy milk with almond, soy, or oat milk for a vegan-friendly option. Curious about pudding’s history and uses? Check out this resource.
Instant Chocolate Pudding Mix (6 oz)
The instant pudding mix is the key to this dessert’s quick preparation. Its ability to set within minutes eliminates waiting time, making it a star ingredient in no-bake recipes.
Oreo Cookies (18 oz package)
The iconic Oreo cookie provides the perfect balance of crunch and chocolatey goodness. Double-stuffed or flavored Oreos, such as mint or peanut butter, can elevate this dessert into exciting new flavor profiles. Discover more about the history of Oreos here.
By combining these simple ingredients, you can create a crowd-pleasing dessert in no time. For inspiration on other no-bake treats, explore these dessert ideas.
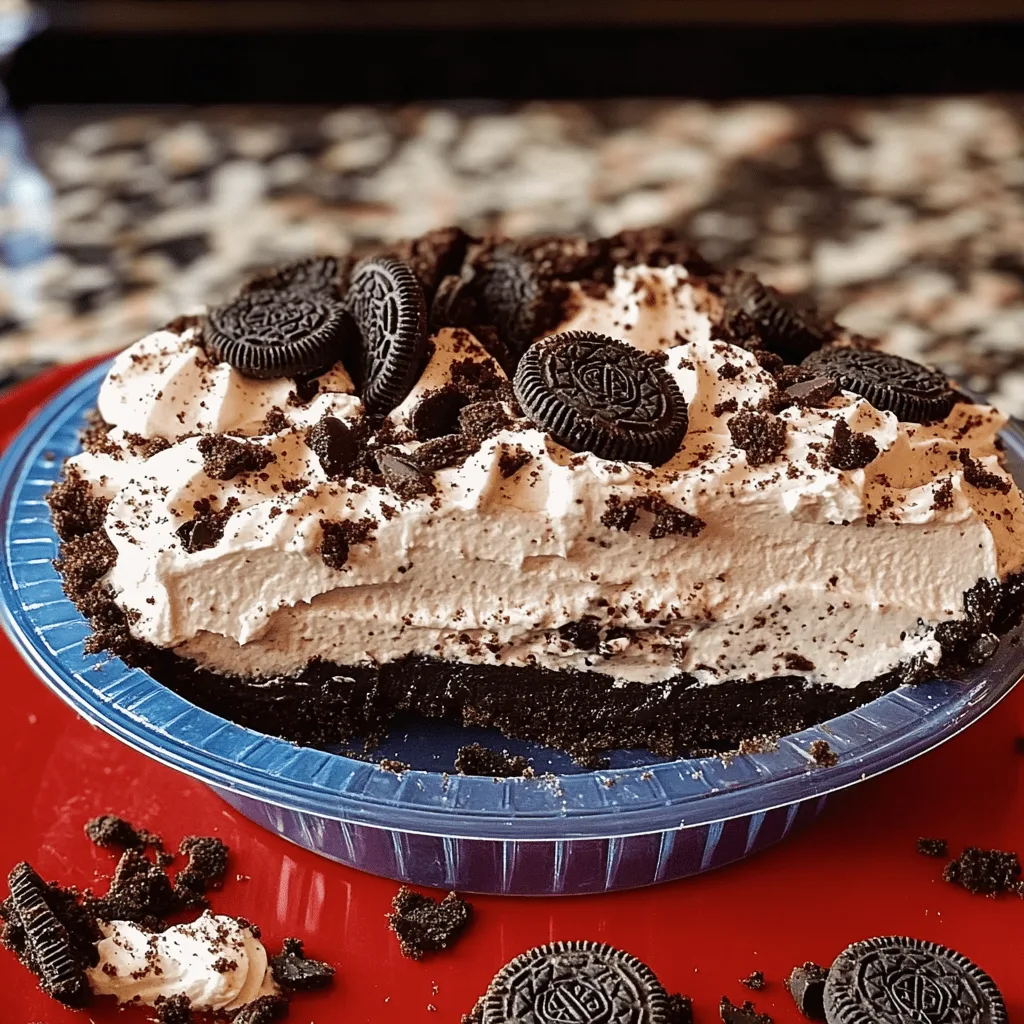
Step-by-Step Directions and Tips
Step 1: Preparing the Pudding Mixture
The foundation of a delicious No-Bake Oreo Mud Pie begins with a well-prepared pudding base. To start, whisk together 3 cups of milk and 1 large box (6 oz) of instant chocolate pudding mix in a large mixing bowl. This step is crucial to ensure the mixture thickens to the desired consistency. Aim for a smooth and lump-free texture.
For a richer flavor, consider using whole milk or substituting a portion of the milk with heavy cream. If you’re experimenting with dairy-free options, almond or coconut milk works well too. However, ensure your milk alternative is unsweetened to avoid altering the dessert’s sweetness.
Need a deeper dive into pudding preparation? Check out this guide for additional tips.
Step 2: Incorporating Cool Whip
Once the pudding mixture has thickened, gently fold in 16 oz of thawed Cool Whip. Folding, rather than mixing, is essential to retain the airy texture of the Cool Whip. Use a rubber spatula and a light hand to blend the pudding and whipped topping seamlessly.
If you’re a fan of homemade ingredients, swap the Cool Whip with fresh whipped cream. This customization allows you to control the sweetness and enhance the dessert’s overall richness. For more on creating whipped cream variations, visit this whipped cream guide.
Step 3: Creating the Oreo Crust and Filling
The next step involves integrating the irresistible crunch of Oreo cookies. Start by crushing 12 Oreos into small pieces. Place them in a resealable bag and crush with a rolling pin. Alternatively, a food processor can simplify this process. Mix these crushed Oreos into your pudding mixture for bursts of cookie flavor in every bite.
Spread the pudding and Oreo mixture evenly into a 9×13-inch pan, ensuring the layer is smooth. This base will become the star of your dessert, marrying creamy and crunchy textures beautifully.
Explore more creative ways to incorporate Oreo cookies into desserts here.
Step 4: Adding the Oreo Garnish
To complete the No-Bake Oreo Mud Pie, it’s time to add a decorative and flavorful garnish. Crush another 12 or more Oreo cookies to create a topping that enhances both the presentation and texture of the dessert. Spread the crushed Oreos evenly across the top of the pudding mixture. This step ensures every bite delivers the iconic Oreo crunch.
For a creative twist, consider adding additional toppings such as mini Oreos, chocolate shavings, or a drizzle of chocolate or caramel sauce. These enhancements can elevate the visual appeal, making it perfect for parties or gatherings. For inspiration on creative dessert garnishes, check out these tips.
Step 5: Refrigerating and Serving
Refrigeration is crucial for setting the dessert and allowing the flavors to meld. Cover the pan with plastic wrap and let it chill in the refrigerator for at least 2 hours. This resting period ensures the pudding firms up and the layers stay intact when serving.
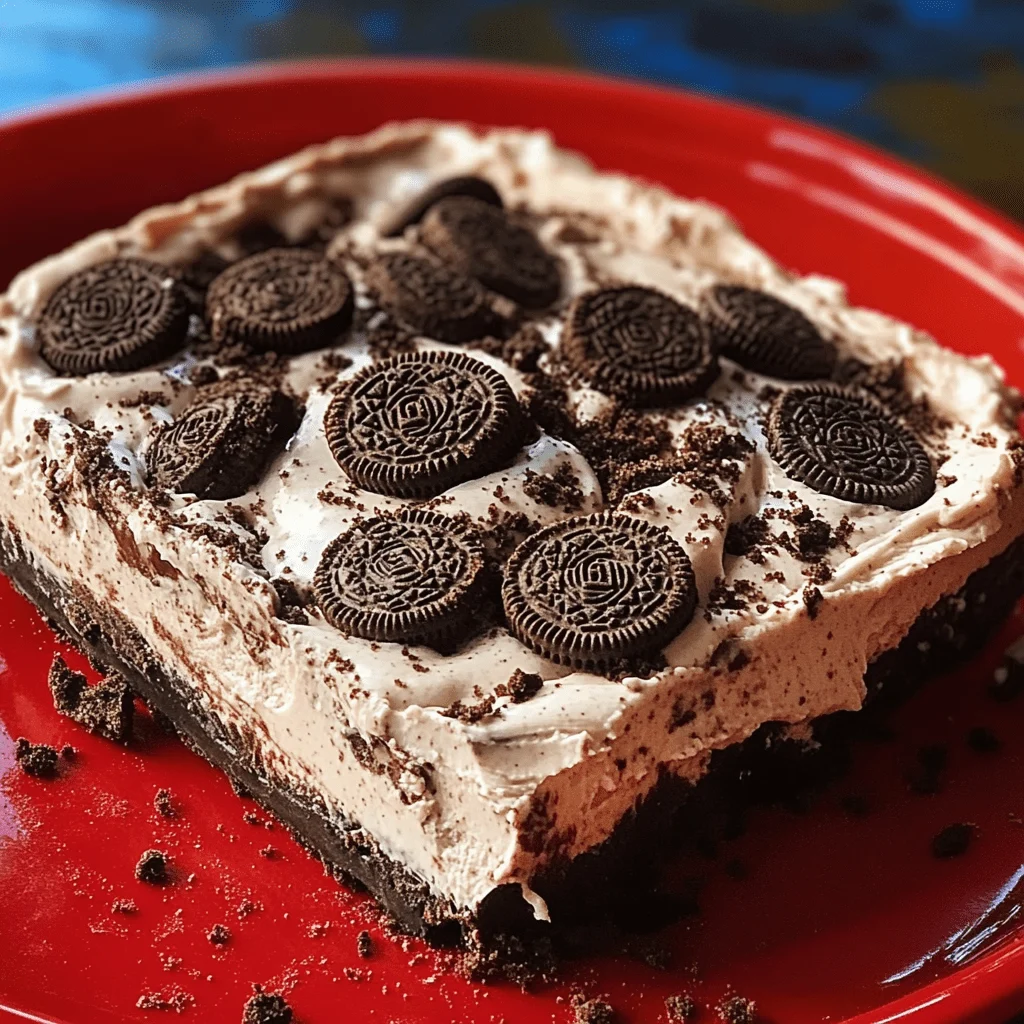
When ready to serve, slice the pie into squares for easy portions. To achieve clean cuts, use a sharp knife and wipe it clean between slices. If you’re serving at a party, consider presenting the dessert in individual cups for a more elegant touch.
For additional serving suggestions and no-bake dessert ideas, explore this Pinterest board.
Variations and Expert Tips
Creative Variations on the Recipe
One of the best things about the No-Bake Oreo Mud Pie is how easily it can be customized to suit different tastes and dietary preferences. Here are some creative variations:
- Peanut Butter Oreo Mud Pie
Add a layer of peanut butter between the pudding and Oreo crust, or drizzle melted peanut butter on top for a nutty twist. This variation pairs beautifully with the chocolatey base. For more peanut butter dessert ideas, explore this Pinterest collection. - Mint Chocolate Oreo Mud Pie
Swap regular Oreos for mint-flavored Oreos and add a teaspoon of peppermint extract to the pudding mixture. This option is perfect for the holiday season or for anyone who loves mint chocolate desserts. - Gluten-Free Oreo Mud Pie
Use gluten-free chocolate sandwich cookies to make this dessert accessible to those with gluten sensitivities. The flavor and texture remain just as delightful. - Dairy-Free Oreo Mud Pie
Substitute the milk with almond or oat milk and use a dairy-free whipped topping. This modification makes the dessert vegan-friendly without sacrificing taste.
For additional inspiration, check out more no-bake dessert recipes on Pinterest.
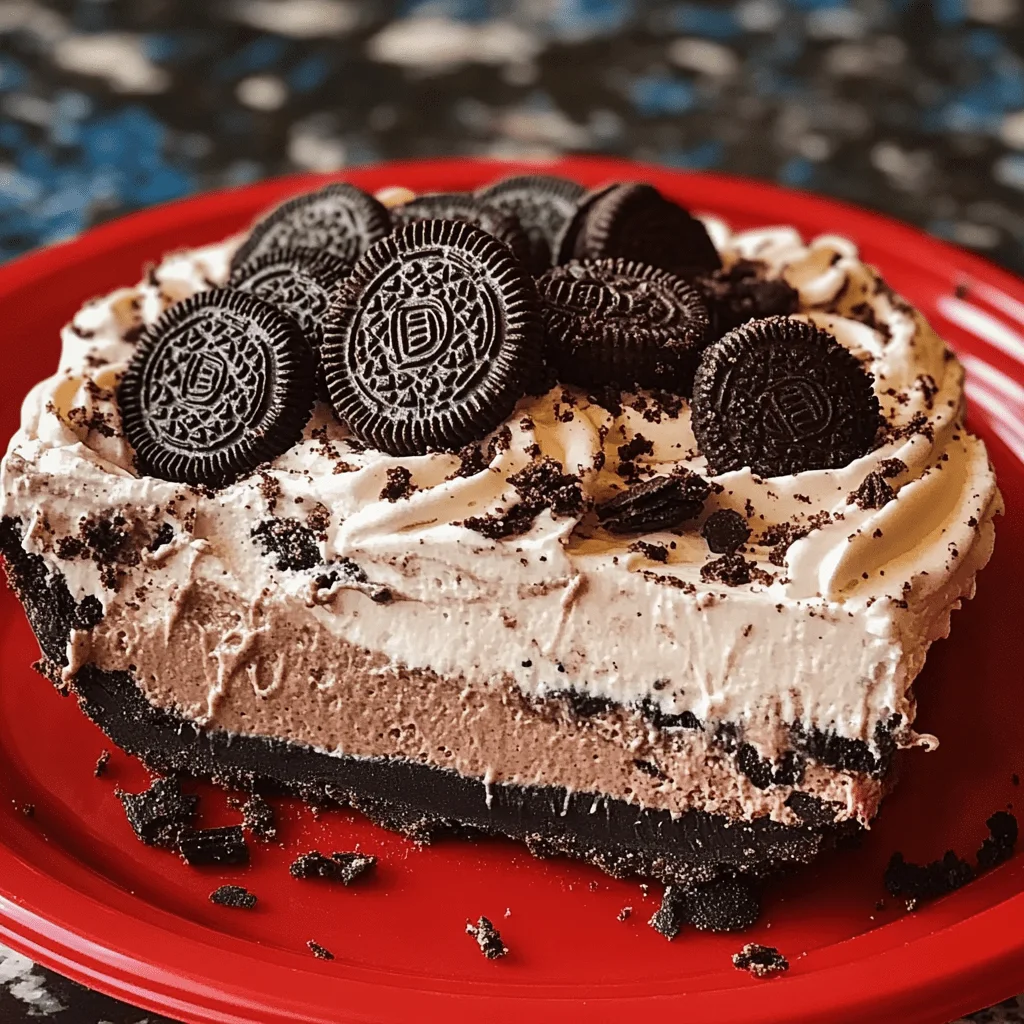
Expert Tips for Success
Achieving the perfect No-Bake Oreo Mud Pie doesn’t have to be complicated. Here are some expert tips to ensure success every time:
- Storage Tips
Cover the dessert tightly with plastic wrap or foil to prevent it from drying out in the fridge. Leftovers can be stored for up to 3 days. - Freezing for Later
If you want to prepare the dessert in advance, you can freeze it for up to a month. To serve, let it thaw in the refrigerator for a few hours. For detailed freezing techniques, visit this helpful guide. - Avoiding Common Issues
- Pudding not setting properly? Ensure you’re using instant pudding mix and measure the milk accurately.
- Uneven layers? Use a spatula to smooth out each layer before adding the next.
- Oreos sinking? Add the garnish just before serving for a fresher crunch.
By following these tips, you’ll master this dessert and impress your friends and family every time.
Serving Suggestions
- Pairing Ideas
Serve No-Bake Oreo Mud Pie with a hot cup of coffee, tea, or a scoop of vanilla ice cream to complement its rich flavors. For a festive touch, garnish plates with fresh berries or a dollop of whipped cream. - Presentation Tips
For special occasions, use clear dessert dishes to showcase the layered beauty of this dessert. Alternatively, create individual servings in mason jars for a portable and elegant presentation. - Perfect for Parties
Transform this dessert into a centerpiece by decorating the top with mini Oreos, edible glitter, or holiday-themed candies. For more garnishing ideas, check out this Pinterest board.
FAQs
1. Can I use homemade whipped cream instead of Cool Whip?
Yes, you can use homemade whipped cream as a substitute for Cool Whip. To do this, whip 2 cups of heavy cream with 3–4 tablespoons of powdered sugar until stiff peaks form. Keep in mind that homemade whipped cream is less stable than Cool Whip, so the dessert may not hold its shape as long. Learn more about whipped cream options here.
2. What’s the best way to crush Oreos without a rolling pin?
If you don’t have a rolling pin, place the Oreos in a resealable bag and use a sturdy glass or can to crush them. Alternatively, a food processor can create a finer crumb, perfect for the base layer.
3. Can I make this dessert ahead of time?
Absolutely! No-Bake Oreo Mud Pie can be prepared up to 24 hours in advance and stored in the refrigerator. This makes it a fantastic choice for parties or busy schedules.
4. Can I freeze Oreo Mud Pie?
Yes, you can freeze this dessert for up to 1 month. Cover it tightly with plastic wrap and foil to prevent freezer burn. When ready to serve, allow it to thaw in the refrigerator for a few hours. For more freezing tips, explore this Pinterest resource.

No-Bake Oreo Mud Pie
- Author: Naomi
Description
The No-Bake Oreo Mud Pie is a decadent, no-fuss dessert that combines creamy chocolate pudding, fluffy whipped topping, and the irresistible crunch of Oreo cookies. Perfect for any occasion, this dessert is a crowd-pleaser that requires minimal effort.
Ingredients
• 16 oz Cool Whip, thawed
• 3 cups milk
• 1 large box (6 oz) instant chocolate pudding mix
• 18 oz package Oreo cookies
Instructions
1. In a large mixing bowl, whisk together the milk and pudding mix until thickened. Gently fold in the Cool Whip until fully incorporated.
2. Place 12 Oreo cookies in a resealable bag and crush them using a rolling pin. Mix the crushed Oreos into the pudding mixture, then spread it evenly into a 9×13-inch pan.
3. Crush another 12 or more Oreo cookies and sprinkle them over the top as a garnish.
4. Refrigerate for at least 2 hours before serving.
Enjoy this no-bake treat that’s perfect for any occasion!
Notes
- Crush Oreos: For a finer texture, use a food processor. For a chunkier bite, crush cookies by hand with a rolling pin.
- Consistency: Ensure the pudding is thickened properly before folding in the Cool Whip. If it’s too runny, the layers may not set well.
- Serving Options: This recipe is versatile. You can prepare it in a 9×13-inch pan or create individual servings in mason jars or dessert cups.
- Storage: Cover and refrigerate leftovers for up to 3 days. Alternatively, freeze for up to 1 month for a chilled treat.


