

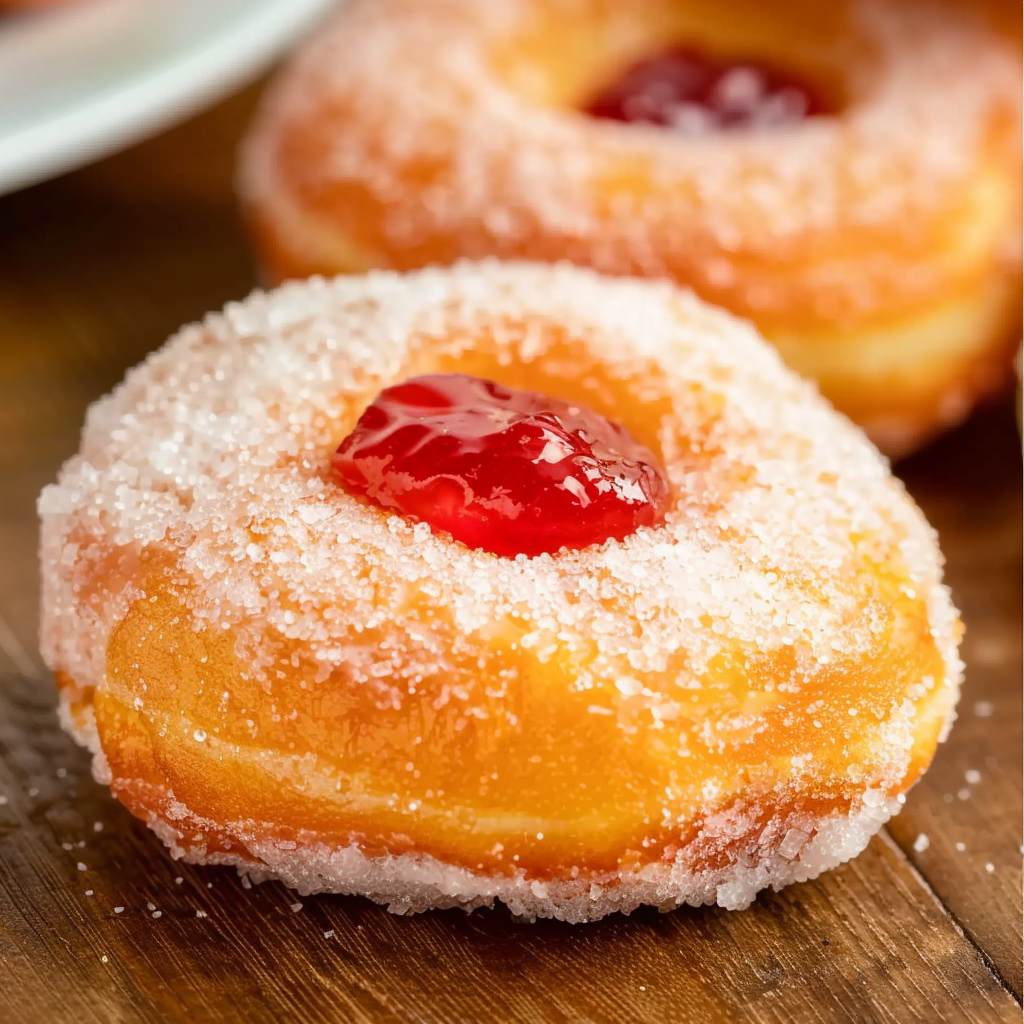
1.Why Grape and Strawberry Jam Donuts Are a Must-Try
If you’ve ever bitten into a fluffy, sugar-coated doughnut and hit that sweet, jammy center, you already know the irresistible appeal of a well-made jelly donut. But when it comes to flavor, why stick with just the usual fillings? Grape jam and strawberry jam offer a playful, flavorful twist that turns a standard donut into something unforgettable.
While store-bought donuts can be convenient, they often lack the soft interior, rich taste, and fresh texture of those made at home. By making your own bakery-style jelly donuts, you gain full control over ingredients, flavor combinations, and filling quantities. Whether you crave the deep fruitiness of grape jam or the bright tang of strawberry, this recipe shows you how to achieve that classic donut shop experience in your own kitchen.
In this guide, you’ll learn how to create homemade jam-filled donuts that are tender on the inside, golden and slightly crisp on the outside, and loaded with jam in every bite. Plus, you’ll discover how to properly pipe fillings, get your donuts to rise perfectly, and even choose between baking and frying methods. If you’re curious about where this popular treat originated, the history of doughnuts offers fascinating insight into how these fried delights became a global obsession. For more inspiration on fillings, check out this Pinterest board of jelly-filled donut recipes, filled with creative ideas to elevate your creations.
This recipe isn’t just about indulgence — it’s about mastering a classic pastry and customizing it to your taste. Whether you’re making a weekend brunch centerpiece or prepping a holiday treat, these grape and strawberry jam donuts will quickly become a favorite in your baking repertoire.
2. What Makes a Bakery-Style Jelly Donut?
A true bakery-style jelly donut is more than just sweet dough and jam—it’s a harmonious balance of texture, flavor, and presentation. The hallmark of a great donut is its light, airy interior, achieved through proper proofing and careful frying or baking. At the same time, it should have a thin, crisp exterior with an even coat of sugar that clings perfectly. Finally, the filling-to-dough ratio must be just right—enough to give a satisfying burst of flavor in every bite without overwhelming the structure.
Achieving this at home might seem like a challenge, but it’s absolutely doable with the right method. The secret lies in the dough preparation and handling techniques, which we’ll break down step by step. One of the main reasons homemade donuts can fall short is dense, under-proofed dough. This typically happens when the yeast isn’t properly activated, or when the dough isn’t given enough time to rise. For best results, ensure your yeast is active—learn more about baker’s yeast and how it behaves during baking.
Another common issue is improper oil temperature during frying. Too hot, and your donuts will brown too fast while staying raw inside. Too cool, and they’ll absorb oil, becoming greasy. Using a thermometer is key. You’ll also find tips for the alternative baking method, which can yield a slightly different but still delicious result. Whether you prefer frying or baking, you can find helpful techniques for both under the umbrella of baking methods.
Finally, the filling technique plays a huge role in the finished product. Jelly or jam should be smooth enough to pipe easily but thick enough to stay in place. This is especially important when using grape jam or strawberry jam, which vary in texture. While some home bakers opt for jam with chunks of fruit, this can clog the piping tip. Choosing a smooth, seedless jam helps avoid this issue and makes filling much cleaner.
For aesthetic inspiration and doughnut styling ideas, visit this Pinterest board featuring strawberry jam baking projects. Whether you’re aiming for a rustic homemade look or a sleek bakery finish, visuals can help guide your presentation.
Mastering these details ensures you’ll replicate that iconic bakery-style texture and flavor in your own kitchen—no shortcuts, no compromises.
3. Ingredients Breakdown
Crafting perfect jam-filled donuts begins with understanding the role each ingredient plays in achieving a soft, airy texture and rich flavor. From the yeast to the jam, each element contributes to the final product’s success.
3.1 Dough Ingredients Explained
The dough forms the foundation of your donuts. Here’s a breakdown of what you’ll need and why each item matters:
-
Active Dry Yeast (2¼ tsp): This is the leavening agent that gives donuts their rise. It needs to be activated in warm water to ensure proper fermentation. Refer to this guide on active dry yeast for more on how it works in baking.
-
Warm Water & Warm Milk: Warm liquids (not hot) help activate the yeast. Milk adds richness and softness to the dough, contributing to that bakery-style fluffiness.
-
Granulated Sugar (¼ cup): Besides sweetness, sugar feeds the yeast, aiding in fermentation and lightness.
-
Salt (½ tsp): Enhances flavor and strengthens the gluten structure, which holds the dough together.
-
Eggs (2 large): Eggs add fat, color, and structure. They enrich the dough and contribute to its tender crumb.
-
Unsalted Butter (¼ cup, softened): Fat from the butter creates a softer texture and richer taste. Always use softened butter for even mixing.
-
All-Purpose Flour (3 cups): Provides the dough’s structure. For more on flour types and their baking roles, explore this page on all-purpose flour.
Each of these ingredients works together to form a dough that’s soft, elastic, and easy to shape—ideal for creating donuts that are light inside and golden outside.
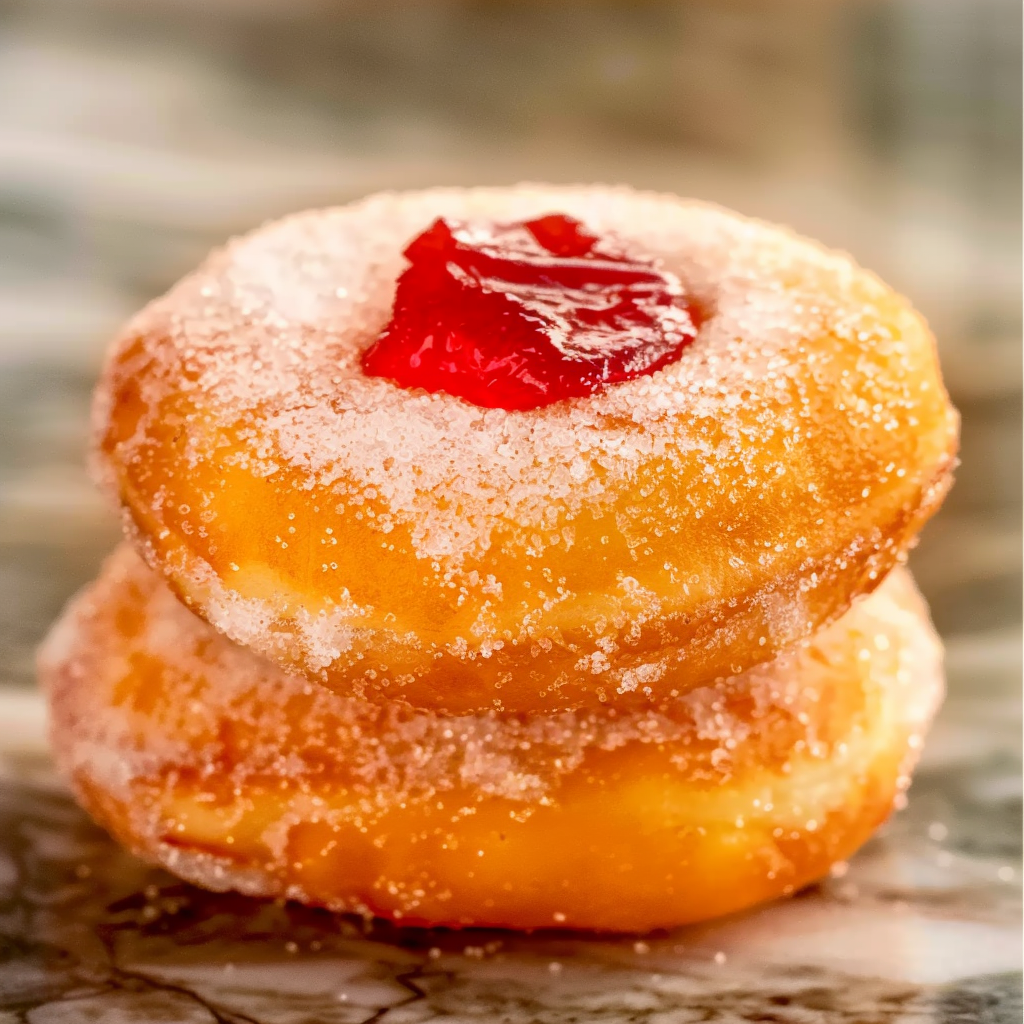
3.2 Filling Options: Grape vs Strawberry Jam
The heart of every jelly donut is the filling. This recipe shines with either grape jam or strawberry jam, both offering distinct flavor profiles.
-
Grape Jam: Smooth, dark, and deeply sweet, grape jam provides a nostalgic, bold filling. It pairs beautifully with sugar-coated dough for a classic finish.
-
Strawberry Jam: Brighter and slightly tangy, strawberry adds a fresh fruitiness that cuts through the richness of the dough.
When choosing your jam, consider the texture. Jams with large fruit pieces can be harder to pipe into donuts. Look for smooth, seedless versions or pulse chunky jam briefly in a blender. Not sure whether to use jam or jelly? This breakdown on jam vs jelly can help you decide which is right for your recipe.
If you’re looking to explore more donut filling ideas, check out these grape jam dessert ideas for creative inspiration beyond the basics.
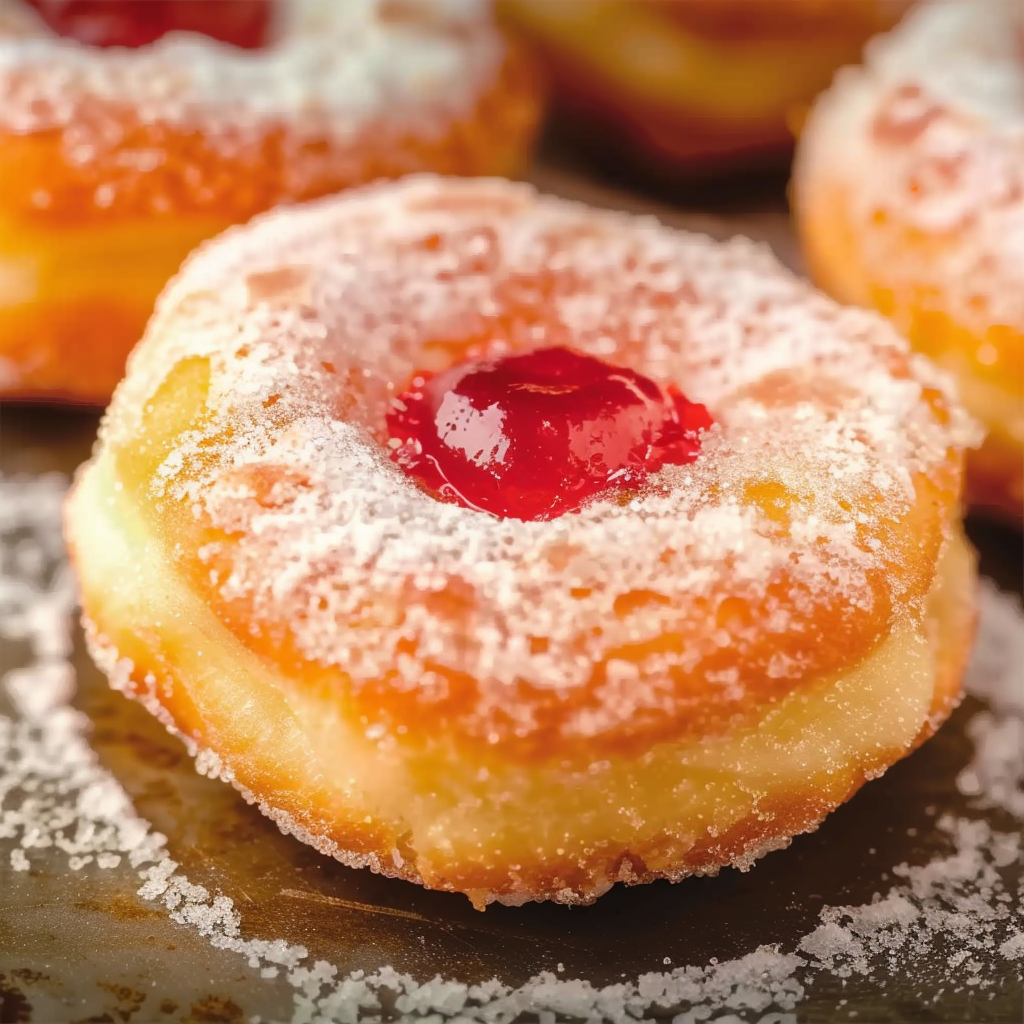
3.3 Sugar Coating – Why It’s Important
A proper sugar coating does more than sweeten the donut—it adds texture and visual appeal.
-
Granulated Sugar (½ cup): Best applied while donuts are still warm so it adheres easily.
-
Rolling donuts immediately after frying or baking ensures even coverage and that signature crunch when you bite in.
Alternatives like powdered sugar or cinnamon-sugar can be used, but traditional granulated sugar gives the most authentic jelly donut finish.
Now that you understand how each ingredient contributes to structure, flavor, and finish, you’re ready to start making donuts that rival your favorite bakery.
4. Step-by-Step Recipe Instructions (Baking & Frying Methods)
Making jam-filled doughnuts at home is easier when you break the process into manageable steps. From activating yeast to frying or baking, every phase contributes to achieving the ideal texture and flavor. Follow this process carefully to make donuts that are light, golden, and filled with delicious jam.
4.1 Activating the Yeast
Begin by activating the yeast—this step is essential for dough development and texture.
-
In a small bowl, combine 2¼ teaspoons of active dry yeast with 2 tablespoons of warm water (about 105–110°F or 40–43°C).
-
Let it sit for about 5–10 minutes, or until foamy. The foam indicates the yeast is alive and active.
-
If no foam appears, the yeast may be expired or the water too hot or cold—start again with fresh ingredients.
This step sets the foundation for light, fluffy donuts. For more on how yeast functions in baking, visit the active dry yeast guide.
4.2 Making and Kneading the Dough
Once the yeast is activated, you’ll create the dough.
-
In a large bowl, mix ¾ cup warm milk, ¼ cup granulated sugar, ½ teaspoon salt, 2 large eggs, and ¼ cup unsalted butter (softened).
-
Add the foamy yeast mixture and stir to combine.
-
Gradually add 3 cups of all-purpose flour, mixing after each addition until a soft dough forms.
-
Transfer to a floured surface and knead for 5–7 minutes, or until the dough becomes smooth and elastic. You can also use a stand mixer with a dough hook for this step.
If the dough sticks to your hands, dust it lightly with more flour. Avoid adding too much, as it can make the donuts dense. This step is critical to forming the gluten network needed for a chewy but soft interior. For a deeper dive into this technique, see the article on baking and how flour reacts during mixing.
Once kneaded, shape the dough into a ball and place it in a lightly greased bowl. Cover it with a clean towel or plastic wrap and allow it to rise in a warm area until doubled in size—usually 1 to 1.5 hours.
Need visual help? Browse this Pinterest board with homemade donut examples to see how the dough should look during proofing and kneading.
4.3 First Proofing – Letting the Dough Rise
-
The dough should double in size. To test, press it gently with your finger—if the indentation remains, it’s ready.
-
Don’t rush this step. Proofing allows yeast to ferment, creating the air bubbles that give donuts their airy texture.
-
Place the bowl in a warm, draft-free space. Ideal temperature is 75–80°F (24–27°C).
Patience during this phase ensures your donuts come out bakery-soft and evenly risen.
4.4 Shaping the Donuts
After the first proof, gently punch down the dough to release gas and prepare for shaping.
-
Transfer the dough to a floured surface and roll it out to about ½ inch thickness.
-
Use a round cookie cutter or donut cutter (2.5–3 inches) to cut out circles. Avoid twisting the cutter, as it can seal the dough and affect rising.
-
Place the dough rounds on a floured tray or parchment paper-lined baking sheet, spaced slightly apart.
Re-roll any remaining scraps once to cut out more donuts. Avoid overworking the dough, which can result in a tough texture.
Cover the donuts loosely with a clean kitchen towel and allow them to rise a second time for 30–45 minutes, or until puffy and noticeably lighter. This second proof gives the donuts their final airy structure.
4.5 Frying vs Baking Method
Frying (Traditional Method):
-
Heat oil in a deep pan or fryer to 350°F (175°C). Use a thermometer to maintain temperature—too hot and the exterior will burn before the inside cooks; too cool and the donuts absorb oil.
-
Fry donuts in batches, 1–2 minutes per side, until golden brown.
-
Remove with a slotted spoon and drain on paper towels.
Baking (Lighter Option):
-
Preheat oven to 375°F (190°C).
-
Brush each donut with melted butter to encourage browning.
-
Bake for 8–10 minutes, or until lightly golden on top.
While frying creates the most authentic texture and flavor, baking is a cleaner alternative and still yields soft, fluffy donuts with slightly less richness. Whichever method you choose, ensure consistency in cooking for perfect results.
Want more tips for safe frying? Explore this helpful overview on deep frying techniques to understand oil management and safety.
4.6 Coating with Sugar
While still warm (but not hot), roll each donut in ½ cup granulated sugar until fully coated.
-
The warmth helps the sugar adhere better.
-
For a finer finish, use superfine sugar or pulse granulated sugar in a food processor.
-
If baking your donuts, brush lightly with butter before rolling in sugar for the best adherence.
A well-executed sugar coating adds the iconic sparkle and subtle crunch that makes jam donuts irresistible.
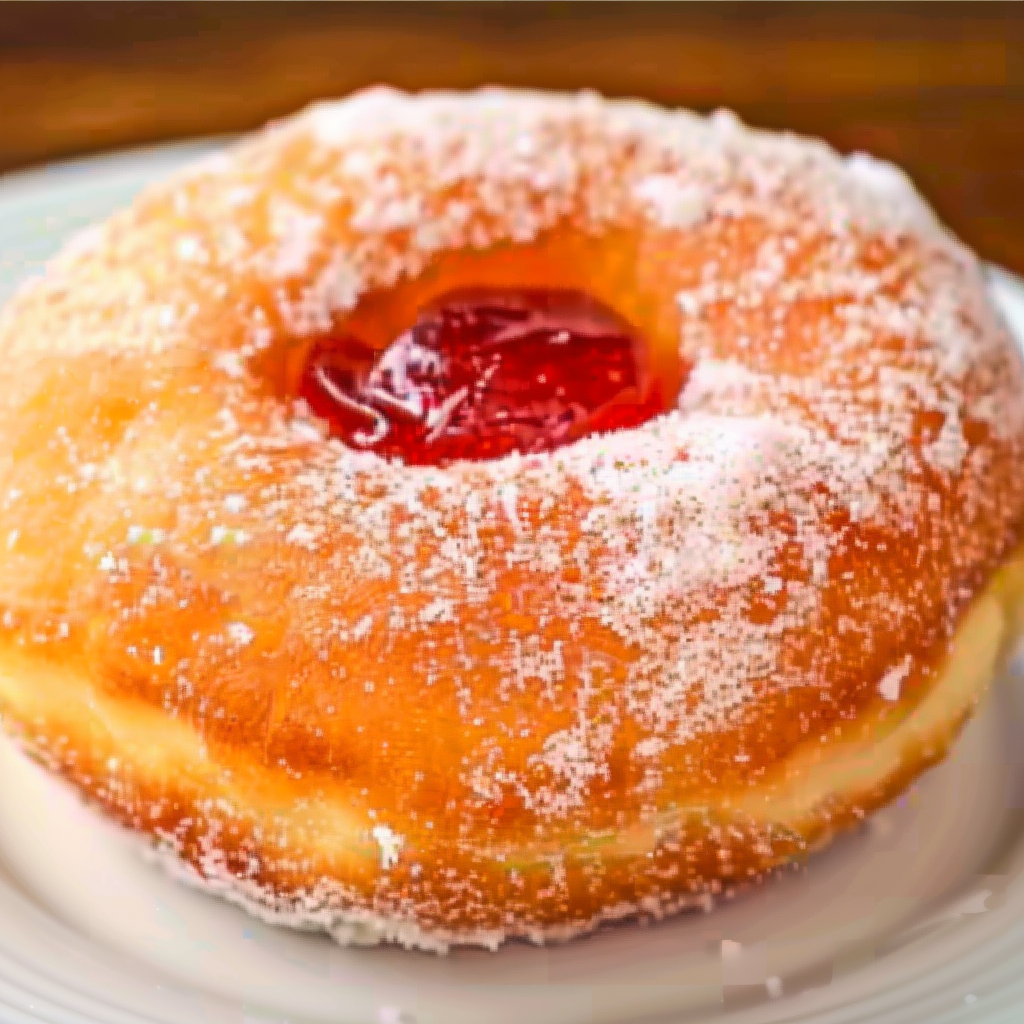
5. How to Fill Donuts Without Making a Mess
Filling your donuts evenly is essential for flavor and appearance. Here’s how to do it neatly and effectively:
-
Use a piping bag fitted with a small round tip (like a Bismarck or filling tip).
-
Fill the bag with smooth grape or strawberry jam. If your jam is thick or chunky, warm it slightly and strain it first.
-
Poke a hole in the side of each donut with a knife or skewer.
-
Insert the piping tip and gently squeeze until the donut feels slightly heavier, being careful not to overfill.
For visual filling inspiration and techniques, check out this Pinterest collection on jelly-filled donuts. A balanced jam-to-dough ratio ensures flavor in every bite and prevents mess.
6. Tips for Perfect Jelly Donuts Every Time
Consistency is key to getting bakery-quality results. Use these expert tips to perfect your technique:
-
Use a kitchen thermometer to monitor both your oil temperature and proofing conditions.
-
Don’t skip proofing times. Rushing leads to dense, uneven donuts.
-
Avoid over-kneading, which can toughen the dough.
-
Test one donut first when frying to check oil temperature and cooking time.
-
Use smooth, high-quality jam or jelly, especially when piping. Seedless varieties are best.
Want to explore other fillings or techniques? Browse home baking ideas for variations and style inspiration.
Freezing Tip: Unfilled donuts can be frozen after cooling. Reheat in an oven and fill after thawing for best results.
7. Variations & Creative Twists
Looking to elevate your jam-filled donuts even more? Try these unique twists:
-
Combine strawberry and grape jam for a dual-flavor surprise.
-
Infuse your jam with vanilla, cinnamon, or citrus zest.
-
Add lemon zest or cardamom to the dough for extra depth.
-
Glaze instead of sugar coating: Dip the top in a light icing glaze after filling.
These customizations allow you to tailor each batch to your preferences while maintaining that classic bakery-style taste.
8. Serving Suggestions & Pairings
These donuts are best enjoyed fresh and warm. Here’s how to serve them:
-
Pair with coffee, chai, or hot chocolate for a cozy treat.
-
Serve as part of a brunch spread with fruit and pastries.
-
Add to dessert boards or wrap for gifting during holidays.
Want more jam-based baking inspiration? Check out grape jam desserts or explore strawberry jam baking ideas for new ways to use leftover fillings.
9. Storage and Reheating Tips
Keep your donuts fresh and delicious with proper storage:
-
Store at room temperature in an airtight container for up to 2 days.
-
Avoid refrigerating, which can dry them out.
-
To reheat, warm in a 300°F (150°C) oven for 5–7 minutes. Avoid microwaving, which softens the sugar coating.
Donuts are best enjoyed the day they’re made, but smart storage helps preserve texture and flavor.
10. Troubleshooting Common Issues
Running into issues? Here are fixes for the most common problems:
-
Dough didn’t rise: Yeast may be old or liquid too hot/cold. Always proof yeast properly.
-
Donuts are dense: Underproofing or over-kneading could be the cause.
-
Jam leaks out: Filling too early or using jam that’s too thin can cause leaks.
-
Greasy donuts: Oil too cool. Maintain 350°F consistently using a thermometer.
-
Uneven frying color: Donuts may be overcrowded or not flipped on time.
Understanding how ingredients and timing interact can help prevent these mistakes. For more tips, refer to this article on baking best practices.
11. Frequently Asked Questions (FAQs)
Can I use other types of jam in jelly donuts?
Yes, you can use raspberry, blueberry, apricot, or even lemon curd. Just ensure it’s smooth and pipeable.
Why are my homemade donuts not fluffy?
This is often due to insufficient proofing or inactive yeast. Make sure your dough doubles in size before frying or baking.
What’s the difference between jelly and jam in donuts?
Jam contains fruit chunks; jelly is smooth. For piping ease, use a strained or seedless jam. Learn more here.
Is it better to bake or fry donuts?
Frying gives a classic texture and flavor. Baking is lighter and easier to clean up but results in a slightly different crumb.
How do you fill donuts without bursting them?
Use a piping bag with a narrow tip, insert at the side, and fill slowly. Avoid overfilling and use thicker jam for best results.
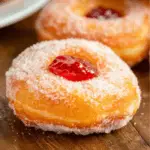
Strawberry And Grape Jam Filled Doughnuts How To Make Bakery Style Jelly Donuts At Home
- Author: Naomi
Description
Bakery-style grape and strawberry jam filled donuts, made from scratch, are a fluffy, sugar-coated treat with a sweet surprise inside. This easy-to-follow recipe offers both frying and baking methods, tips for perfect proofing, and expert guidance for mess-free filling. Whether you’re a first-time baker or a seasoned pro, these homemade jelly donuts are guaranteed to satisfy your sweet tooth and impress anyone who tastes them.
Ingredients
For the dough:
- 2 ¼ teaspoons active dry yeast
- 2 tablespoons warm water
- ¾ cup warm milk
- ¼ cup granulated sugar
- ½ teaspoon salt
- 2 large eggs
- ¼ cup unsalted butter, softened
- 3 cups all-purpose flour, plus more for dusting
- Oil, for frying
For the filling:
- ¾ cup jelly or jam of your choice
For coating:
- ½ cup granulated sugar
Instructions
Mix the yeast and warm water in a small bowl and let it sit until foamy.
In a large bowl, combine warm milk, sugar, salt, eggs, butter, and the foamy yeast mixture. Gradually add the flour and mix until a soft dough forms.
Knead the dough on a floured surface for about 5-7 minutes until smooth and elastic. Place in a greased bowl, cover, and let rise until doubled in size.
Roll out the dough to about ½ inch thick. Cut into rounds using a donut cutter or a round cookie cutter.
Place the rounds on a floured surface, cover, and let rise again until puffy.
Heat oil in a deep pan to 350°F (175°C). Fry the donuts in batches until golden brown on both sides. Drain on paper towels.
Roll the warm donuts in granulated sugar until fully coated.
Using a piping bag fitted with a small tip, fill each donut with jelly or jam through the side.
Serve fresh and enjoy.
Notes
-
Use smooth, seedless jam for easiest filling.
-
Proof the dough in a warm environment for best rise.
-
Frying is recommended for the most authentic texture.
-
Don’t skip the sugar coating—it completes the donut.
-
Donuts are best eaten fresh but can be frozen unfilled.
-
Try flavoring your jam or dough for unique variations.
-
Store in an airtight container to maintain softness.


