Ingredients You’ll Need:
For the Crust:- 1½ cups golden Oreo crumbs
- ¼ cup melted unsalted butter
- 2 tablespoons granulated sugar
- 24 oz (680g) cream cheese, softened
- 1 cup granulated sugar
- 3 large eggs
- ¾ cup sour cream
- 1 teaspoon vanilla extract
- 1½ cups chopped strawberries
- ½ cup freeze-dried strawberries
- 12 golden Oreos
- 2 tablespoons melted butter
- Whipped cream
- Fresh strawberries
- Strawberry syrup
STEP 1: Preheat the Oven
Preheat your oven to 325°F (160°C). Lightly grease a 9-inch springform pan with non-stick spray or a thin layer of butter. A springform pan is key here—it allows you to release the cheesecake without damaging that smooth, creamy surface.STEP 2: Make the Crust
In a medium bowl, combine the golden Oreo crumbs, melted butter, and sugar. Stir until the mixture looks like wet sand and is evenly moistened. Pour it into the prepared springform pan and press it down firmly into an even layer across the bottom. Use the back of a spoon or the bottom of a measuring cup to get it nice and flat. Bake the crust for 10 minutes, then set it aside to cool while you prepare the filling. This quick bake helps set the crust and keeps it from getting soggy once the cheesecake batter is added.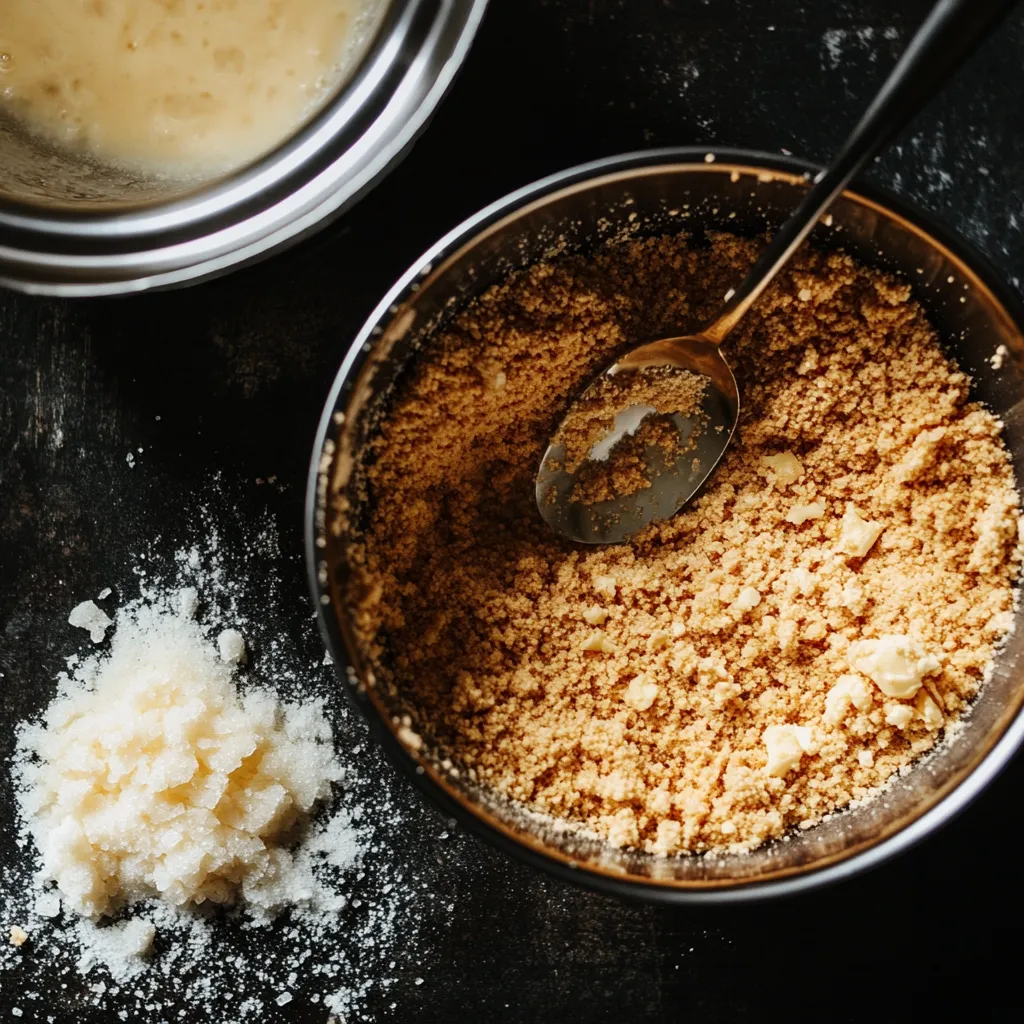
STEP 3: Prepare the Cheesecake Filling
In a large bowl, beat the softened cream cheese with a hand or stand mixer until smooth and creamy. This step is important—any lumps in the cream cheese at this point will carry through the entire filling. Take your time and make sure it’s completely smooth. Next, add the sugar and continue beating until well combined. You’re looking for a smooth, fluffy consistency here.
STEP 4: Add the Eggs
Now, add the eggs one at a time, mixing just until incorporated after each one. Avoid overmixing at this stage—it can introduce too much air into the batter and cause cracks during baking. Just mix enough so that the yolk disappears into the batter, then move on to the next.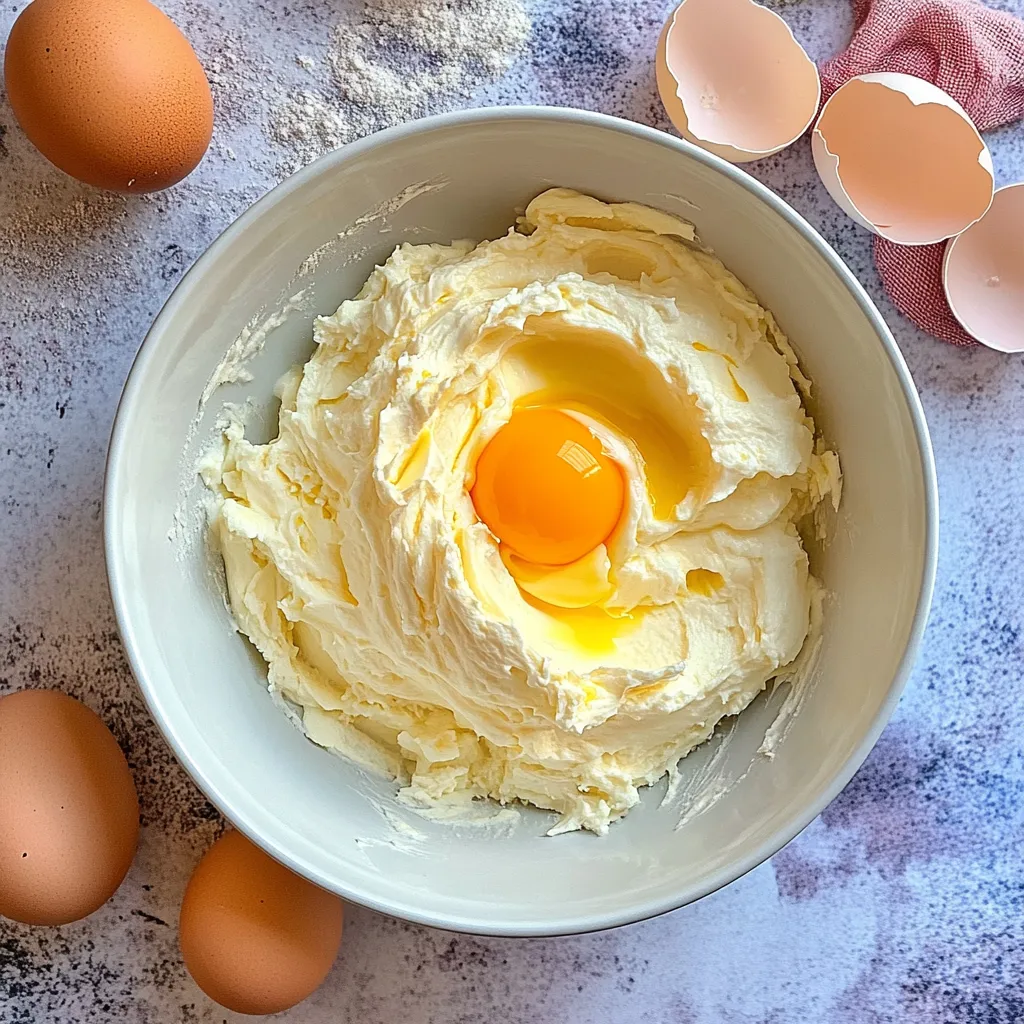
STEP 5: Finish the Batter with Sour Cream and Strawberries
Add in the sour cream and vanilla extract, and mix until smooth and creamy. Finally, fold in the chopped strawberries gently with a spatula. The strawberries add bursts of fresh flavor and a beautiful pop of color in each slice.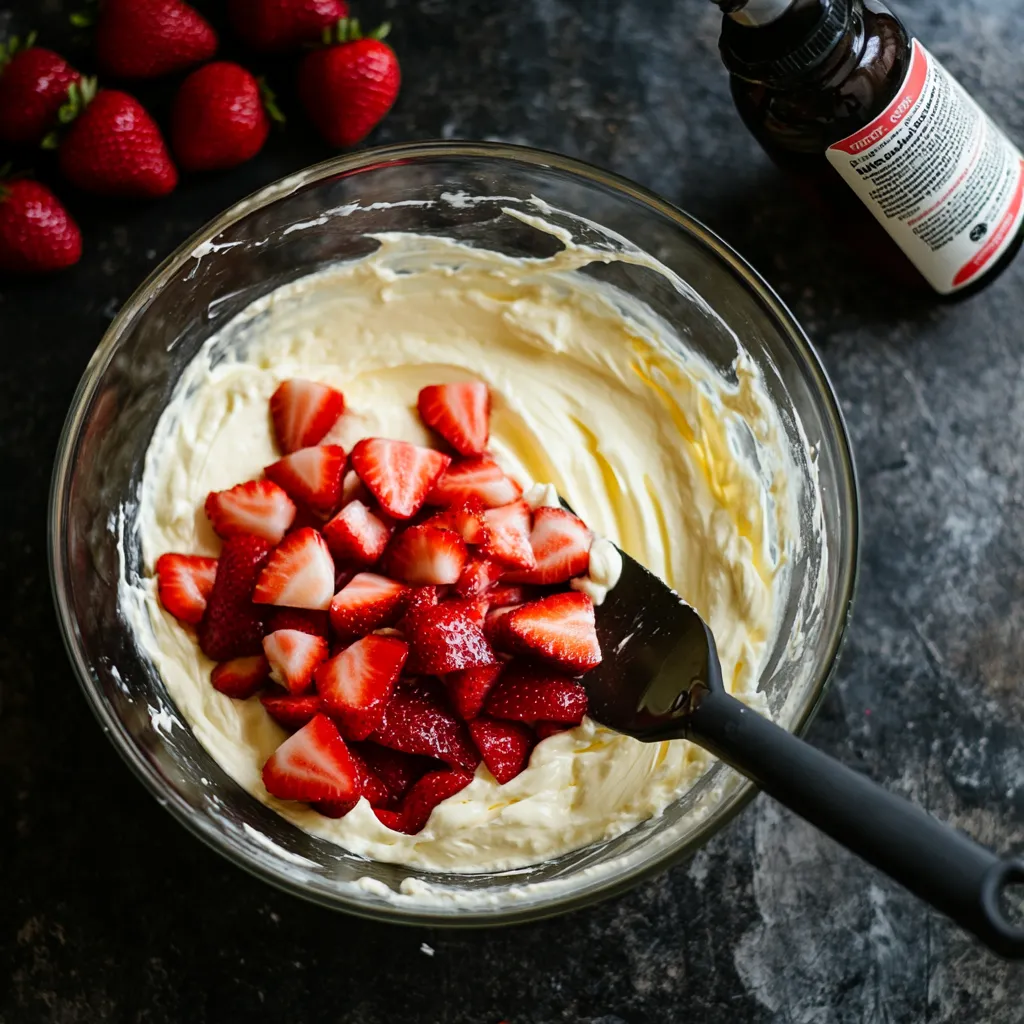
STEP 6: Pour and Smooth
Pour the finished cheesecake batter over the cooled crust and smooth the top with a spatula. Give the pan a few gentle taps on the counter to help release any trapped air bubbles. This little step goes a long way in keeping the top smooth during baking.Baking and Topping Your Strawberry Crunch Cheesecake
Now that your strawberry cheesecake is prepped and ready, it’s time for the most important part—baking it just right and giving it that signature strawberry crunch topping that takes this dessert over the top. The key to a perfect cheesecake is all about the bake and cool. With the right timing and a few simple tricks, you’ll get that silky-smooth texture and rich flavor that everyone will love. And we can’t forget the best part: that strawberry crunch topping. Inspired by classic strawberry shortcake ice cream bars, it’s sweet, crumbly, and adds an amazing texture contrast to the creamy cheesecake. When you press it over the top and sides, it turns a simple dessert into a bakery-style masterpiece. Let’s walk through the baking process and how to finish your cheesecake with the most delicious (and easy!) topping.STEP 7: Bake the Cheesecake
With the batter smoothed out in your pan, place the cheesecake in the oven and bake at 325°F (160°C) for 50–60 minutes. The edges should look set, but the center should still have a slight jiggle when you gently move the pan. That’s exactly what you want. It will continue to set as it cools. Once the bake time is up, turn off the oven, crack the oven door open slightly, and let the cheesecake cool inside the oven for 1 hour. This gradual cooling helps prevent cracks by reducing the temperature difference between the hot cheesecake and cooler air. Pro tip: Place the springform pan on a baking sheet before putting it in the oven. It makes it easier to move in and out, and it can catch any leaks if your pan isn’t tightly sealed.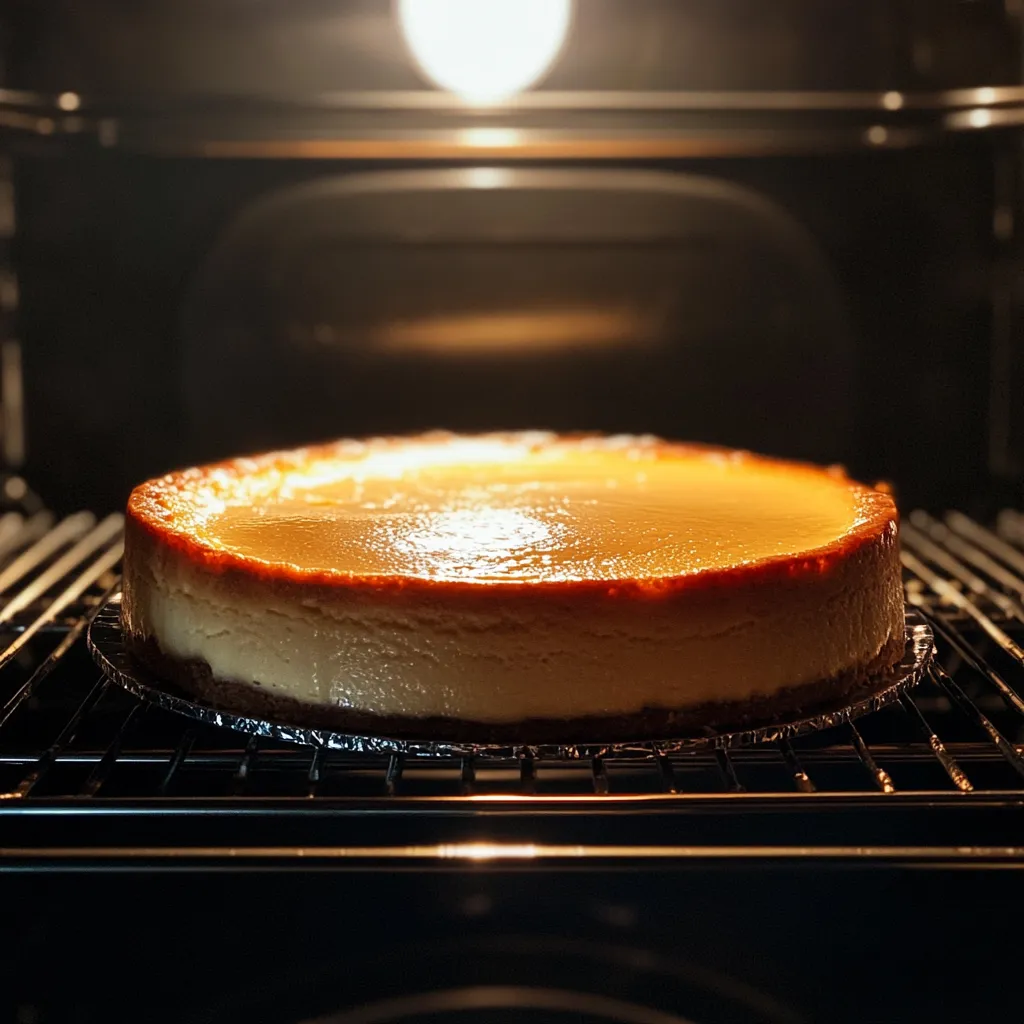
STEP 8: Chill to Set the Texture
After the hour in the oven, remove the cheesecake and let it come to room temperature if it hasn’t already. Then, cover the pan with foil or plastic wrap and refrigerate for at least 4 hours, or even better—overnight. This chilling step is non-negotiable. It allows the texture to fully set into that ultra-creamy consistency and makes the cheesecake much easier to slice.STEP 9: Make the Strawberry Crunch Topping
While the cheesecake chills, let’s make the iconic strawberry crunch topping. In a food processor, pulse together ½ cup freeze-dried strawberries and 12 golden Oreos until you get a fine, crumbly mixture. The freeze-dried strawberries add a concentrated berry flavor and vibrant red color. Next, add 2 tablespoons of melted butter and pulse again just until combined. The butter helps the mixture hold together slightly, making it easier to press onto the cheesecake later. You can make this topping ahead of time and store it in an airtight container until you’re ready to use it.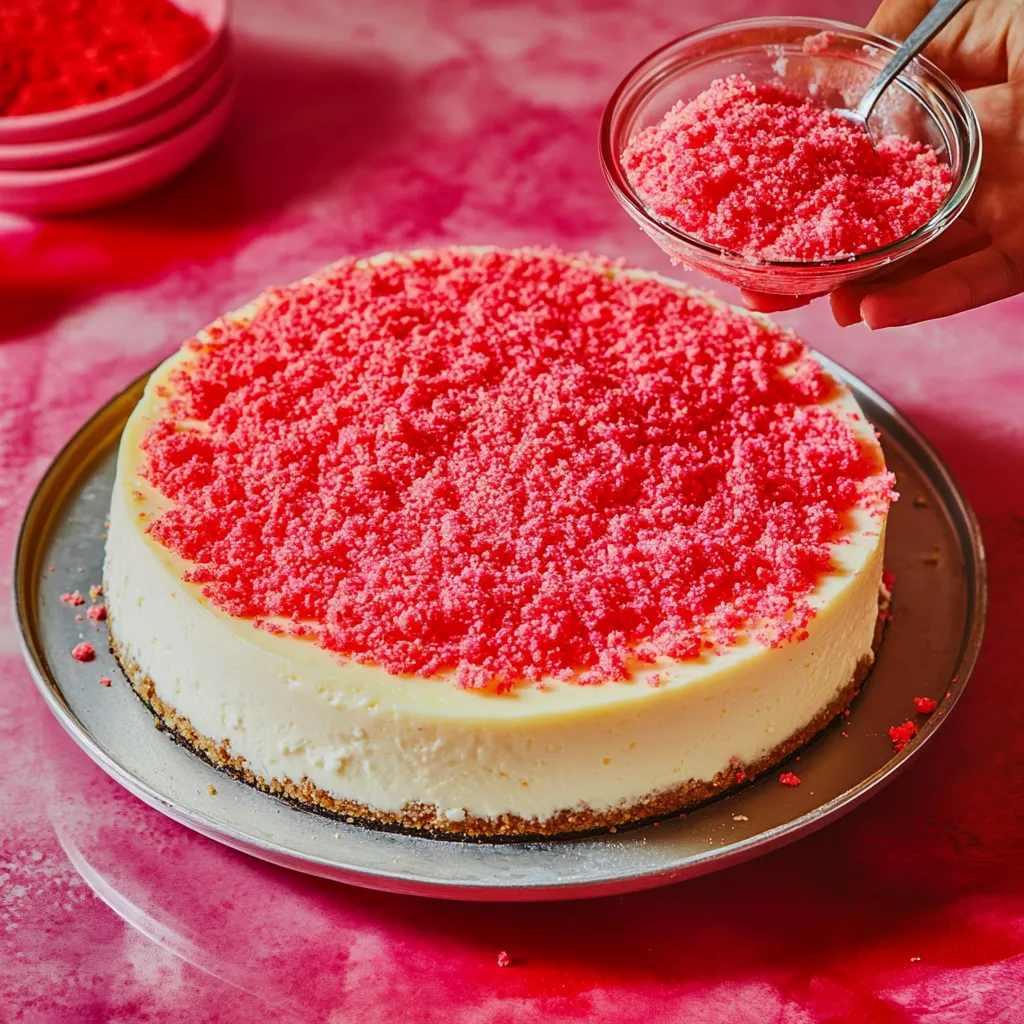
STEP 10: Add the Crunch Topping
Once the cheesecake is fully chilled and set, carefully remove it from the springform pan and transfer it to a serving plate. Take your strawberry crunch mixture and sprinkle it generously over the top of the cheesecake. You can use your hands or a spoon to gently press the crumbs onto the sides as well. Don’t worry about perfection—this rustic look is part of the charm. The topping sticks best if the cheesecake is slightly tacky or if you lightly press it onto the surface. It’s bright, fun, and adds that nostalgic flavor that people instantly recognize and love.STEP 11: Garnish and Serve
Now for the final touches. Add whipped cream swirls, fresh strawberries, and a drizzle of strawberry syrup if you’d like to dress it up even more. This step is totally optional, but it makes the presentation extra special—perfect for birthdays, brunches, or any event where you want to impress. When you’re ready to serve, use a sharp knife to slice cleanly through the layers. For neat slices, wipe the knife with a warm, damp cloth between cuts.Helpful Tips for the Perfect Strawberry Crunch Cheesecake:
Even though this cheesecake is straightforward to make, a few key tips can help ensure your final result is smooth, creamy, and bakery-worthy every time. From avoiding cracks to getting the perfect crunch topping, these little details can make all the difference.1. Use Room Temperature Ingredients
Make sure your cream cheese, eggs, and sour cream are at room temperature before you start mixing. This helps everything blend smoothly and evenly, preventing lumps in the batter.2. Don’t Overmix the Batter
Once you start adding the eggs, mix just until each one is incorporated. Overmixing at this stage can cause too much air in the batter, leading to cracks while baking.3. Bake Low and Slow
Stick to the lower temperature of 325°F. Cheesecakes do best with gentle heat, which helps them cook evenly and develop that signature creamy texture without overbaking.4. Don’t Skip the Cooling Time
Letting the cheesecake cool slowly in the oven (with the door cracked open) helps prevent sudden temperature changes that cause cracking. After that, chilling in the fridge is essential for the texture to fully set.5. Press the Topping Gently
When adding the strawberry crunch, don’t just sprinkle—gently press it onto the surface and sides so it sticks. A slightly tacky cheesecake helps the crumbs adhere better.6. Use a Hot Knife to Slice
For clean, neat slices, dip a sharp knife into hot water and wipe it dry before each cut. This keeps the layers smooth and defined.Fun Variations to Try:
Once you’ve made this cheesecake once, you might be tempted to get creative—and you absolutely should. Here are some easy and delicious ways to switch it up:1. Strawberry Shortcake Cheesecake Bars
Instead of using a springform pan, press the crust into a 9×13-inch baking dish and bake as bars. They’re easier to slice and serve at parties or potlucks.2. Chocolate Strawberry Crunch Cheesecake
Swap the golden Oreos in the topping for chocolate ones, or add mini chocolate chips to the cheesecake batter for a chocolate-strawberry combo.3. No-Bake Version
Skip the eggs and baking by using a no-bake cheesecake base (cream cheese, whipped topping, and sweetened condensed milk) and still top it with the strawberry crunch. Perfect for hot summer days.4. Swirled Strawberry Sauce
Add a swirl of homemade or store-bought strawberry sauce into the cheesecake batter before baking for a beautiful marbled effect and an extra hit of flavor.5. Lemon Twist
Add 1 tablespoon of lemon zest to the cheesecake batter for a fresh, citrusy note that complements the strawberries beautifully. These tips and variations let you truly make this cheesecake your own. Whether you stick to the classic or put a fun spin on it, the combination of creamy cheesecake, real strawberries, and crunchy topping will never go out of style.
Strawberry Crunch Cheesecake FAQ and Final Thoughts:
By now, your Strawberry Crunch Cheesecake is likely chilling in the fridge—or maybe it’s already been devoured slice by slice. Either way, this is the kind of dessert that leaves people asking questions: How do you get that smooth texture? Can you make it ahead? Is the topping crunchy the next day? In this section, I’ll answer all of the most common questions to help you master this cheesecake and feel confident making it anytime.1. Can I make this cheesecake ahead of time?
Yes, this is actually a perfect make-ahead dessert. You can prepare the entire cheesecake a day in advance. In fact, it’s even better after it’s been chilled overnight. Add the strawberry crunch topping just before serving for the freshest texture.2. Do I need to use a water bath?
This recipe doesn’t require a water bath because of the lower oven temperature and slow cooling process. If you’re worried about cracks, the gentle oven cooling method works just as well for most home bakers.3. Can I use frozen strawberries?
Fresh strawberries are best for the filling, as frozen ones can release too much moisture and make the cheesecake soggy. If using frozen, thaw and drain them thoroughly, then pat them dry before folding into the batter.4. How do I store leftovers?
Store leftover cheesecake in an airtight container in the refrigerator for up to 5 days. The topping will soften slightly over time but still tastes great. For the best crunch, keep extra topping separate and add it just before serving.5. Can I freeze the cheesecake?
Yes. Wrap the cooled, undecorated cheesecake (still in the pan or removed) tightly in plastic wrap and foil, then freeze for up to 2 months. Thaw in the refrigerator overnight. Add the topping and garnish after thawing.6. What can I use instead of freeze-dried strawberries?
If you can’t find freeze-dried strawberries, you can use strawberry-flavored gelatin powder mixed with crushed golden Oreos, but the flavor will be more artificial. Freeze-dried strawberries are preferred for their bold, natural taste.7. Can I make this in a different size pan?
Absolutely. You can use a 9×13-inch pan for bars or even cupcake tins for mini cheesecakes. Just adjust the baking time—bars may need about 35–40 minutes, and minis will bake in 18–22 minutes.Conclusion: Why This Cheesecake Is a Must-Try Dessert
There’s no question that this Ultimate Strawberry Crunch Cheesecake hits all the right notes—creamy, fruity, crunchy, and nostalgic. It brings together the comfort of a homemade cheesecake with the fun flavor and texture of those strawberry shortcake ice cream bars we all grew up with. It’s a dessert that looks impressive, but it’s completely doable for home bakers at any skill level. Whether you’re making it for a summer celebration, a holiday dessert table, or just because you’re craving something sweet and special, it’s guaranteed to be a hit. From the buttery golden Oreo crust to the real strawberry filling and that irresistible crumble topping, this cheesecake doesn’t just taste good—it creates memories. And the best part? You can easily customize it to suit your taste, mood, or occasion. If you try this recipe, I’d love to hear how it turned out. Did you stick with the classic version or try a fun variation? Drop a comment and let me know. Happy baking! Print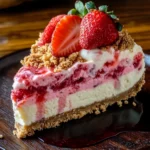
The Ultimate Strawberry Crunch Cheesecake You Have to Try
- Total Time: 6½ hours includes chilling time
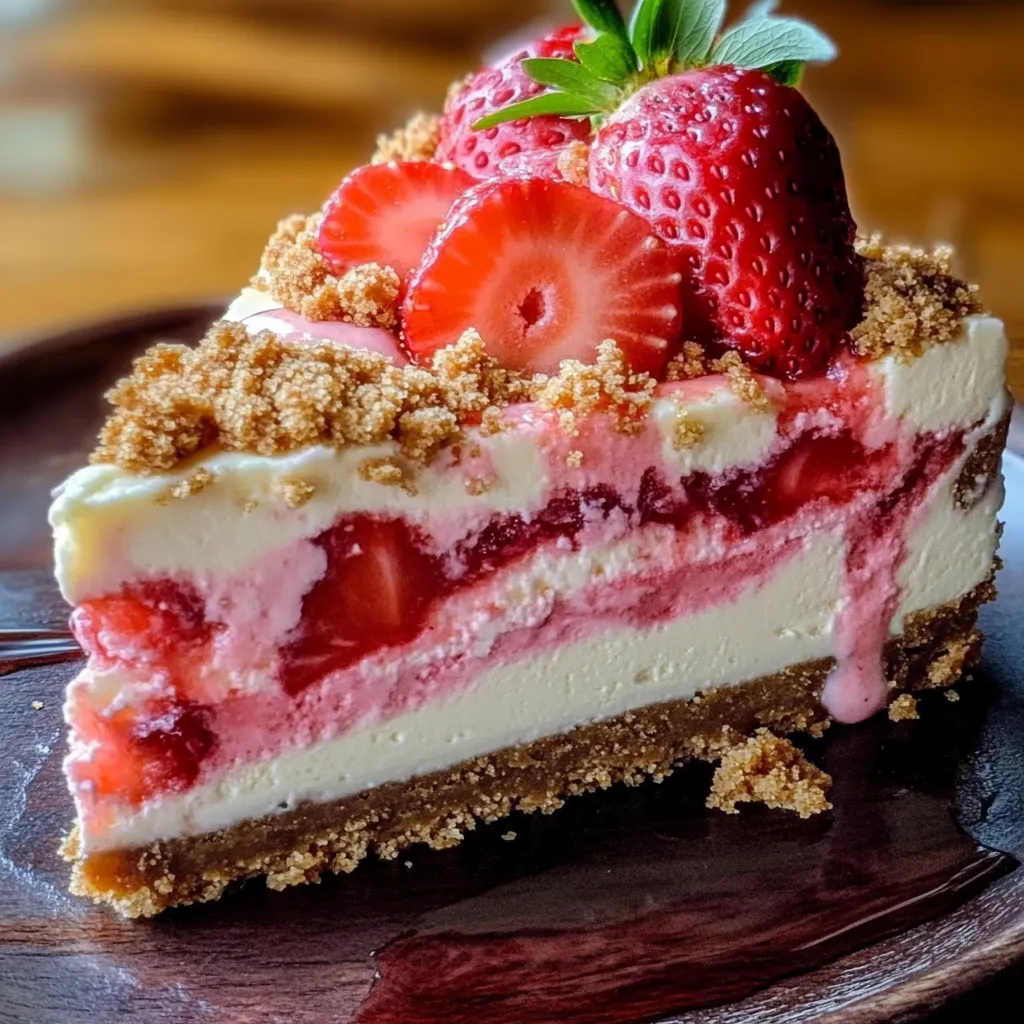
Description
This show-stopping strawberry crunch cheesecake layers a velvety cream cheese filling with juicy strawberries, a buttery golden Oreo crust, and a nostalgic strawberry shortcake crumble topping. It’s as beautiful as it is delicious!
Ingredients
For the crust:
-
1½ cups golden Oreo crumbs
-
¼ cup melted unsalted butter
-
2 tbsp granulated sugar
For the filling:
-
24 oz (680g) cream cheese, softened
-
1 cup granulated sugar
-
3 large eggs
-
¾ cup sour cream
-
1 tsp vanilla extract
-
1½ cups chopped strawberries
For the strawberry crunch topping:
-
½ cup freeze-dried strawberries
-
12 golden Oreos
-
2 tbsp melted butter
For garnish (optional):
-
Whipped cream
-
Fresh strawberries
-
Strawberry syrup
Instructions
1️⃣ Prep the oven: Preheat your oven to 325°F (160°C). Lightly grease a 9-inch springform pan.
2️⃣ Make the crust: In a bowl, mix together the golden Oreo crumbs, melted butter, and sugar. Press firmly into the bottom of the pan. Bake for 10 minutes, then let cool.
3️⃣ Prepare the filling: In a large bowl, beat the softened cream cheese until smooth. Add sugar and mix until well combined.
4️⃣ Add the eggs: Add the eggs one at a time, beating just until each is incorporated. Avoid overmixing to prevent cracks.
5️⃣ Add flavor and fruit: Stir in sour cream and vanilla. Gently fold in the chopped strawberries.
6️⃣ Assemble: Pour the cheesecake mixture over the cooled crust. Smooth the top and gently tap the pan on the counter to release any air bubbles.
7️⃣ Bake the cheesecake: Bake for 50–60 minutes, or until the center is mostly set but still slightly jiggly. Turn off the oven, crack the door, and let the cheesecake cool inside for 1 hour.
8️⃣ Chill: Remove from oven and refrigerate for at least 4 hours, preferably overnight.
9️⃣ Make the crunch topping: Pulse the freeze-dried strawberries and golden Oreos in a food processor until crumbly. Stir in melted butter until evenly combined.
🔟 Decorate: Once the cheesecake is chilled, release it from the springform pan. Sprinkle and lightly press the strawberry crunch onto the top and sides.
1️⃣1️⃣ Garnish and serve: Decorate with whipped cream, fresh strawberries, and strawberry syrup if desired. Slice and serve!
Notes
-
For best texture, always chill overnight.
-
Use room-temperature ingredients for a silky-smooth filling.
-
The crunch topping can be stored separately and added just before serving for max crispiness.
- Prep Time: 25 min
- Cook Time: 60 min