

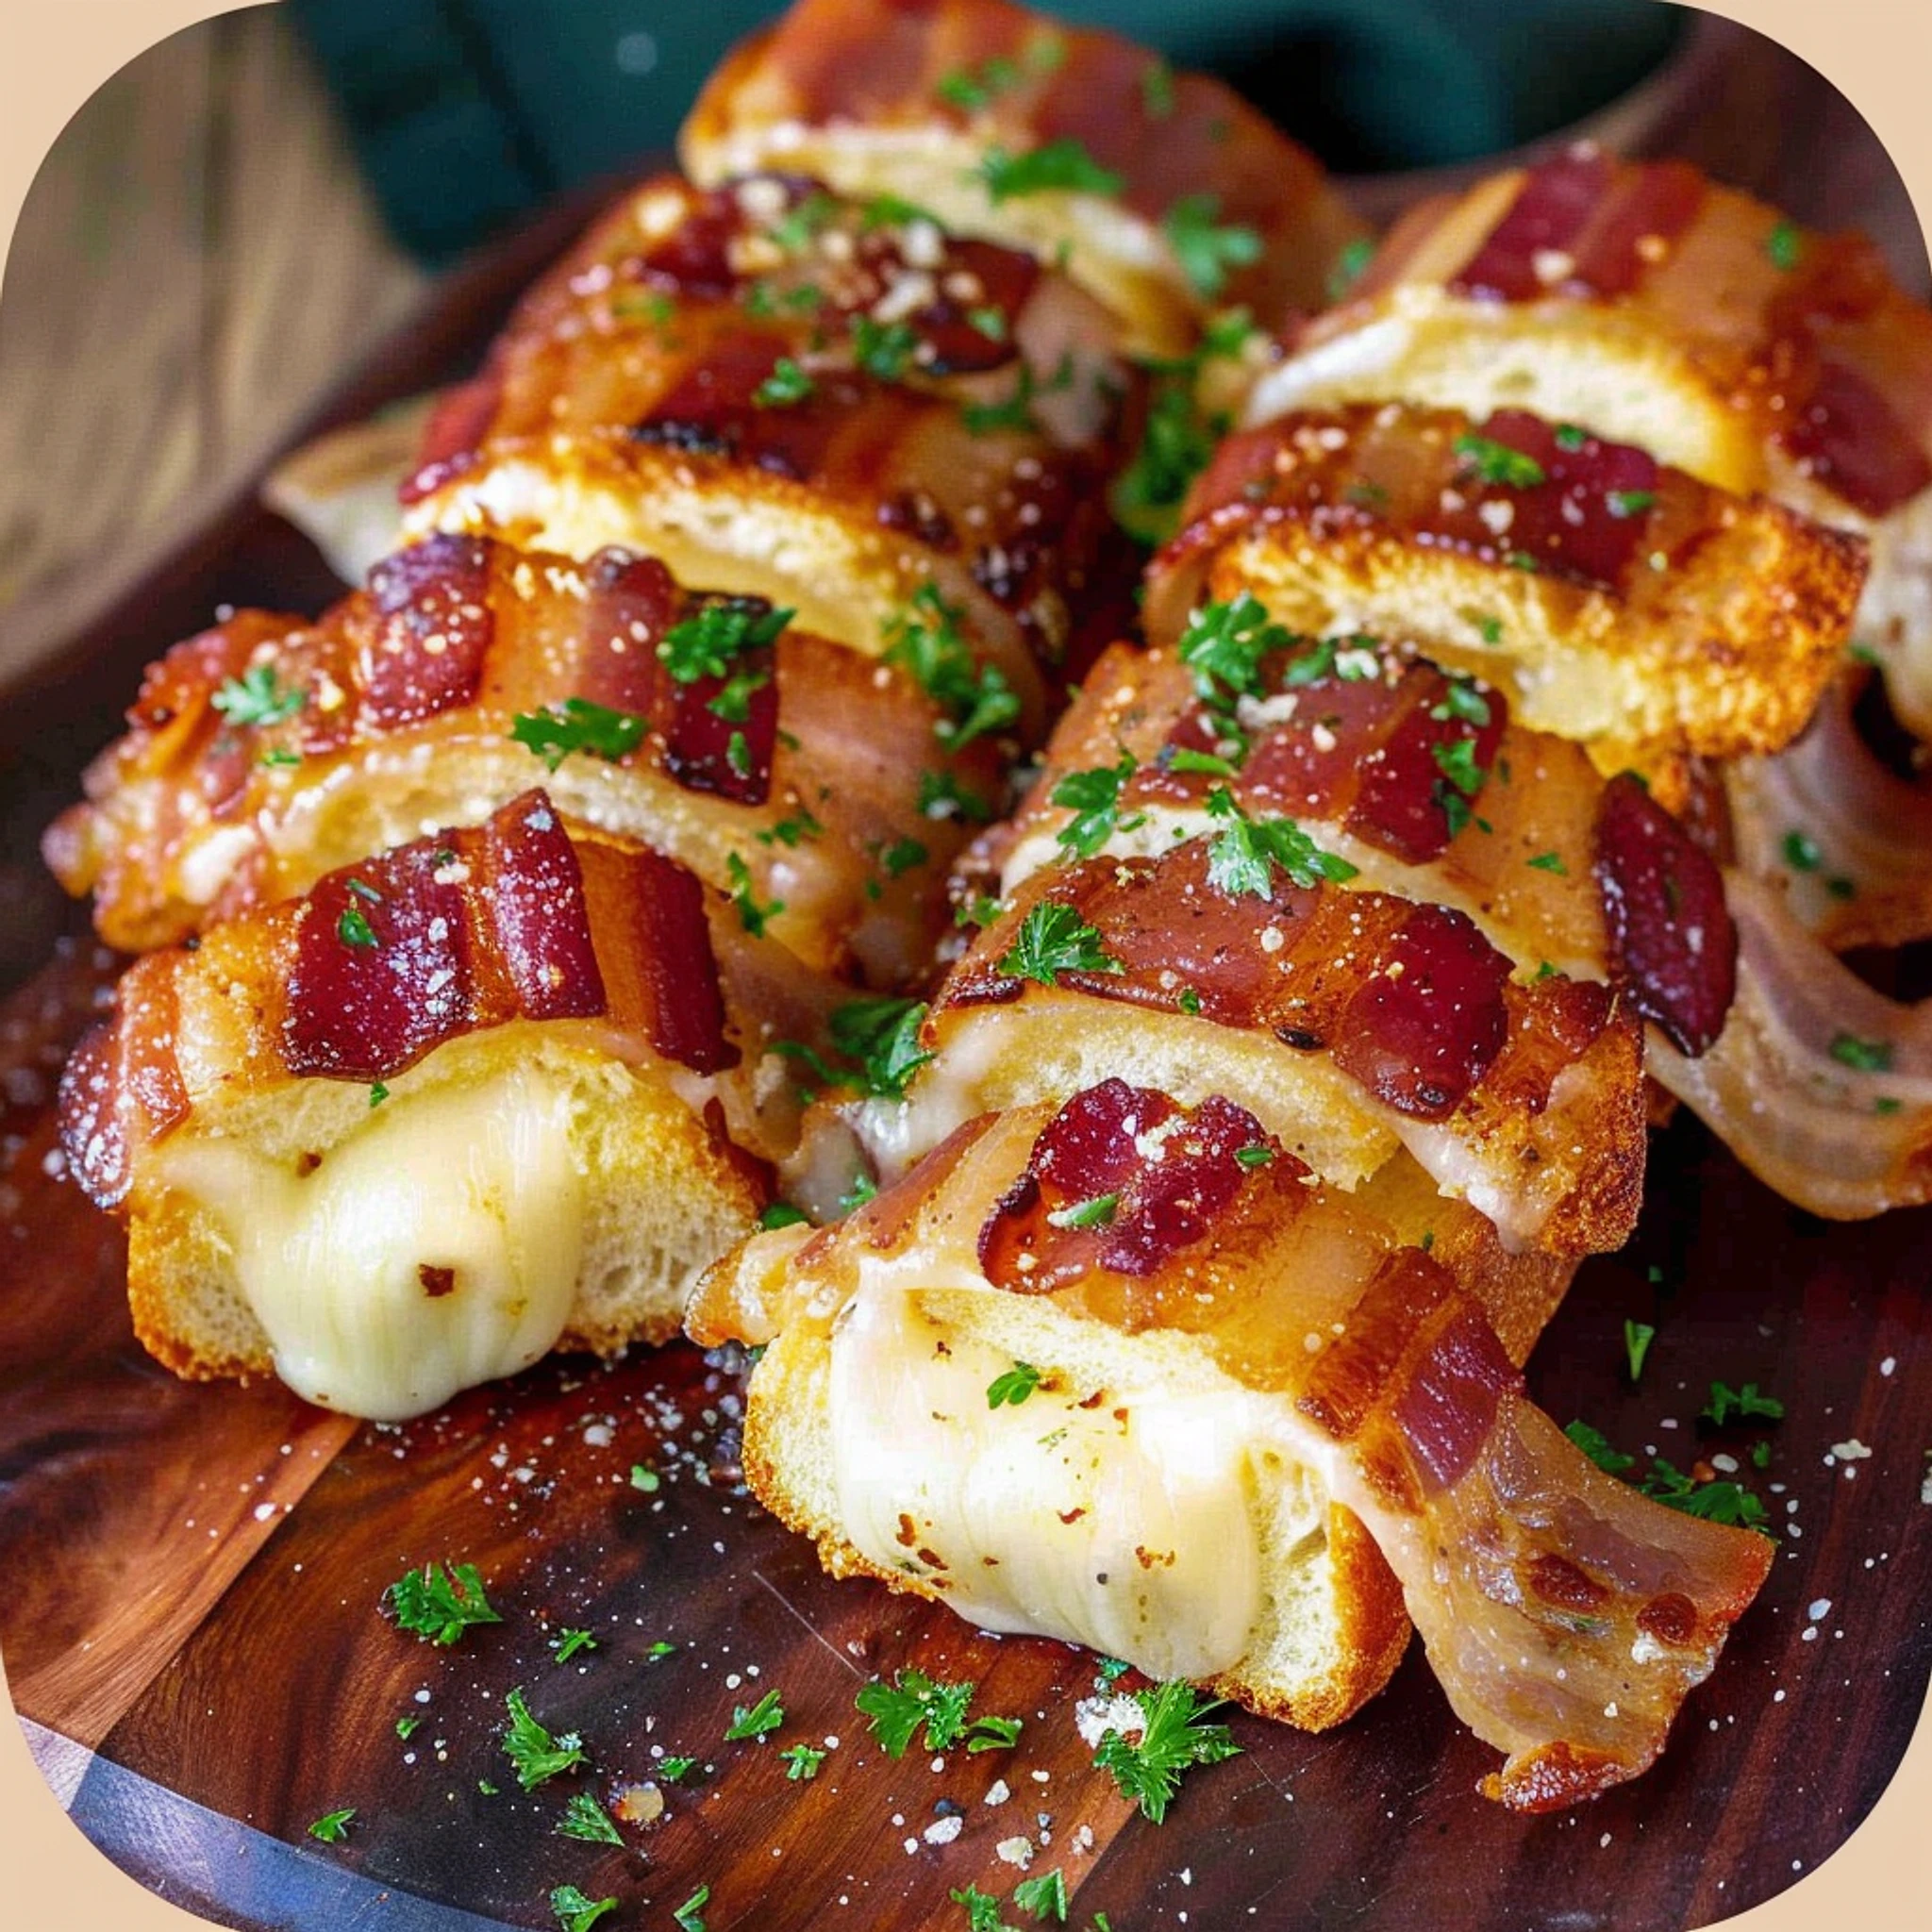
Bacon-Wrapped Grilled Cheese Fingers Crispy, cheesy bites of grilled cheese wrapped in smoky bacon—an irresistible party snack or comfort food treat! Total time: 35 minutes Yield: 12 grilled cheese fingers. Now, if that doesn’t make your mouth water, I don’t know what will! Seriously, these little bites are like a hug in food form. And let’s be real: who doesn’t love a good grilled cheese? But when you add bacon to the mix, it elevates this classic comfort food to a whole new level.
So, here’s a little backstory: I remember the first time I attempted to make a grilled cheese sandwich. I was a college student, living in a tiny apartment with a dinky little stove. My culinary skills were, well, let’s just say they were in their infancy. I thought I could impress my friends with a simple grilled cheese, but what I ended up with was an overcooked, burnt mess. The bread was blackened on the outside, and the cheese? Well, it never even melted. It was a disaster! But, hey, that was all part of the learning process.
Fast forward a few years, and I discovered the magic of bacon-wrapped everything. I mean, who wouldn’t want to wrap their favorite comfort foods in crispy, smoky bacon? That’s when the idea hit me—why not combine the two? Thus, the Bacon-Wrapped Grilled Cheese Fingers were born. They’re perfect for parties, game nights, or even a cozy night in when you just want something delicious. This recipe is for everyone—the busy home cook, the novice wanting to impress, or even the seasoned chef looking for a fun twist on a classic.
Why You’ll Love This Recipe
- Quick to Make: Ready in just 35 minutes, perfect for a last-minute gathering.
- Budget-Friendly: Uses simple ingredients that won’t break the bank.
- Flavor Explosion: The combination of gooey cheese and crispy bacon is unbeatable.
- Easy to Customize: Swap in your favorite cheese or add spices to the batter.
- Kid-Friendly: Kids love these crispy, cheesy bites (and so do adults!).
Honestly, the best part about these fingers is that they’re so straightforward. If you can butter bread and turn on a stove, you can make these. And trust me, once you get the hang of it, you’ll want to make them on repeat.
Ingredients You’ll Need
- 6 slices of sandwich bread: This is your base. You can use white, whole wheat, or even sourdough—whatever you have on hand.
- 12 slices of beef bacon: The star of the show! It adds that smoky flavor that pairs perfectly with the cheese.
- 6 slices cheddar cheese: Cheddar is classic, but feel free to experiment with your favorite melting cheese.
- 2 tablespoons butter, softened: This is key for achieving that golden, crispy crust.
- 1 tablespoon garlic powder (optional): Adds an extra layer of flavor. Trust me, it’s worth it!
- Fresh parsley, chopped: For garnish. It makes everything look fancy, even if it’s just grilled cheese!
When I first made these, I realized I didn’t have garlic powder, so I used some dried herbs I had lying around. It turned out great! So, don’t stress if you’re missing something; cooking is all about improvisation.
Let’s Get Started
Step 1: Prepare the Bread
Lightly spread butter on both sides of each slice of bread. If you’re feeling adventurous, sprinkle garlic powder on the buttered sides. This step is crucial for that crispy texture and flavorful crust. You want to see a nice, even layer of butter—don’t skimp on it!
Step 2: Make the Grilled Cheese
Place a slice of cheddar cheese between two slices of bread. Cook in a skillet over medium heat until the bread is golden brown and the cheese is melted. You’ll hear that satisfying sizzle when you place the sandwich in the pan. Keep an eye on it to avoid burning. Flip it carefully when it’s ready, and repeat this process until all sandwiches are made. If you’re like me and have a small skillet, you might have to do this in batches, but trust me, it’s worth the wait!
Step 3: Slice into Fingers
Allow the sandwiches to cool slightly, then cut each one into 2 equal fingers. You’ll end up with a total of 12 fingers, perfect for sharing (or not—no judgment here). The cooling part is important because it makes them easier to handle and prevents the cheese from spilling out everywhere.
Wrapping It Up
Step 4: Wrap with Beef Bacon
Take each grilled cheese finger and wrap it with one slice of beef bacon. Make sure the bacon overlaps slightly for full coverage. If necessary, secure the bacon with toothpicks. The bacon will crisp up beautifully in the oven, so don’t worry about it being undercooked at this stage.
Step 5: Cook the Bacon-Wrapped Fingers
Arrange the wrapped fingers on a baking sheet lined with parchment paper. Bake at 400°F (200°C) for 15–20 minutes, flipping them halfway through, until the bacon is crispy. You’ll know they’re done when they look golden brown and smell amazing. Seriously, your kitchen will smell like heaven!
Step 6: Serve
Garnish with freshly chopped parsley, remove any toothpicks, and serve hot. These are best enjoyed right out of the oven when the cheese is still ooey-gooey, and the bacon is crispy. Pair them with a dipping sauce like ranch or marinara if you want to get fancy.
Tips for the Best Bacon-Wrapped Grilled Cheese Fingers
- Use room temperature butter for easier spreading.
- Keep an eye on the bacon while it’s baking; if it’s cooking faster than the cheese is melting, lower the temperature slightly.
- Feel free to experiment with different cheeses—mozzarella, pepper jack, or even a spicy cheese for a kick!
- If you’re short on time, you can make the grilled cheese sandwiches ahead of time and wrap them in bacon later.
- Use a toothpick to secure the bacon if it’s not sticking. It’s a simple fix to keep everything together.
Storage Tips
If you happen to have leftovers (not likely, but hey, it happens), store them in an airtight container in the fridge. They’ll last about 2-3 days. Reheat them in the oven to restore that crispy texture—microwaving will just make them soggy, which is a big no-no. Honestly, I usually just eat them cold right out of the fridge. They’re that good!
Frequently Asked Questions About Bacon-Wrapped Grilled Cheese Fingers
Can I make these ahead of time?
Absolutely! You can prepare the sandwiches and wrap them in bacon, then refrigerate them until you’re ready to bake. Just add a few extra minutes to the baking time if they’re cold from the fridge.
What’s the best way to reheat leftovers?
The oven is your best friend here. Preheat it to 350°F (175°C) and bake for about 10 minutes or until warmed through and crispy.
Can I use turkey bacon instead?
Yes, you can! Just keep in mind that turkey bacon may not get as crispy as beef bacon, but it’ll still be tasty.
What dipping sauces go well with these?
Ranch, marinara, and even honey mustard work wonderfully. Get creative!
Can I freeze these?
Yes! After baking, let them cool completely, then freeze them in an airtight container. When you’re ready to eat, bake from frozen, adding a few extra minutes to the cook time.
Final Thoughts
So, there you have it—Bacon-Wrapped Grilled Cheese Fingers that are not just a treat, but a fun little project in the kitchen. Honestly, I can’t wait to whip these up again for my next gathering (or just for a cozy night in with a good movie). They remind me that cooking can be simple, delicious, and a little bit indulgent—all at the same time.
Next time you find yourself in a cooking rut, remember this recipe. It’s all about having fun and experimenting. Until next time, happy cooking!

Bacon-Wrapped Grilled Cheese Fingers
Ingredients
- 6 slices of sandwich bread
- 12 slices of beef bacon
- 6 slices cheddar cheese (or your favorite melting cheese)
- 2 tablespoons butter, softened
- 1 tablespoon garlic powder (optional, for extra flavor)
- Fresh parsley, chopped (for garnish)
Instructions
- Prepare the bread: Lightly spread butter on both sides of each slice of bread. If desired, sprinkle garlic powder on the buttered sides.
- Make the grilled cheese: Place a slice of cheddar cheese between two slices of bread. Cook in a skillet over medium heat until the bread is golden brown and the cheese is melted. Repeat this process until all sandwiches are made.
- Slice into fingers: Allow the sandwiches to cool slightly, then cut each one into 2 equal fingers, resulting in a total of 12 fingers.
- Wrap with beef bacon: Take each grilled cheese finger and wrap it with one slice of beef bacon. If necessary, secure the bacon with toothpicks.
- Cook the bacon-wrapped fingers: Arrange the wrapped fingers on a baking sheet lined with parchment paper. Bake at 400°F (200°C) for 15–20 minutes, flipping them halfway through, until the bacon is crispy.
- Serve: Garnish with freshly chopped parsley, remove any toothpicks, and serve hot.


