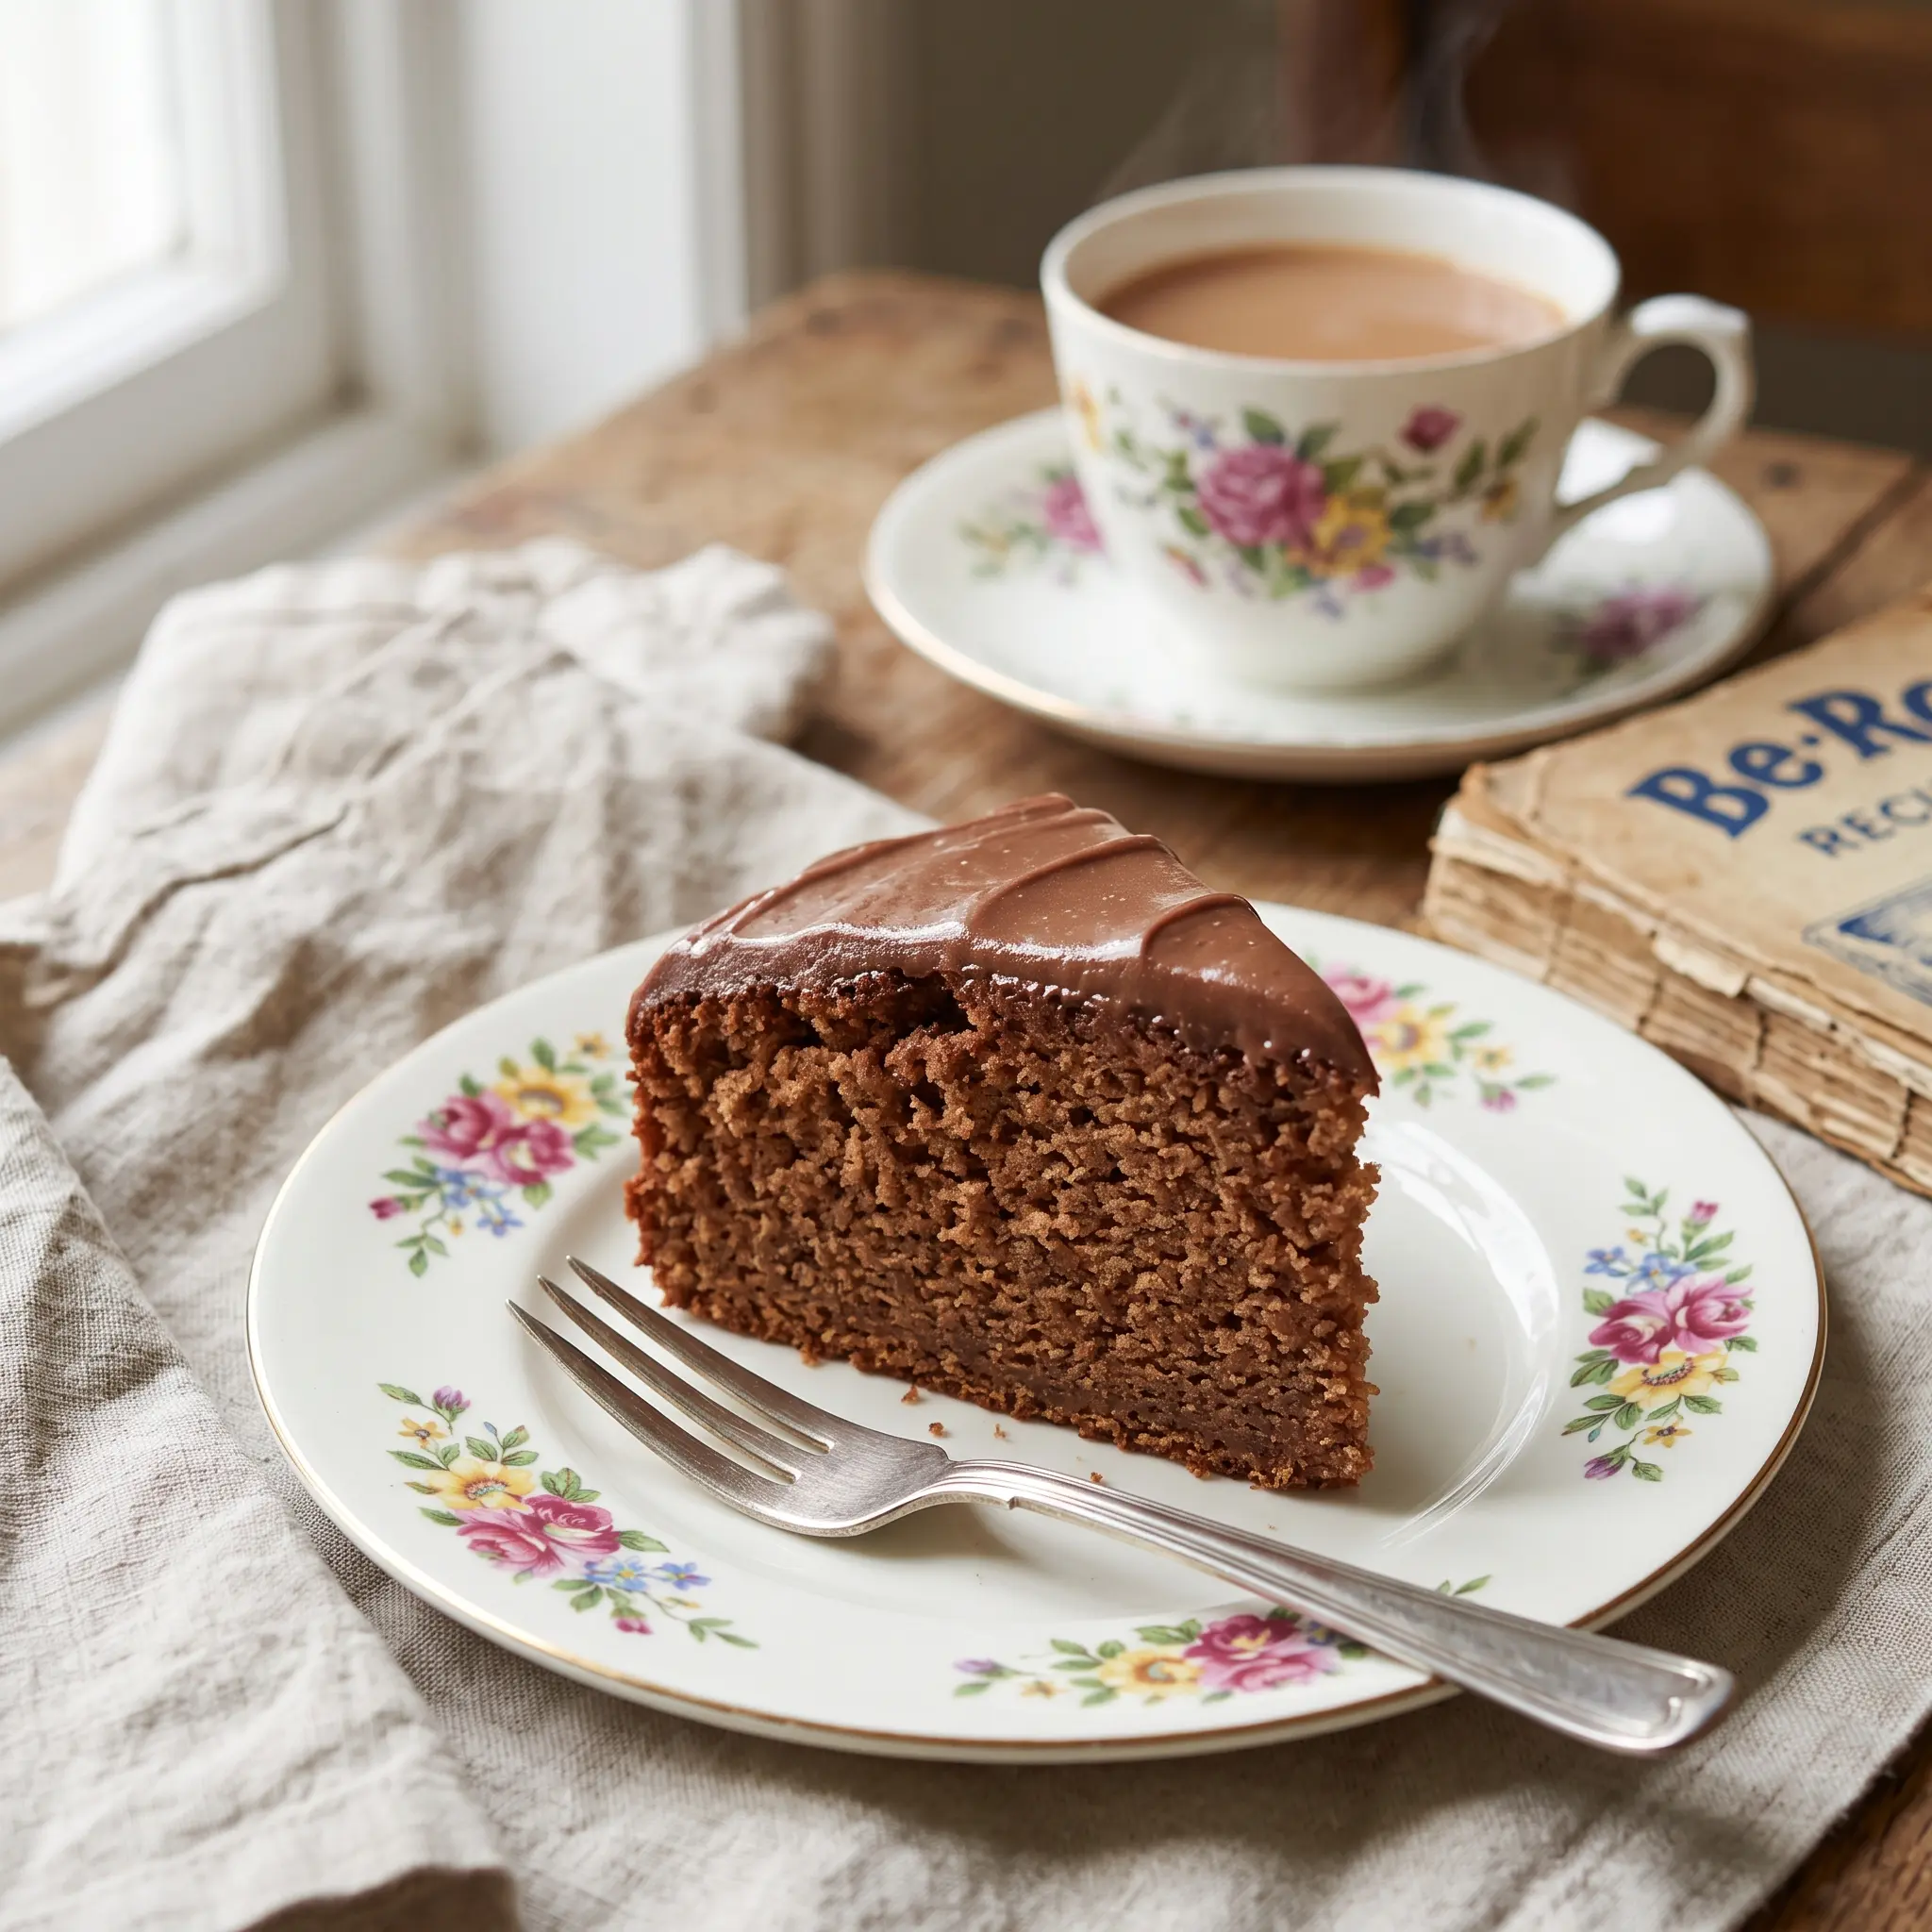
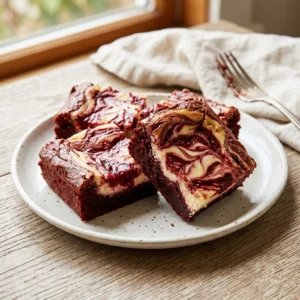
Classic Red Velvet Brownies with Cheesecake Layer are a decadent treat that combines the rich, fudgy texture of brownie with the creamy, tangy goodness of cheesecake. Just imagine cutting into these luscious brownies—deep red and swirled with a smooth, velvety cheesecake center. The aroma wafts through your kitchen, beckoning everyone to gather around. They’re perfect for a cozy weeknight dessert or a festive holiday gathering, sure to impress friends and family with their vibrant colors and delightful flavors.
- Why This Recipe Is Worth Your Time
- Main Ingredients
- Tools Needed
- Step-by-Step Instructions
- Pro Tips for Perfect Brownies
- Serving Ideas and Pairings
- Variations and Swaps
- Leftovers and Storage Tips
- Nutrition Notes
- Frequently Asked Questions
Why This Classic Red Velvet Brownies with Cheesecake Layer Is Worth Your Time
These Classic Red Velvet Brownies with Cheesecake Layer stand out for their perfect balance of flavors and textures. The combination of rich chocolate from the red velvet brownie base and the creamy cheesecake layer creates a delightful contrast that keeps you coming back for more. Not only do they look stunning, but they also deliver a luxurious taste experience that feels indulgent yet achievable. Plus, they are relatively simple to make, making them a great option for both novice bakers and seasoned pros alike.
Main Ingredients for Classic Red Velvet Brownies with Cheesecake Layer
To create these brownies, you’ll need a few key ingredients that come together beautifully. Here’s what you’ll need:
- 5 oz butter (unsalted) – Adds richness and moisture to the brownies.
- 3/4 cup sugar – Sweetens the batter and balances the flavors.
- 1 1/2 tsp vanilla – Enhances the overall flavor profile.
- 1/3 cup cocoa powder – Provides the chocolate flavor characteristic of red velvet desserts.
- 1/8 tsp salt – Balances the sweetness and enhances flavors.
- 1 1/2 tbsp red food coloring – Gives the brownies their signature red hue.
- 1 tsp vinegar – Reacts with the baking soda to create lift and tenderness.
- 2 large eggs (room temperature, about 70°F) – Binds the ingredients and adds moisture.
- 3/4 cup flour – Provides structure to the brownies.
- 8 oz cream cheese (softened) – Forms the rich and creamy cheesecake layer.
- 1/4 cup sugar – Sweetens the cheesecake layer.
- 1 large egg – Binds the cheesecake mixture.
- 1/2 tsp vanilla – Adds flavor to the cheesecake layer.
Tools Needed for Classic Red Velvet Brownies with Cheesecake Layer
| Tool | Purpose / what it helps with |
| 8×8 inch baking dish or 9-inch square pan | Holds the brownie batter while baking. |
| Medium saucepan | Melt the butter and mix the brownie batter. |
| Wire whisk | Helps combine ingredients smoothly. |
| Spatula | Used for mixing and spreading the batter. |
| Mixing bowls | For preparing both the brownie and cheesecake mixtures. |
| Knife or skewer | For swirling the brownie batter into the cheesecake layer. |
| Cooling rack | Allows brownies to cool evenly after baking. |
Step-by-Step Instructions for Classic Red Velvet Brownies with Cheesecake Layer
Follow these steps to create your delicious Classic Red Velvet Brownies with Cheesecake Layer:
- Preheat your oven to 375°F. While it heats, grease an 8×8 inch baking dish or 9-inch square pan with butter or cooking spray, ensuring even coverage on the bottom and sides to prevent sticking and allow for easy removal once cooled.
- In a medium saucepan, melt the butter over low heat, then remove from the heat and stir in the 3/4 cup sugar until well combined. Add the 1 1/2 tsp vanilla, cocoa powder, salt, red food coloring, and vinegar, mixing until the cocoa is completely incorporated and the mixture achieves a deep burgundy color. Crack the room-temperature eggs into a small bowl, beat them lightly, and then add them to the chocolate mixture, stirring until smooth. Gently fold in the flour with a spatula until just combined—taking care not to overmix. Set aside 1/4 cup of this batter in a small bowl for the top layer.
- Pour the larger portion of the red velvet brownie batter (approximately 3/4 of the mixture) into your prepared baking dish, spreading it evenly into the corners to create a solid base layer that will provide structure and a fudgy texture for the brownies.
- In a separate bowl, beat the softened cream cheese with the 1/4 cup sugar until smooth and fluffy, which should take about 1-2 minutes. Add the large egg and 1/2 tsp vanilla, beating until fully incorporated and creamy with no lumps. Carefully spread this cheesecake mixture evenly over the brownie base layer, taking care not to disturb the layer underneath.
- Spoon the reserved 1/4 cup of red velvet brownie batter (from Step 2) in small dollops across the top of the cheesecake layer. Using a thin knife or skewer, gently swirl through the batter in a figure-8 or back-and-forth pattern to create decorative streaks—being careful not to overmix to maintain the distinct layers. The contrast between the red velvet and cream cheese will create a beautiful marbled effect.
- Bake the brownies for 30-35 minutes, until the top is set but still has a slight jiggle in the center when you gently shake the pan. The cheesecake layer should be mostly set, and the edges of the brownie should slightly pull away from the sides of the pan. Once baked, remove from the oven and let cool to room temperature on a wire rack for about 1-2 hours before cutting into squares. For cleaner cuts, I recommend refrigerating these for at least 1 hour after cooling to ensure the layers are fully set and the cheesecake firms up.
Pro Tips for Perfect Classic Red Velvet Brownies with Cheesecake Layer
- Use room-temperature ingredients to ensure even mixing and a smooth batter.
- Don’t overmix the brownie batter once you add the flour; this will keep the brownies tender.
- For cleaner cuts, use a sharp knife and wipe it clean after each slice.
- Letting the brownies cool completely before cutting helps maintain the shape and layers.
- Feel free to adjust the amount of red food coloring for a more or less intense color.
- Top with a dusting of powdered sugar or cocoa powder for a beautiful presentation.
- Experiment with different extracts like almond or mint to give a twist to the flavor.
Serving Ideas and Pairings
- Serve warm with a scoop of vanilla ice cream on the side.
- Pair with fresh berries to add a tart contrast to the sweetness.
- Drizzle with chocolate or caramel sauce for extra indulgence.
- Enjoy with a cup of coffee or a glass of milk for a comforting treat.
- Top with whipped cream and chocolate shavings for a fancy presentation.
Variations and Swaps for Classic Red Velvet Brownies with Cheesecake Layer
Faster Weeknight Version
Use a boxed red velvet cake mix for a quick alternative. Prepare according to the package instructions and swirl in a pre-made cheesecake mixture for a simplified version.
Lighter Version
Substitute half the butter for unsweetened applesauce and use low-fat cream cheese in the cheesecake layer. This will reduce calories while still maintaining flavor.
High-Protein Version
Add a scoop of protein powder to the brownie batter. You can also replace some of the all-purpose flour with almond flour for added protein content.
Budget-Friendly Version
Replace the cream cheese with a homemade cottage cheese mixture blended until smooth for a cost-effective cheesecake layer.
Leftovers and Storage Tips
- Store leftover brownies in an airtight container at room temperature for up to 3 days.
- For longer storage, refrigerate for up to a week or freeze for up to 3 months.
- To reheat, microwave for about 10-15 seconds or until warm.
- Thaw frozen brownies in the refrigerator overnight before serving.
- For best texture, let refrigerated brownies sit at room temperature for a few minutes before enjoying.
Nutrition Notes
Each serving of these brownies contains approximately 250 calories, with a good mix of fats and carbohydrates. To adjust for dietary preferences, consider using low-fat cream cheese or sugar alternatives. Always check labels for specific nutrition information based on your ingredient choices.
Frequently Asked Questions About Classic Red Velvet Brownies with Cheesecake Layer
Can I make Classic Red Velvet Brownies with Cheesecake Layer ahead of time?
Yes, you can make these brownies a day in advance. Just be sure to store them in the refrigerator and bring them to room temperature before serving for the best flavor.
What is the best way to store Classic Red Velvet Brownies with Cheesecake Layer?
Store them in an airtight container at room temperature for up to 3 days, or refrigerate for up to a week.
Can I use a different type of food coloring for the Classic Red Velvet Brownies?
Yes, you can use gel food coloring or even natural alternatives, but the color may vary. Adjust the amount until you reach your desired hue.
How do I know when my Classic Red Velvet Brownies with Cheesecake Layer are done baking?
They are done when the top is set and has a slight jiggle in the center. A toothpick inserted should come out with a few moist crumbs.
What can I serve with Classic Red Velvet Brownies with Cheesecake Layer?
These brownies pair wonderfully with ice cream, fresh fruit, or a drizzle of chocolate sauce.
Now that you have this delightful recipe for Classic Red Velvet Brownies with Cheesecake Layer, I hope you’ll give it a try! They are the perfect indulgent dessert that will leave everyone wanting more.
Classic Red Velvet Brownies with Cheesecake Layer Delight
Ingredients
- 5 oz butter (unsalted)
- 3/4 cup sugar
- 1 1/2 tsp vanilla
- 1/3 cup cocoa powder
- 1/8 tsp salt
- 1 1/2 tbsp red food coloring
- 1 tsp vinegar
- 2 large eggs (room temperature, about 70°F)
- 3/4 cup flour
- 8 oz cream cheese (softened)
- 1/4 cup sugar
- 1 large egg
- 1/2 tsp vanilla
Instructions
- Preheat your oven to 375°F. While it heats, grease an 8x8 inch baking dish or 9-inch square pan with butter or cooking spray, ensuring even coverage on the bottom and sides to prevent sticking and allow for easy removal once cooled.
Pour the larger portion of the red velvet brownie batter (approximately 3/4 of the mixture) into your prepared baking dish, spreading it evenly into the corners to create a solid base layer that will provide structure and a fudgy texture for the brownies.
- In a separate bowl, beat the softened cream cheese with the 1/4 cup sugar until smooth and fluffy, which should take about 1-2 minutes. Add the large egg and 1/2 tsp vanilla, beating until fully incorporated and creamy with no lumps. Carefully spread this cheesecake mixture evenly over the brownie base layer, taking care not to disturb the layer underneath.
- Spoon the reserved 1/4 cup of red velvet brownie batter (from Step 2) in small dollops across the top of the cheesecake layer. Using a thin knife or skewer, gently swirl through the batter in a figure-8 or back-and-forth pattern to create decorative streaks—being careful not to overmix to maintain the distinct layers. The contrast between the red velvet and cream cheese will create a beautiful marbled effect.
- Bake the brownies for 30-35 minutes, until the top is set but still has a slight jiggle in the center when you gently shake the pan. The cheesecake layer should be mostly set, and the edges of the brownie should slightly pull away from the sides of the pan. Once baked, remove from the oven and let cool to room temperature on a wire rack for about 1-2 hours before cutting into squares. For cleaner cuts, I recommend refrigerating these for at least 1 hour after cooling to ensure the layers are fully set and the cheesecake firms up.