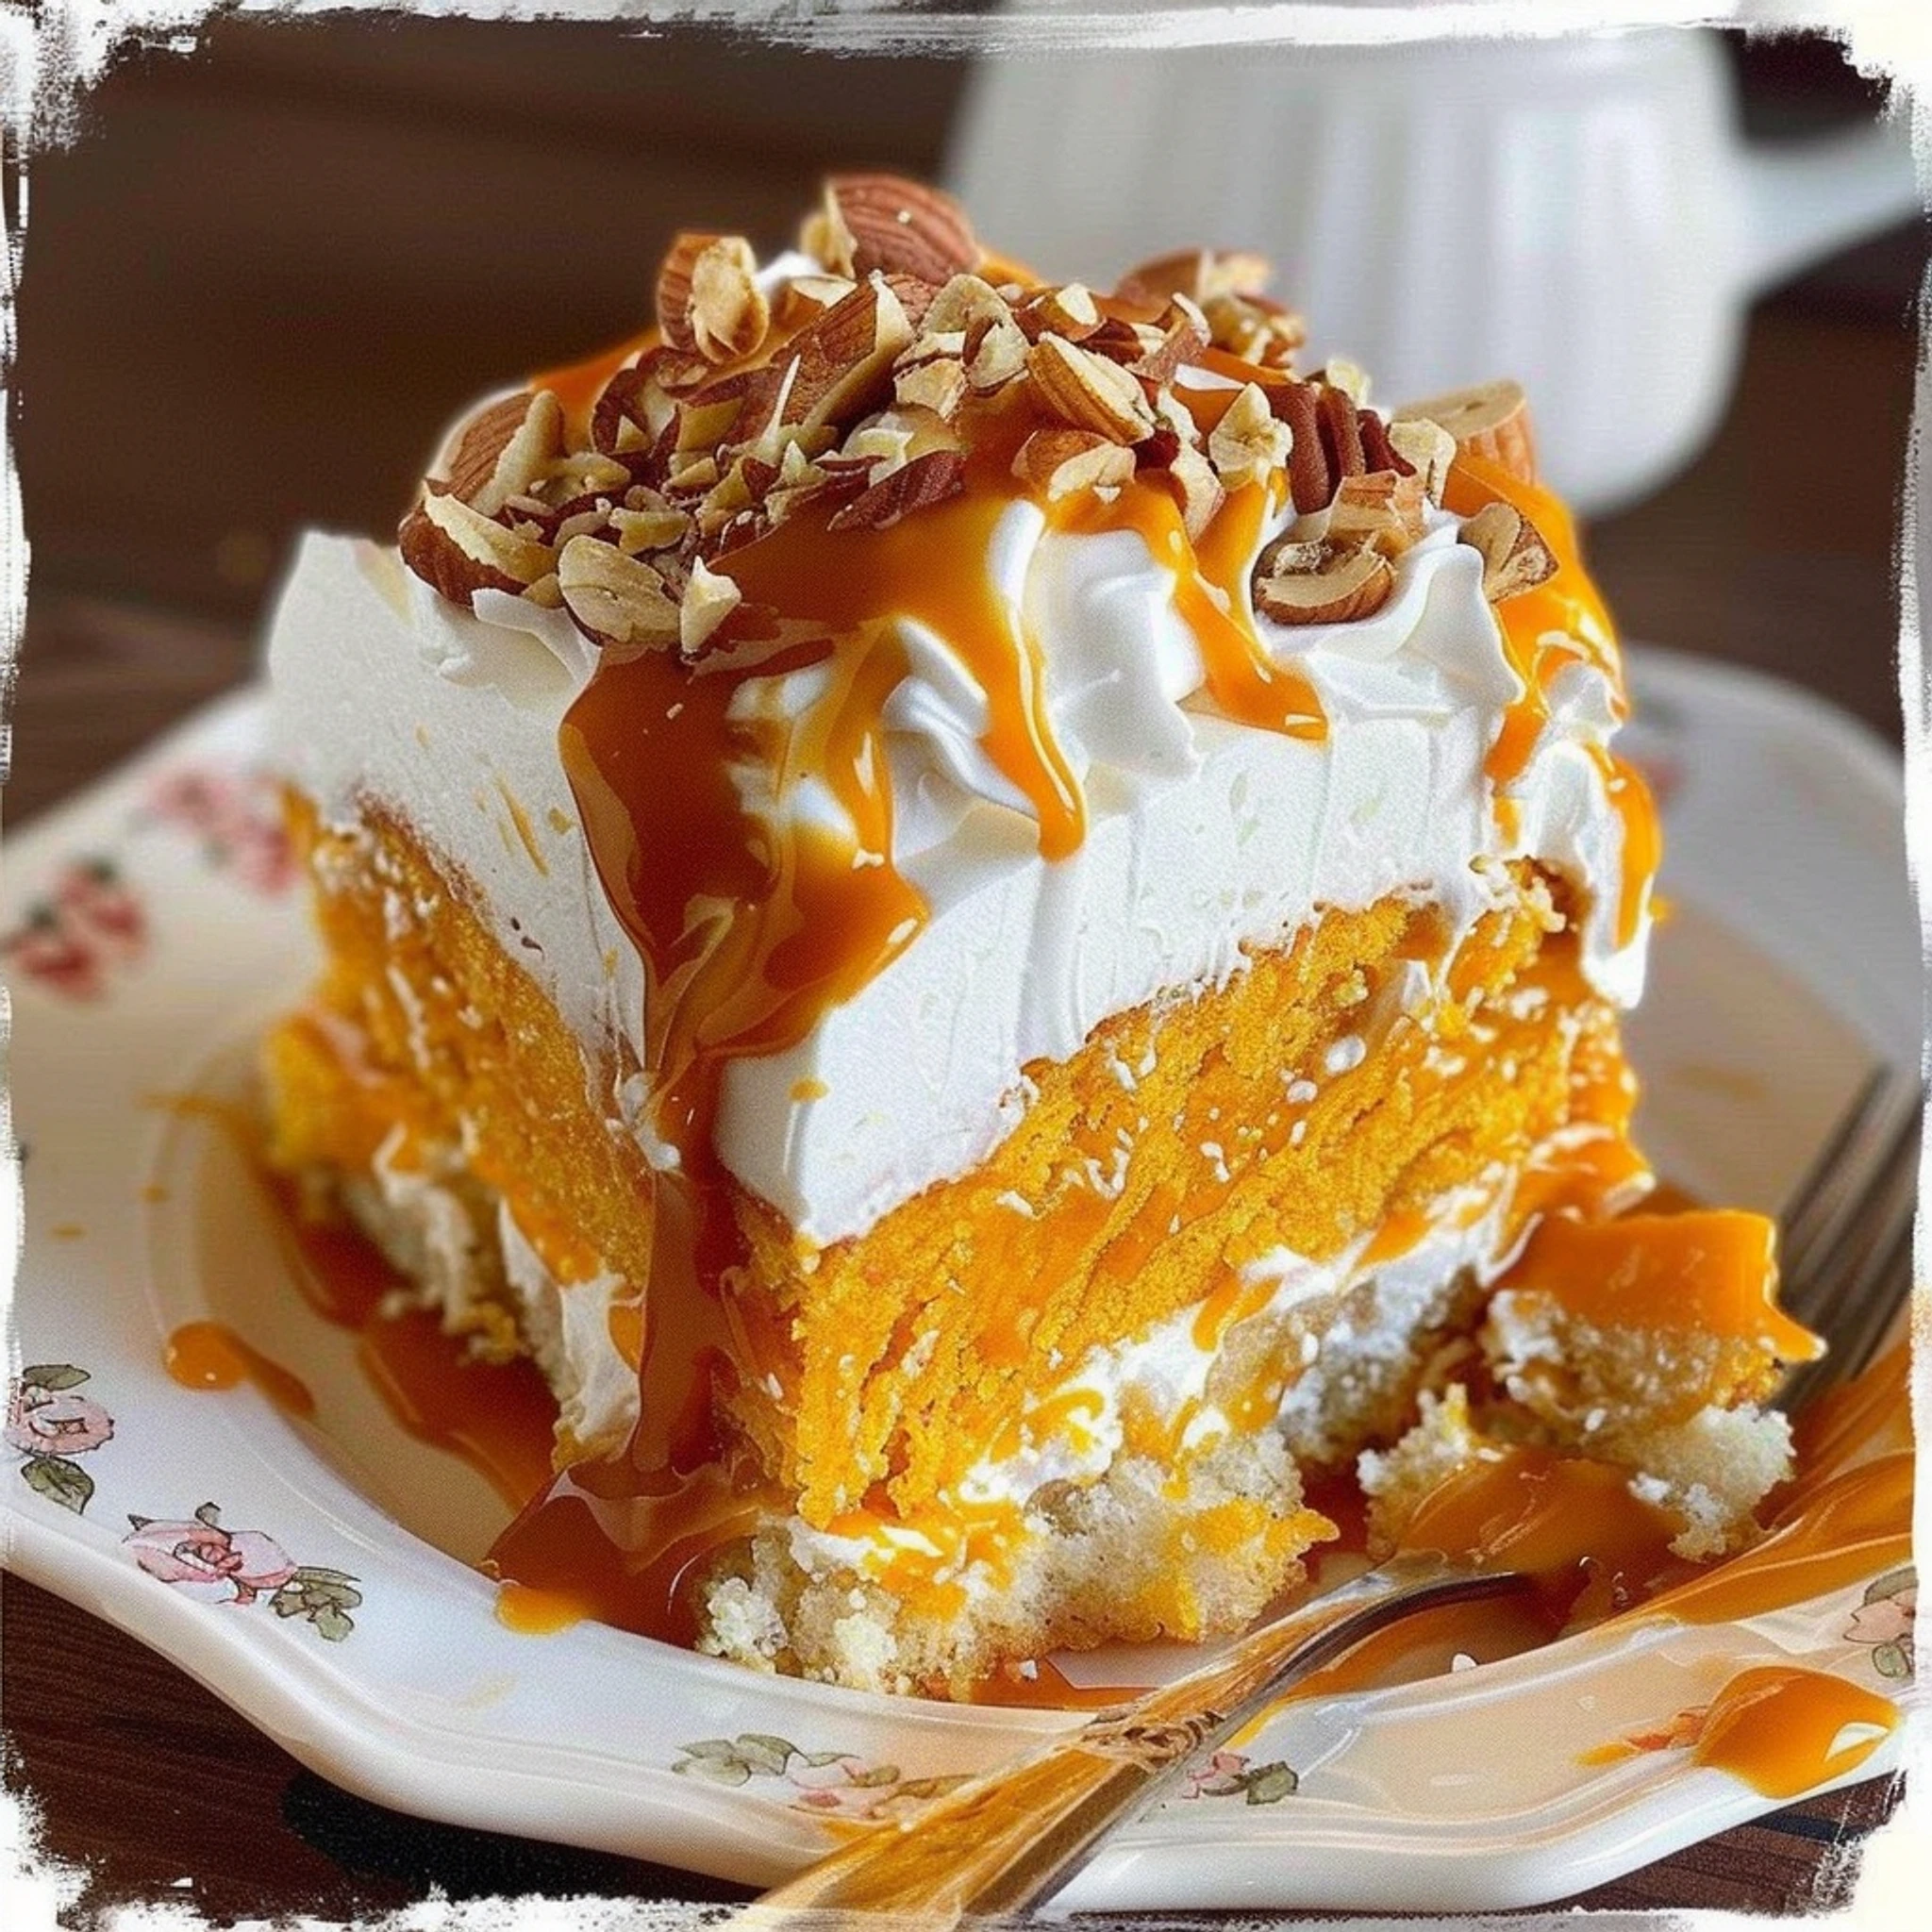
When it comes to baking treats that are both delicious and nostalgic, Nut Roll Cookies are a perfect choice. These buttery, walnut-filled pastries are not just a treat but a piece of tradition, especially around the holidays. With their golden-brown crust and sweet, nutty filling, Nut Roll Cookies are the kind of dessert that brings people together.
Whether you’re preparing them for a family gathering or baking them as a gift, these cookies are sure to please everyone with their irresistible combination of flavors and textures. The rich dough, paired with the cinnamon-spiced walnut filling, makes these cookies a delightful experience with every bite.
If you’ve never made them before, don’t worry! This recipe is easy to follow, and you’ll be able to bake a batch of fresh Nut Roll Cookies that taste just like the ones grandma used to make. Plus, they’re incredibly customizable—you can switch up the nuts or spices to suit your preferences.
Why You’ll Love This Recipe
Nut Roll Cookies are not just a treat—they are an experience. From the very first step, the tender dough will have you hooked, and the walnut filling adds a rich, earthy flavor that’s impossible to resist. Whether you’re an experienced baker or a novice, you’ll appreciate how straightforward this recipe is. Here’s why you’ll absolutely love making and eating these cookies:
- Simple Ingredients: You probably already have most of the ingredients in your kitchen. All-purpose flour, butter, eggs, and walnuts are staples that come together to create a heavenly treat.
- Perfect for Any Occasion: These cookies are perfect for holiday baking or special celebrations. But they’re also great as a simple treat to enjoy with your morning coffee. In fact, if you’re looking for a fun holiday baking project, these cookies make an ideal addition to your baking list. Plus, they’re a wonderful gift idea for friends and family!
- Versatile Recipe: If walnuts aren’t your favorite, feel free to substitute them with other nuts like pecans or almonds. You can also add a little orange zest or chocolate chips to elevate the flavor even further. The recipe is forgiving and open to experimentation!
- Easy to Make: Unlike some complicated baking projects, Nut Roll Cookies don’t require fancy techniques or equipment. The steps are simple, from mixing the dough to rolling it out and filling it with that luscious walnut mixture.
Ingredients Breakdown
Dough Ingredients
To make the perfect Nut Roll Cookies, the ingredients for the dough are both simple and essential for achieving that soft, flaky texture. Here’s a breakdown of each ingredient:
- All-purpose flour: This is the primary dry ingredient in the dough. All-purpose flour provides structure to the cookies, helping them hold their shape while keeping them light and tender. It’s the base that allows the cookies to be rolled out into a perfect rectangle without being too dense. If you want more information about how flour impacts your baking, check out this article on All-purpose flour.
- Unsalted butter: The key to creating a rich and tender dough is using unsalted butter. It not only contributes to the flavor but also ensures the dough doesn’t become too salty. Butter is the fat that binds all the ingredients together and makes the dough crumbly yet smooth—exactly what we need for rolling and shaping the cookies.
- Sour cream: A secret ingredient in this dough! Sour cream adds moisture and a slight tang that balances the sweetness of the sugar and enhances the texture. It helps keep the cookies soft and delicate without drying out.
- Eggs: Eggs are essential in giving structure to the dough. They also help with binding all the ingredients together, resulting in a smooth dough that’s easy to handle. The protein in eggs helps stabilize the dough as it bakes.
- Granulated sugar: Sugar is not just for sweetness—it helps with browning. In this recipe, the sugar works alongside the butter to create that beautiful golden color on the outside of the cookies.
- Baking powder and salt: These two ingredients work together to ensure the dough rises slightly, making it lighter and fluffier. Salt is also critical for balancing the overall flavor, bringing out the sweetness without overwhelming the other ingredients.
By using these straightforward ingredients, the dough forms a perfect foundation for the walnut filling. It’s always a good idea to use fresh ingredients to ensure the best flavor and texture.
Filling Ingredients
Now for the star of the Nut Roll Cookies: the walnut filling. This mixture is rich, flavorful, and absolutely mouthwatering.
- Finely ground walnuts: Walnuts are the perfect choice for this filling because of their rich, earthy flavor and crunchy texture. Ground walnuts form the base of the filling and provide that classic nutty taste. They are also high in healthy fats, making the filling creamy and satisfying. You can learn more about walnuts in this Wikipedia article.
- Brown sugar: Brown sugar adds a moist, caramel-like sweetness that contrasts beautifully with the nuttiness of the walnuts. It also contributes to the slightly chewy texture of the filling. The richness of brown sugar pairs perfectly with the flavor of cinnamon, making the filling a warm, sweet treat.
- Cinnamon: This spice adds warmth and depth to the filling. Its sweet and slightly spicy flavor complements the earthy walnuts and makes the cookies extra cozy. If you want to learn more about cinnamon’s health benefits, check out this Wikipedia article.
- Melted butter: Melted butter helps bind the filling together and gives it a smooth texture. It also brings richness to the mixture, ensuring that each bite is indulgent and flavorful.
- Vanilla extract: Vanilla adds a layer of sweetness and aromatic depth to the filling. Its subtle flavor enhances the nutty cinnamon filling and ties all the ingredients together perfectly.
- Milk: A small amount of milk helps create a smooth, spreadable filling. It softens the texture and makes it easier to spread evenly over the dough, while also ensuring the filling doesn’t become too dry.
Once you have these ingredients ready, you’ll be prepared to assemble your Nut Roll Cookies into a delicious, golden treat.
Step-by-Step Instructions
Making the Dough
The first step to creating your Nut Roll Cookies is to prepare the dough. This process is easy, and once you have your ingredients ready, it comes together quickly. Here’s how to do it:
- Mix the dry ingredients: In a large bowl, whisk together the all-purpose flour, baking powder, and salt. This step ensures the dry ingredients are evenly distributed and helps avoid clumps of baking powder or salt in your dough.
- Cream the butter and sugar: In a separate bowl, use an electric mixer to beat the unsalted butter and granulated sugar until the mixture becomes light and fluffy. This usually takes about 3-5 minutes. Be sure to scrape down the sides of the bowl to ensure even mixing.

- Add wet ingredients: To the butter and sugar mixture, add the eggs, sour cream, and vanilla extract. Mix until smooth. This is the stage where the dough starts to come together, and you can really smell the comforting vanilla and butter aroma.

- Combine the dry and wet ingredients: Gradually add the flour mixture to the wet ingredients, stirring just until the dough forms. It should be soft, but not too sticky. If the dough feels too sticky, add a little more flour, but be careful not to overdo it—this will make the cookies tough.

- Chill the dough: Divide the dough into four equal portions. Wrap each portion in plastic wrap and refrigerate for at least 2 hours. This resting period makes the dough easier to work with, and it also allows the flavors to develop. Chilling is essential for rolling out the dough without it becoming too sticky.
This dough is the perfect base for the nutty, cinnamon-filled goodness to come! After chilling, the dough will be firm enough to roll out into neat rectangles, ready to be filled.
Preparing the Walnut Filling
While the dough chills, you can prepare the walnut filling. This filling is what gives Nut Roll Cookies their signature flavor and texture.
- Combine the dry ingredients: In a bowl, mix together the finely ground walnuts, brown sugar, and cinnamon. These ingredients are the heart of the filling and bring that cozy, sweet-spicy flavor.
- Add the wet ingredients: Pour in the melted butter, vanilla extract, and milk. Stir the mixture until it comes together into a thick paste. The consistency should be spreadable, but not runny. If the filling feels too thick, you can add a little extra milk to loosen it up, but be careful not to make it too liquid.
- Set aside: Once the filling is ready, set it aside while you work on rolling out the dough.
Shaping the Cookies
Now that the dough is chilled and the filling is ready, it’s time to roll out and shape your Nut Roll Cookies. This step involves creating the iconic log-shaped cookies filled with the rich walnut mixture.
Roll out the dough:
- On a lightly floured surface, take one portion of the chilled dough and roll it out into a thin rectangle, about ¼-inch thick. Aim for a smooth and even surface. If the dough sticks to the rolling pin, you can sprinkle a little more flour, but be careful not to add too much, as it could affect the texture of the cookies.
- For a detailed guide on rolling dough, check out this article on Baking Tips for Perfect Cookies.
Spread the filling:
- Once the dough is rolled out, spread a generous layer of the walnut filling over the entire surface, leaving about a 1-inch border on all sides. Be sure to spread the filling evenly so that every bite has that perfect balance of nuts and sugar.
- If you find that the filling is too thick to spread easily, you can add a bit more milk to thin it out slightly. However, keep the filling on the thicker side to prevent it from oozing out during baking.
Roll the dough into a log:
- Starting from the long edge of the rectangle, carefully roll the dough tightly, ensuring the filling stays inside. Press gently as you roll to keep the dough and filling secure.
- Once fully rolled, place the seam-side down on a baking sheet lined with parchment paper. This prevents the cookies from opening up during baking.
Repeat for the remaining dough:
- Repeat the process with the remaining portions of dough and filling. You should be able to form about 4 logs, depending on how large you want your cookies.
For more inspiration on creating beautifully rolled pastries, you can check out Holiday Baking Inspiration.
Baking the Nut Roll Cookies
After you’ve shaped your logs, it’s time to bake them to golden perfection. Here’s how to make sure they come out just right:
Preheat the oven:
- Preheat your oven to 350°F (175°C). This ensures that your cookies bake evenly and achieve that perfectly golden finish.
Prepare the egg wash:
- Brush the top of each log with a beaten egg. This creates that golden, glossy finish once baked. It also helps to give the cookies a slightly crisp texture on the outside while keeping the inside soft and buttery.
Bake the logs:
- Place the logs on the parchment-lined baking sheet, ensuring they are spaced evenly apart.
- Bake for 25-30 minutes, or until the logs are golden brown. You’ll know they’re done when the tops are firm to the touch and have that lovely golden color. Keep a close eye on them in the last few minutes to prevent over-baking.
- If you’re new to baking, this article on Brown Sugar and Its Uses will give you insight into how ingredients like sugar and butter interact during baking.
Let them cool:
- Once baked, allow the logs to cool for about 10 minutes before handling. This ensures that they won’t fall apart when you slice them.
Finishing Touches
Now that your Nut Roll Cookies are baked to a beautiful golden brown, it’s time for the final steps that will give them that perfect sweet finishing touch. These small details are what turn a simple cookie into something special.
Cooling the Cookies
Once your cookies are out of the oven, don’t rush the cooling process. Allow them to cool on the baking sheet for about 10 minutes. This helps them set and firm up slightly, making it easier to slice them without them falling apart.
- Pro Tip: Make sure to cool them on a wire rack after they’ve rested on the baking sheet. This helps air circulate around the cookies, ensuring they cool evenly and don’t become soggy from trapped moisture.
Slicing the Cookies
After the logs have cooled a bit, it’s time to slice them into individual cookies. Use a sharp knife to cut the logs into slices about ½-inch thick. Be gentle when slicing, as the cookies can be a bit fragile when still warm.
- Tip: If you find the cookies too difficult to slice while warm, you can refrigerate the logs for a bit longer before slicing. This will make the slicing process easier and the cookies will hold their shape better.
Dusting with Powdered Sugar
Once the cookies are fully cooled, dust them generously with powdered sugar. This step adds a little extra sweetness and gives your Nut Roll Cookies a beautiful finishing touch. The powdered sugar also adds a nice contrast to the golden brown of the cookies, making them look as delicious as they taste.
- Serving Tip: Serve your Nut Roll Cookies with a hot cup of tea or coffee. The sweet, nutty flavor pairs perfectly with a warm beverage. These cookies make for an excellent holiday treat or an indulgent afternoon snack.

FAQs About Nut Roll Cookies
As you embark on making these delicious Nut Roll Cookies, you may have a few questions along the way. Don’t worry—we’ve got you covered! Below are some of the most frequently asked questions about this recipe and some helpful tips to ensure success.
Can I use a different type of nut for the filling?
Absolutely! While walnuts are the traditional choice, you can experiment with other finely ground nuts like pecans, almonds, or hazelnuts. Each nut will bring a slightly different flavor, but the dough and overall texture will remain the same. Just keep in mind that some nuts may be a bit more delicate than walnuts, so they could affect the final texture or flavor.
For more information on different types of nuts, visit Nuts and Their Health Benefits.
Can I freeze the dough?
Yes, you can freeze the dough to use at a later time. Simply wrap the dough portions tightly in plastic wrap and store them in an airtight container or freezer bag. When you’re ready to bake, allow the dough to thaw in the refrigerator for several hours before rolling it out and proceeding with the recipe. You can also freeze the unbaked logs and bake them later—just add a few extra minutes to the baking time if baking directly from frozen.
Learn more about freezing dough in this article on How to Freeze Cookie Dough.
Can I make these Nut Roll Cookies gluten-free?
If you need a gluten-free version of this recipe, you can substitute the all-purpose flour with a gluten-free flour blend. Be sure to choose a high-quality blend that includes xanthan gum or another binding agent, as this will help the cookies hold together and achieve the right texture. Some gluten-free flour blends may require a little more moisture, so keep an eye on the dough consistency and adjust accordingly.
For more information about gluten-free baking, check out this helpful article on Gluten-Free Baking.
Can I make these cookies ahead of time?
Yes, Nut Roll Cookies are perfect for making ahead of time! You can prepare the dough, shape the logs, and then refrigerate or freeze them. When you’re ready to bake, simply slice and bake as usual. These cookies also store well in an airtight container for up to a week, making them an excellent choice for holiday baking or gift-giving.
Can I add other spices to the filling?
Certainly! While cinnamon is the classic spice used in Nut Roll Cookies, you can experiment with other warm spices like nutmeg, cloves, or even a dash of allspice. If you’re a fan of spiced treats, these additions will enhance the flavor and make your cookies even more aromatic.
Check out this post on Spices for Baking for more ideas on how to create your own custom spice blend.
How do I store Nut Roll Cookies?
Nut Roll Cookies should be stored in an airtight container at room temperature. They’ll stay fresh for about 5-7 days. If you want to keep them for a longer period, you can freeze the cookies. Just be sure to layer them with parchment paper in an airtight container or freezer bag to prevent them from sticking together.
For storage tips and tricks, visit How to Store Baked Goods.
Can I add a glaze to the cookies instead of powdered sugar?
Yes, you can drizzle a simple glaze over the cookies instead of using powdered sugar. To make a glaze, combine powdered sugar with a little milk or vanilla extract and whisk until smooth. Drizzle the glaze over the cooled cookies for an extra touch of sweetness and shine.
Print
Delicious Nut Roll Cookies Recipe You’ll Love
- Total Time: 30 min
Description
These Nut Roll Cookies are soft, buttery cookies with a sweet and nutty filling that’s rolled inside, creating a beautiful swirl in every bite. They’re perfect for any occasion and especially great for holiday cookie trays or dessert spreads. Once you try them, you’ll want to make them again and again!
Ingredients
For the Cookie Dough:
-
2 1/4 cups all-purpose flour
-
1 cup unsalted butter, softened
-
1/2 cup granulated sugar
-
1 egg
-
1 teaspoon vanilla extract
-
1/2 teaspoon baking powder
-
1/4 teaspoon salt
For the Nut Filling:
-
1 cup walnuts or pecans, finely chopped
-
1/2 cup powdered sugar
-
2 tablespoons honey or maple syrup
-
1 teaspoon vanilla extract
-
1/4 teaspoon cinnamon (optional)
For the Glaze (optional):
-
1/4 cup powdered sugar
-
1 tablespoon milk
-
1/2 teaspoon vanilla extract
Instructions
1️⃣ Make the Dough:
-
In a large mixing bowl, cream together the softened butter and granulated sugar until light and fluffy.
-
Add the egg and vanilla extract, and continue mixing until well combined.
-
In a separate bowl, whisk together the flour, baking powder, and salt.
-
Gradually add the dry ingredients to the wet ingredients, mixing until a soft dough forms. Be careful not to overwork the dough.
2️⃣ Chill the Dough:
-
Wrap the dough in plastic wrap and refrigerate for about 30 minutes to an hour, which will make it easier to roll out.
3️⃣ Prepare the Nut Filling:
-
In a medium bowl, combine the finely chopped walnuts (or pecans), powdered sugar, honey or maple syrup, vanilla extract, and cinnamon (if using). Mix until the ingredients are well incorporated and form a thick, sticky paste.
4️⃣ Roll Out the Dough:
-
Preheat your oven to 350°F (175°C) and line a baking sheet with parchment paper.
-
After chilling, roll the dough out on a lightly floured surface into a rectangle, about 1/8-inch thick.
-
Spread the nut filling evenly over the dough, leaving a small border around the edges.
5️⃣ Roll and Slice:
-
Carefully roll up the dough like a jelly roll, making sure the filling stays inside. Pinch the edges to seal.
-
Slice the rolled dough into 1/2-inch thick cookies and place them on the prepared baking sheet.
6️⃣ Bake the Cookies:
-
Bake the cookies for 12-15 minutes, or until they are golden brown around the edges.
-
Remove from the oven and let them cool on the baking sheet for a few minutes before transferring to a wire rack to cool completely.
7️⃣ Optional Glaze:
-
If desired, mix together powdered sugar, milk, and vanilla extract in a small bowl to make a glaze.
-
Drizzle the glaze over the cooled cookies for an extra touch of sweetness and shine.
8️⃣ Serve and Enjoy:
-
Once the glaze is set (if using), serve the nut roll cookies and enjoy their nutty, sweet goodness!
Notes
-
Nuts: You can use any type of nut you prefer, such as walnuts, pecans, or hazelnuts. You can even mix them for a variety of flavors!
-
Make Ahead: These cookies can be made ahead and stored in an airtight container for up to a week. They also freeze well—just make sure they’re fully cooled before freezing.
-
Glaze Variations: Feel free to skip the glaze if you prefer a less sweet cookie, or use a chocolate drizzle instead for a different flavor twist.
-
Flavor Options: You can experiment with different spices in the filling, like nutmeg or cloves, for an extra flavor boost.
- Prep Time: 15 min
- Cook Time: 15 min


