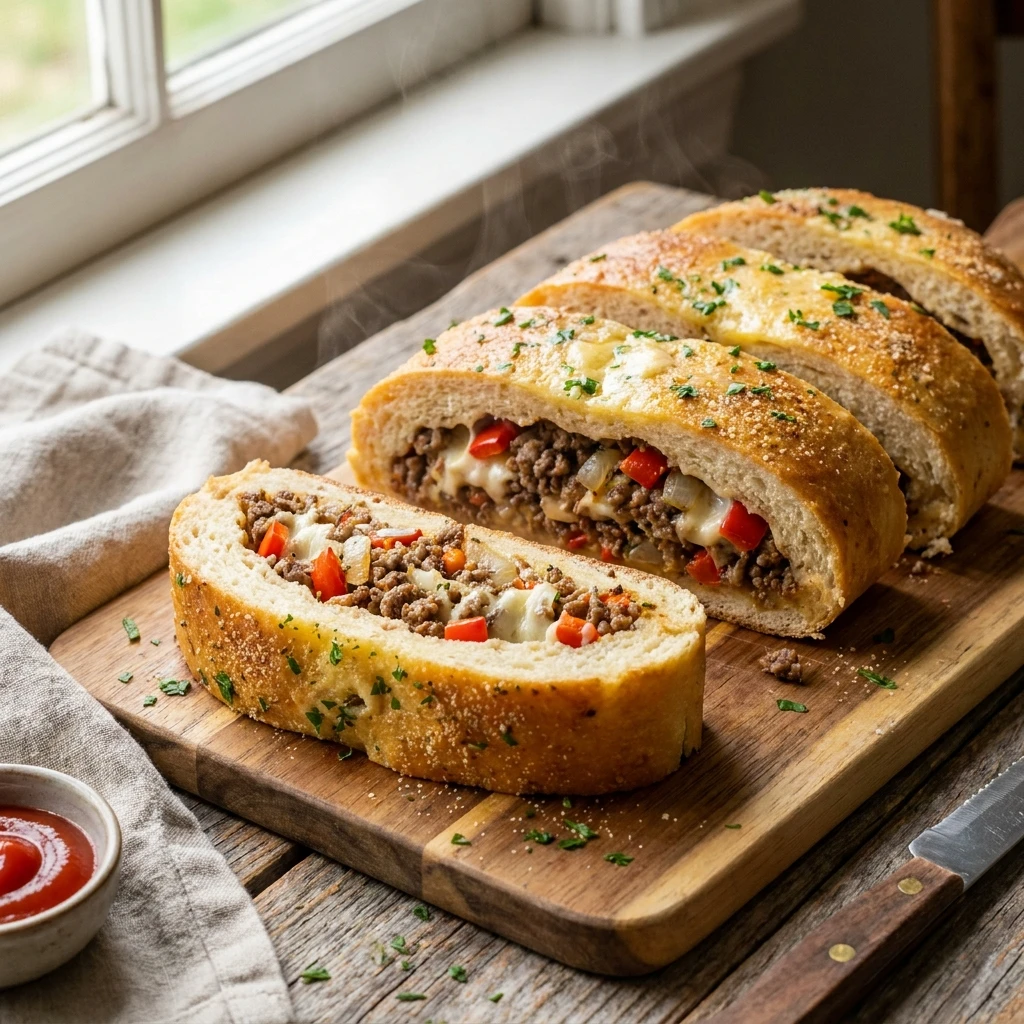
Garlic Mozzarella Biscuit Bombs are a mouthwatering treat that combines the savory goodness of garlic and melted mozzarella encased in a soft, golden-brown dough. This recipe has quickly become a favorite among food lovers due to its irresistible combination of flavors and textures. Imagine biting into a warm, fluffy biscuit that bursts with gooey mozzarella cheese, complemented by the rich, aromatic flavor of garlic butter. Each bite offers a satisfying mix of crispy edges and soft, cheesy centers, making these biscuit bombs the perfect comfort food.
One of the reasons this recipe stands out is its incredible versatility. Whether you’re looking for a crowd-pleasing appetizer for a party, a quick snack to satisfy mid-day cravings, or a delicious side dish to accompany a hearty meal, Garlic Mozzarella Biscuit Bombs fit the bill perfectly. They’re easy to make and require only a handful of ingredients, yet they deliver big on flavor. This dish can easily be customized to suit different tastes—add a sprinkle of herbs, a hint of spice, or pair it with your favorite dipping sauce for a delightful twist. No matter how you serve them, these biscuit bombs are sure to be a hit at any table.
Ingredients Breakdown
The ingredients in Garlic Mozzarella Biscuit Bombs are simple yet essential in creating the dish’s signature flavor and texture. Each ingredient plays a specific role, and using the right ones can make all the difference.
Frozen Texas Rolls: The base of these biscuit bombs, frozen Texas rolls, provides the perfect dough for this recipe. Rhodes brand is often preferred because of its consistent quality and reliability. The dough rises beautifully, resulting in a soft, pillowy texture that’s crucial for encasing the cheese and creating the perfect biscuit bomb.
Mozzarella Cheese: Mozzarella is the ideal cheese for this recipe due to its high moisture content, which melts into a gooey, stretchy center when baked. It’s important to use whole-milk mozzarella for the best melt and flavor. The cheese’s mild taste also complements the garlic butter without overpowering it, making it the perfect filling.
Butter: Butter is essential for adding richness and flavor to the biscuit bombs. When brushed over the hot biscuits, it seeps into the dough, creating a golden crust while enhancing the overall taste. Salted butter adds an extra layer of flavor that pairs well with the garlic.
Garlic: Freshly minced garlic is key to infusing the butter with a rich, aromatic flavor. Garlic not only complements the cheese but also adds depth and complexity to the dish, making each bite more satisfying.
Parsley Flakes: Parsley adds a fresh, vibrant note that balances the richness of the butter and cheese. Fresh parsley offers the most flavor, but dried parsley can be a convenient alternative. It also adds a pop of color, making the biscuit bombs visually appealing.
Tips on Selecting Quality Ingredients: Opt for high-quality, full-fat mozzarella for the best melting properties. Fresh garlic and parsley provide the most intense flavors, while using premium butter can enhance the richness of the dish. When choosing frozen dough, look for brands like Rhodes that are known for their consistent performance and soft, tender results.
Step-by-Step Instructions and Tips
Thawing and Preparing the Dough
Thawing the frozen dough is a crucial first step in making Garlic Mozzarella Biscuit Bombs. Start by removing eight frozen Texas rolls from the package and placing them on a plate or baking sheet. Cover the rolls with plastic wrap to prevent them from drying out. There are two primary methods for thawing: overnight in the refrigerator or a same-day thaw at room temperature.
Overnight Thawing: Place the covered rolls in the refrigerator for at least 4 hours or, ideally, overnight. This method allows the dough to thaw slowly and evenly, which is essential for achieving the right texture. The gradual thawing process helps the dough retain moisture, leading to a softer and fluffier result when baked.
Same-Day Thawing: If you’re short on time, you can thaw the rolls at room temperature. Place them in a warm, draft-free area and allow them to thaw for 2-3 hours. Keep them covered to maintain moisture. While this method is faster, be mindful that it may not yield as consistent results as overnight thawing.
No matter which method you choose, the dough needs to double in size before you proceed to the next step. This rising process is essential for developing the dough’s texture and ensuring that it bakes up light and fluffy. If the dough hasn’t risen adequately, the final product may be dense and heavy rather than soft and airy.
Preparing the Mozzarella Filling
To prepare the mozzarella filling, start by cutting four mozzarella sticks into 16 equal pieces. Each stick should be divided into four pieces, approximately one inch in size. This size is ideal because it ensures the cheese melts evenly within the dough, creating that perfect gooey center.
If mozzarella sticks are unavailable, you can use mozzarella balls or cubes. Fresh mozzarella balls (also known as bocconcini) can be halved or quartered, depending on their size, to fit inside the dough. Shredded mozzarella is another option, though it may not create the same stretchiness as sticks or balls. If using shredded cheese, pack it tightly to form a small ball before placing it in the dough.
Regardless of the form you choose, make sure the cheese is cold when you assemble the biscuit bombs. Cold cheese melts more slowly, which reduces the chance of it leaking out during baking.
Shaping and Assembling the Biscuit Bombs
Once the dough has properly thawed and doubled in size, you can begin shaping and assembling the biscuit bombs. Start by taking each roll and gently flattening it into a disk using your hands. The dough should be pliable, allowing you to shape it without tearing. Aim for a disk that’s about 3-4 inches in diameter, which will give you enough surface area to encase the cheese fully.
Next, place two pieces of mozzarella cheese in the center of each disk. Position the cheese pieces so they sit close together in the middle of the dough. This helps ensure that the cheese melts together to form a single, gooey center. Be careful not to overfill the dough, as this can cause the cheese to leak out during baking.
After placing the cheese, gather the edges of the dough and pinch them together tightly over the cheese. Pinch and press the seams firmly to seal them completely. The dough should fully encase the cheese with no openings. This step is crucial because any gaps in the seal can lead to the cheese oozing out during baking, rather than staying inside the biscuit bomb.
Once the dough is sealed, roll the ball gently between your hands to smooth out any seams. Place each assembled biscuit bomb seam-side down on a parchment-lined baking sheet. Arranging them seam-side down helps keep them sealed and ensures even baking.
To prevent cheese leakage, you can double-check the seals before baking. If any seem weak or thin, reinforce them by pinching and pressing the dough again. Another tip to minimize leakage is to make sure the dough is not too thin; if it’s stretched too much, it can tear during baking.
Baking the Biscuit Bombs
Preheat your oven to 350°F (175°C) before placing the biscuit bombs inside. A properly preheated oven ensures that the biscuit bombs bake evenly and develop a golden crust. While the oven is heating, make sure your baking sheet is lined with parchment paper. Parchment paper is essential for easy cleanup and helps prevent the biscuit bombs from sticking to the baking sheet.
Place the baking sheet with the assembled biscuit bombs in the preheated oven on the middle rack. Bake for 9-11 minutes, monitoring them closely as baking times can vary slightly depending on your oven. The biscuits are ready when they start to turn golden brown on top.
To test for doneness, look for a lightly golden color on the tops and sides of the biscuit bombs. The dough should feel firm but still slightly soft when pressed gently. Be careful not to overbake, as this can make the biscuits too hard and dry out the cheese filling.
If you notice that the biscuit bombs are browning too quickly but the dough feels undercooked, lower the oven temperature slightly and continue baking for a few more minutes. This will allow the inside to cook through without over-browning the outside. Adjust baking times if necessary based on your oven’s specific performance, and consider using an oven thermometer to ensure accuracy.
Finishing Touches and Serving Suggestions
Garlic Butter Topping
To prepare the garlic butter topping, start by melting 4 tablespoons of salted butter in a microwave-safe dish or small saucepan over low heat. Melting the butter slowly ensures it doesn’t burn and allows for even incorporation of the garlic and parsley. Once the butter is fully melted, add 2 cloves of freshly minced garlic. Stir the garlic into the butter, letting it cook for a minute or two to release its aroma and infuse the butter with its rich flavor.
Next, incorporate 1 tablespoon of freshly chopped or dried parsley flakes into the garlic butter. The parsley adds a fresh, herbaceous note that balances the richness of the butter and garlic. If you prefer a little extra flavor, consider adding a sprinkle of grated parmesan or a pinch of dried Italian herbs to the mixture.
It’s crucial to brush the garlic butter over the biscuit bombs immediately after they come out of the oven. The hot biscuits will absorb the butter quickly, allowing the flavors to penetrate the dough and enhancing the overall taste. This step also helps to give the biscuit bombs a beautiful, glossy finish that adds to their visual appeal.
Serving Suggestions and Pairings
Garlic Mozzarella Biscuit Bombs are incredibly versatile and can be served in various ways, making them a hit for any occasion. They work perfectly as an appetizer, offering a deliciously cheesy start to any meal. For parties or gatherings, these biscuit bombs are an ideal finger food, easy to grab and enjoy without the need for utensils.
For dipping, consider serving the biscuit bombs with marinara sauce, which pairs beautifully with the garlic and cheese, adding a tangy contrast. Ranch dressing or garlic aioli are also excellent options, providing creamy, flavorful accompaniments that enhance the biscuit bombs’ richness.
These biscuit bombs also shine as a side dish, especially when served alongside pasta dishes like spaghetti, lasagna, or fettuccine alfredo. The garlicky, cheesy bombs complement the flavors of tomato-based sauces and creamy Alfredo alike. For a lighter pairing, consider serving them with a crisp salad or a bowl of soup. The biscuit bombs add a hearty touch to salads, particularly those with a balsamic or Italian vinaigrette, and they make a comforting companion to soups like tomato basil or minestrone.
No matter how you serve them, Garlic Mozzarella Biscuit Bombs are sure to be a crowd-pleaser, bringing cheesy, garlicky goodness to any table.
Frequently Asked Questions
Can I use a different type of dough?
Yes, you can use different types of dough for Garlic Mozzarella Biscuit Bombs. If you don’t have frozen Texas rolls, you can substitute with refrigerated biscuit dough, pizza dough, or even crescent roll dough. Each will yield slightly different textures, with biscuit dough being fluffier, pizza dough chewier, and crescent roll dough more buttery and flaky. Just ensure that whichever dough you use is properly thawed or prepared before assembling the biscuit bombs.
What can I substitute for mozzarella?
If mozzarella isn’t available, you can substitute other cheeses that melt well, such as cheddar, provolone, or Monterey Jack. For a more sophisticated flavor, consider using a combination of cheeses, like fontina and gruyere. Keep in mind that the flavor and texture may vary, but the cheesy center will still be delicious.
How do I store and reheat leftovers?
Store leftover biscuit bombs in an airtight container in the refrigerator for up to 3 days. To reheat, place them in a 350°F oven for about 5-7 minutes until warmed through, or microwave them for about 30 seconds. Reheating in the oven will help maintain their crispy exterior.
Can these be made ahead of time?
Yes, these biscuit bombs can be made ahead of time. Assemble the biscuit bombs and refrigerate them for up to 24 hours before baking, or freeze them for longer storage. Bake directly from frozen, adding a few extra minutes to the baking time.
Additional Tips and Variations
Making the Recipe Ahead of Time: Freezing Before or After Baking
Garlic Mozzarella Biscuit Bombs are great for meal prepping. You can assemble them and freeze before baking by placing the uncooked biscuit bombs on a baking sheet, freezing until solid, and then transferring them to a freezer-safe bag. When ready to bake, simply place them on a parchment-lined baking sheet and bake at 350°F, adding an extra 5-10 minutes to the baking time. Alternatively, you can freeze the biscuit bombs after baking. Reheat them in the oven at 350°F for 10-12 minutes or until heated through.
Adding Other Fillings for a Customized Version
For a personalized touch, consider adding other fillings to the biscuit bombs. Pepperoni slices or crumbled sausage can turn these into mini pizza bites. Jalapeño slices or red pepper flakes add a spicy kick, while a spoonful of marinara sauce inside can create a mini calzone effect. Experiment with different combinations to suit your taste preferences.
How to Make the Recipe Vegan or Gluten-Free
To make these biscuit bombs vegan, use a plant-based dough, vegan mozzarella, and a butter alternative like margarine or olive oil. For a gluten-free version, opt for gluten-free dough and ensure any additional ingredients are also gluten-free. The rest of the recipe can be followed as is, with slight adjustments based on the specific products used.
Scaling the Recipe for Larger Gatherings or Parties
This recipe is easily scalable for larger crowds. Simply multiply the ingredients based on the number of guests. When making a larger batch, consider baking on multiple trays or in batches to ensure even cooking. You can also keep baked biscuit bombs warm in the oven on low heat until ready to serve, ensuring they remain fresh and delicious for your guests.
Conclusion
Garlic Mozzarella Biscuit Bombs are a simple yet incredibly satisfying recipe that delivers a deliciously cheesy and garlicky experience with minimal effort. The ease of using frozen dough, combined with the rich flavors of mozzarella and garlic butter, makes this dish a favorite for any occasion. Whether served as an appetizer, snack, or side, these biscuit bombs are sure to impress. Don’t hesitate to experiment with different fillings and toppings to suit your taste, and share the joy of these tasty treats with friends and family—they’re bound to become a new household favorite!
Print
Garlic Mozzarella Biscuit Bombs
Description
Garlic Mozzarella Biscuit Bombs are a delightful combination of soft, pillowy dough filled with gooey mozzarella cheese, all wrapped up in a golden, buttery crust infused with garlic and parsley. These irresistible bites are perfect as a quick appetizer, a fun snack, or a satisfying side dish. With only a handful of ingredients and straightforward preparation, they are both easy to make and impossible to resist. Whether you’re hosting a party or looking for a comforting treat, these biscuit bombs will surely please everyone at the table.
Ingredients
- 8 frozen Texas Rolls (Rhodes brand preferred), thawed
- 4 sticks of mozzarella cheese, cut into 16 pieces
- 4 tablespoons salted butter, melted
- 2 cloves garlic, minced
- 1 tablespoon parsley flakes (freshly chopped or dried)
Instructions
- Begin by thawing the frozen dough. Place 8 rolls on a plate, cover with plastic wrap, and refrigerate for at least 4 hours or overnight. They should double in size.
- Cut the mozzarella sticks into approximately 1″ pieces.
- Preheat your oven to 350°F and line a baking sheet with parchment paper.
- Flatten each dough ball into a disk using your hands. Place two pieces of cheese in the center of each disk.
- Pinch the dough edges tightly to encase the cheese fully and place them seam side down on the prepared baking sheet. Repeat with all rolls.
- Bake for 9-11 minutes, or until they start to turn golden brown.
- While baking, melt the butter in a microwave-safe dish or over low heat in a saucepan. Stir in the minced garlic and parsley flakes once melted.
- Remove the rolls from the oven and brush each with the garlic butter mixture.
- Allow to cool slightly before serving to enjoy the cheesy goodness!
Notes
For the best results, use high-quality ingredients like whole-milk mozzarella and fresh garlic. If you’re in a hurry, you can use refrigerated biscuit dough as a quick alternative to frozen Texas rolls. Feel free to customize the filling with your favorite ingredients—pepperoni, jalapeños, or even a sprinkle of parmesan can add a new dimension of flavor. These biscuit bombs are best enjoyed fresh out of the oven, but they can be made ahead and reheated if needed. Just be sure to brush them with the garlic butter immediately after baking to ensure they soak up all the delicious flavors.